Pest Control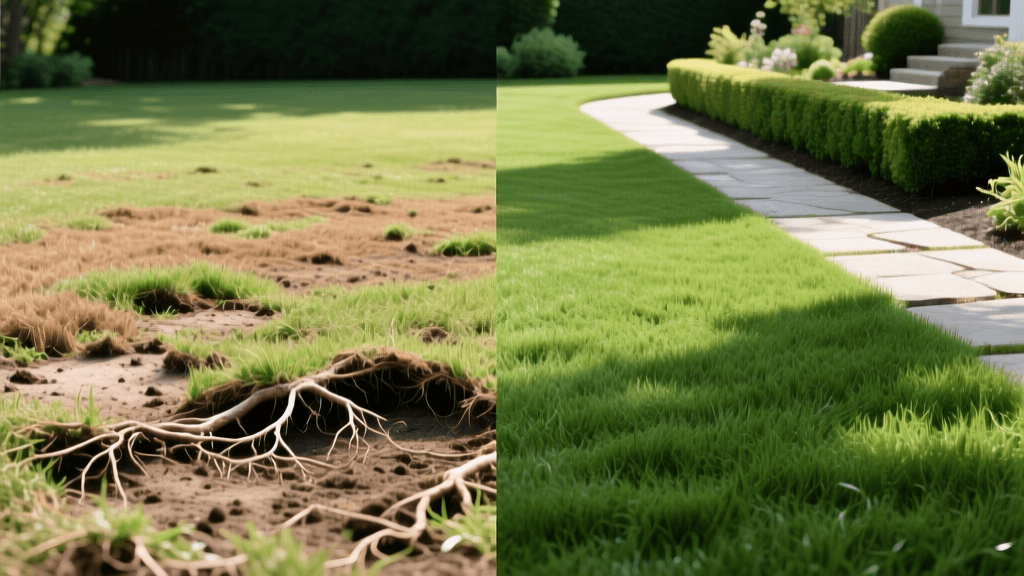
Before & After: Transforming a Severe Grub-Damaged Lawn
The "Before" State: Recognizing the Spongy Nightmare
There is a distinct, sinking feeling that every dedicated homeowner dreads: stepping onto your lawn in late summer and feeling the ground give way like a damp sponge. This unsettling tactile experience is the hallmark of a severe white grub infestation. White grubs—the larval stage of beetles such as the Japanese beetle, European chafer, and June beetle—live just beneath the soil surface, voraciously chewing through the root systems of your turfgrass.
In the "before" state of our transformation case study, the lawn presented a classic picture of grub devastation. The turf featured irregular, sprawling brown patches that failed to green up despite adequate irrigation. More alarmingly, the grass had lost its structural anchor. Because the grubs sever the roots just below the thatch layer, the turf loses its connection to the soil. This not only starves the grass of water and nutrients, causing it to scorch and die, but it also creates an all-you-can-eat buffet for local wildlife. In our case study, the homeowner reported extensive secondary damage from crows, skunks, and raccoans, which had torn up the spongy turf in search of the protein-rich grubs beneath.
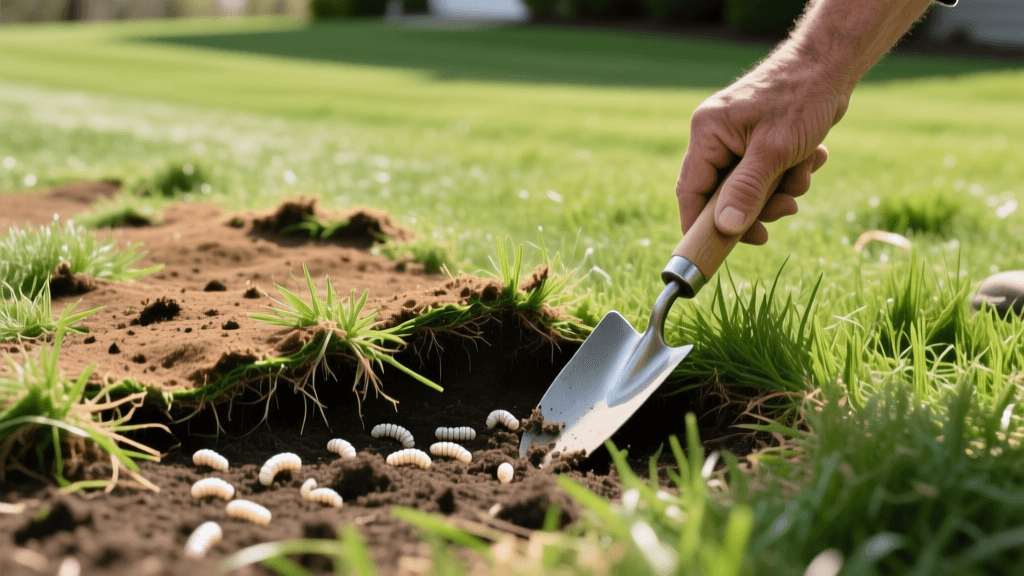
The Diagnosis: The Tug Test and the Square Foot Dig
Before investing time and money into a transformation, it is critical to confirm that grubs are the culprit and not a fungal disease or severe drought stress. According to Penn State Extension, the definitive diagnostic method is the "square foot dig test."
- The Tug Test: Grab a handful of brown grass and pull. If it rolls back like a loose carpet with no root resistance, grubs have likely severed the root system.
- The Square Foot Dig: Using a flat spade, cut three sides of a 1-foot by 1-foot square of turf, about 3 inches deep. Peel the sod back like a hinge and count the C-shaped, milky-white grubs in the exposed soil and the underside of the sod.
In our "before" assessment, the soil was teeming with an average of 18 grubs per square foot. Treatment thresholds generally dictate that action is required when populations exceed 8 to 10 grubs per square foot. At 18, this lawn was in critical condition and required immediate, aggressive intervention.
The Turning Point: Formulating the Eradication Strategy
Transforming a grub-ravaged lawn requires a two-pronged approach: eradication of the current pest population and agronomic renovation of the dead turf. Timing is everything. Grubs are most vulnerable to curative insecticides in late summer to early fall (August through September) when they are small, actively feeding near the surface, and have not yet burrowed deep into the soil profile for winter dormancy.
Comparing Treatment Options
To achieve the best "after" results, we had to select the right chemical or biological control. Below is a comparison of the primary grub control methods available to homeowners.
| Treatment Type | Active Ingredient / Organism | Application Timing | Efficacy & Speed | Estimated Cost (per 5,000 sq ft) |
|---|---|---|---|---|
| Curative Chemical | Trichlorfon (e.g., Dylox) | Late Summer / Early Fall | Kills within 24-48 hours; short residual. | $45 - $55 |
| Preventative Chemical | Chlorantraniliprole (e.g., Scotts GrubEx) | Late Spring / Early Summer | Highly effective on young larvae; long residual. | $30 - $40 |
| Biological Control | Beneficial Nematodes (Heterorhabditis bacteriophora) | Late Summer (soil temps 60°F+) | Moderate to High; requires precise moisture. | $35 - $50 |
| Biological Control | Milky Spore (Paenibacillus popilliae) | Spring or Fall | Very slow (takes 2-3 years); specific to Japanese beetles. | $60 - $80 |
For this severe late-summer transformation, we selected a curative chemical treatment containing Trichlorfon to immediately halt the ongoing root destruction, followed by a biological and cultural renovation plan.
The Transformation Process: Step-by-Step Recovery
The journey from a destroyed, patchy yard to a lush, green carpet took approximately eight weeks of dedicated labor. Here is the exact protocol we followed.
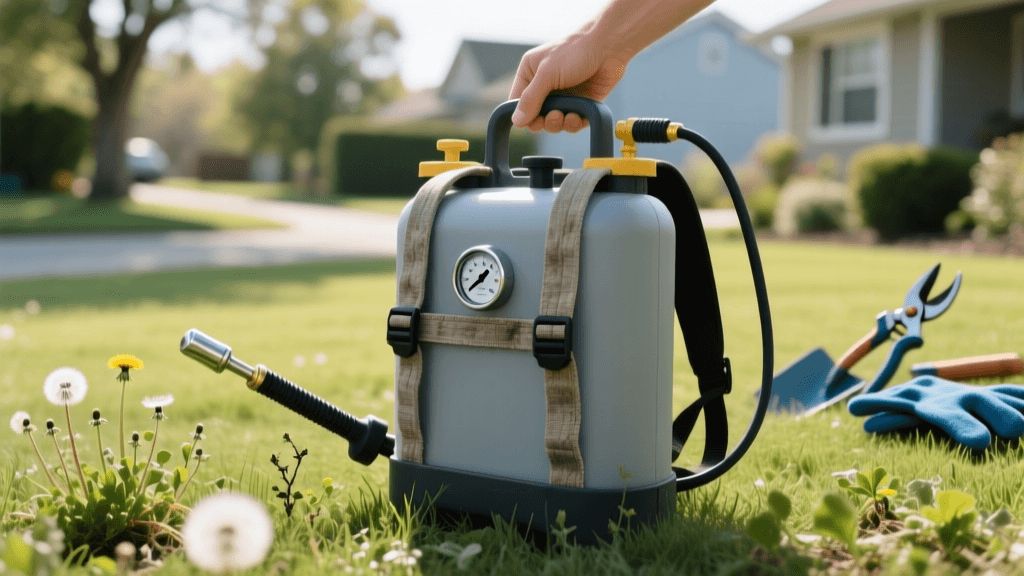
Step 1: Curative Eradication and Hydration
We applied a granular Trichlorfon product (commonly sold as Bayer Advanced 24 Hour Grub Killer Plus or generic Dylox) at a rate of 3 lbs per 1,000 square feet. Trichlorfon is highly water-soluble and degrades rapidly in sunlight, so it is imperative to water it in immediately. We applied exactly 0.5 inches of water via an oscillating sprinkler to wash the active ingredient past the thatch layer and into the top 2 inches of soil where the grubs were feeding. Within 48 hours, the active feeding ceased.
Step 2: Raking, De-thatching, and Soil Prep
Two weeks post-treatment, the dead, rootless grass was entirely dormant and brittle. We used a heavy-duty thatching rake to vigorously pull up the dead organic matter. This step is non-negotiable; leaving a mat of dead thatch will prevent new grass seed from making vital soil contact. The removed thatch was bagged and disposed of to prevent harboring any remaining insect debris or fungal pathogens.
Step 3: Core Aeration
Grub damage often leaves the soil compacted due to the loss of root channels and the subsequent foot traffic from wildlife and homeowners inspecting the damage. We rented a walk-behind core aerator and made two passes over the entire lawn in perpendicular directions. This extracted 3-inch soil plugs, relieving compaction and creating perfect micro-environments for new seed.
Step 4: Overseeding and Topdressing
For the "after" state to be durable, we needed a robust grass variety. We chose a premium Tall Fescue blend (Jonathan Green Black Beauty Ultra), known for its deep root systems and natural resistance to future insect stress. We applied the seed at a heavy renovation rate of 8 lbs per 1,000 square feet. Following the seed, we top-dressed the lawn with a 1/4-inch layer of screened compost. This compost acts as a moisture-retentive blanket, protects the seed from birds, and introduces vital soil microbes to rebuild the soil food web.
The "After" State: 8 Weeks to a Lush Green Carpet
The visual and tactile transformation at the eight-week mark was nothing short of dramatic. The "before" state was a barren, scarred landscape of brown dirt and torn turf. The "after" state was a vibrant, deep-green carpet.
Because we utilized Tall Fescue and top-dressed with compost, the new grass established roots that plunged 4 to 6 inches deep into the aerated soil. The spongy, unstable ground was replaced by firm, resilient turf that bounced back when stepped on. The secondary wildlife damage ceased entirely, as the skunks and crows moved on to easier hunting grounds. The total cost for this 5,000 square foot transformation—including the curative insecticide, aerator rental, premium seed, and bulk compost—came to approximately $380, a fraction of the cost of hiring a professional landscaping crew to install new sod.
Long-Term Prevention: Keeping the Grubs Away
A successful transformation is only as good as your ability to maintain it. To ensure the "after" state becomes the permanent state, a shift from curative to preventative pest management is required.
According to entomologists at the University of Kentucky, adult beetles lay their eggs in mid-summer, which hatch into root-eating larvae by August. To break this lifecycle, we recommend applying a preventative insecticide containing Chlorantraniliprole (such as Scotts GrubEx) between late May and early July. Unlike older chemicals, Chlorantraniliprole is highly targeted, poses minimal risk to beneficial pollinators, and remains active in the soil long enough to eliminate grubs when they are in their most vulnerable, newly-hatched stage.
Expert Agronomic Tip: Adult beetles prefer to lay their eggs in moist, shallow-watered turf. By training your lawn to accept deep, infrequent watering (1 inch per week applied in a single session), you encourage deeper grass roots and create a less hospitable surface environment for beetle egg deposition, naturally reducing future grub populations.
Conclusion
Transforming a grub-damaged lawn requires patience, precise timing, and a willingness to execute a multi-step renovation. By accurately diagnosing the problem with the square-foot dig test, applying a fast-acting curative treatment, and following up with aggressive aeration and overseeding, you can reclaim your yard from destructive larvae. The journey from a spongy, brown eyesore to a deep-rooted, resilient green lawn is entirely achievable for the dedicated DIY homeowner.