
Urban Composting: Tumblers vs. Worm Bins for Soil Health
The Urban Soil Health Dilemma
Welcome to the intersection of indoor living and outdoor vitality. For urban and suburban gardeners, bridging the gap between kitchen food scraps and lush, productive patio gardens requires a reliable method of organic recycling. According to the Environmental Protection Agency (EPA), food scraps and yard waste make up nearly 30 percent of what we throw away, and composting is the most effective way to divert this waste from landfills while simultaneously regenerating our local soils.
However, homeowners with limited space, strict HOA regulations, or a desire to keep their composting system close to the kitchen often find themselves debating between two primary methods: enclosed compost tumblers and vermicomposting (worm bins). Both systems produce nutrient-dense organic matter, but they operate on entirely different biological principles, require different investments, and yield distinct benefits for your soil's microbiome. In this comprehensive guide, we will break down the costs, spatial requirements, and soil health outcomes of both systems to help you choose the perfect engine for your garden-to-table ecosystem.
Compost Tumblers: The Outdoor Workhorse
Compost tumblers are fully sealed, rotating drums designed to make turning and aerating your compost effortless. They rely on thermophilic (heat-loving) bacteria to break down organic matter rapidly. Because they are elevated off the ground and enclosed, they are highly resistant to urban pests like rodents and raccoons, making them an ideal outdoor solution for patios, balconies, and small suburban backyards.
Specifications and Costs
- Popular Model: FCMP Outdoor IM4000 Dual-Chamber Tumbler
- Estimated Cost: $90 - $120
- Capacity: 37 Gallons (split between two 18.5-gallon chambers)
- Footprint: 30 inches wide by 36 inches high
- Processing Time: 4 to 8 weeks during warm summer months
The dual-chamber design is a massive advantage for urban gardeners. It allows you to fill one side with fresh kitchen scraps and "browns" (carbon-rich materials like shredded cardboard or dry leaves) while the other side cures and finishes. To maintain the heat required for thermophilic composting, you must spin the tumbler 5 to 6 times every 2 to 3 days to introduce oxygen, which fuels the aerobic bacteria.
Vermicomposting: The Indoor-Outdoor Microbe Factory
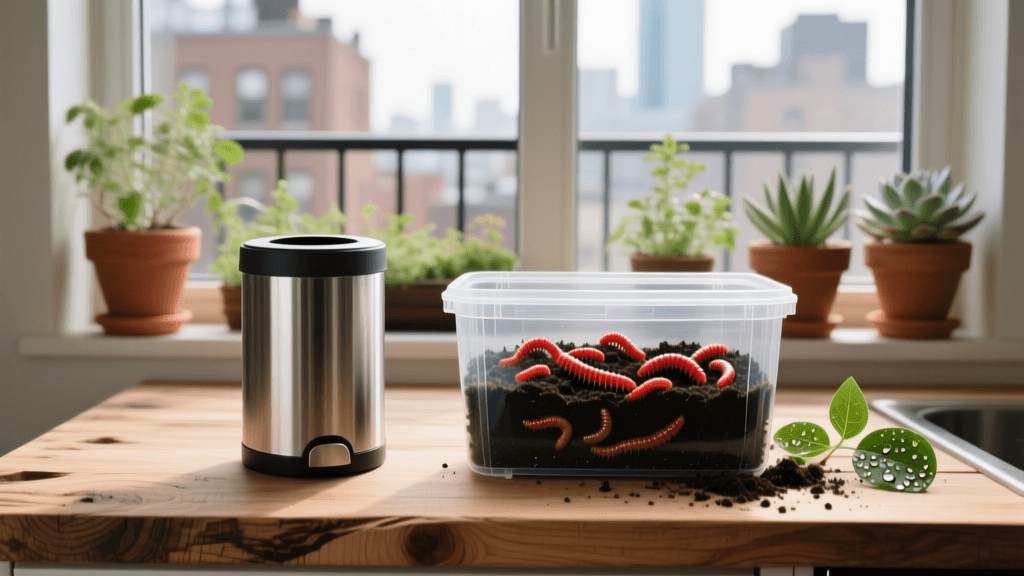
Vermicomposting utilizes specific species of earthworms, most notably the Red Wiggler (Eisenia fetida), to consume organic waste and excrete nutrient-dense castings. Unlike tumblers, worm bins do not generate high heat. Instead, they rely on a mesophilic process where worms and a diverse ecosystem of fungi, actinomycetes, and bacteria work in tandem to break down matter at ambient temperatures.
Specifications and Costs
- Popular Model: Worm Factory 360 Multi-Tray System
- Estimated Cost: $130 - $150 (includes initial bedding and accessories)
- Worm Cost: $30 - $45 for 1 lb. of live Red Wigglers (approx. 1,000 worms)
- Capacity: Expandable (starts at 12.5 gallons, adds 3 gallons per tray)
- Footprint: 18 inches by 18 inches (fits easily under a kitchen sink or on a shaded patio)
- Processing Time: Continuous harvesting after the initial 3-month colonization period
Worm bins excel at processing pure kitchen scraps—fruit peels, coffee grounds, and vegetable trimmings—without the strict need for bulky carbon "browns," though adding shredded paper helps manage moisture. The resulting worm castings are widely considered the pinnacle of organic soil amendments, teeming with plant-available nutrients and beneficial microbes.
Head-to-Head Comparison Chart
| Feature | Compost Tumbler | Vermicomposting (Worm Bin) |
|---|---|---|
| Primary Location | Outdoors (Sun/Shade) | Indoors or Shaded Outdoors |
| Temperature Range | Requires 55°F - 150°F (internal heat) | Strictly 55°F - 80°F (ambient) |
| Odor Profile | Earthy, or ammonia if too wet | Odorless (smells like rich forest soil) |
| Pest Resistance | High (fully enclosed, elevated) | Moderate (fruit flies can be an issue) |
| Physical Effort | Moderate (cranking the drum) | Low (layering trays, harvesting castings) |
| Best For | High volume yard waste & kitchen scraps | High density kitchen scraps & indoor use |
The Science of Soil Health: Why Method Matters
When deciding between a tumbler and a worm bin, it is crucial to understand how the end product affects your soil. The USDA Natural Resources Conservation Service defines soil health as the continued capacity of soil to function as a vital living ecosystem that sustains plants, animals, and humans. Both compost and worm castings improve soil structure, water retention, and biodiversity, but they do so in slightly different ways.
Cation Exchange Capacity (CEC) and Microbial Diversity
Worm castings possess an exceptionally high Cation Exchange Capacity (CEC). CEC is the soil's ability to hold onto essential nutrients (like calcium, magnesium, and potassium) and release them to plant roots on demand. The digestive tract of the Red Wiggler worm coats organic particles with a mucilaginous binding agent, creating stable soil aggregates that resist erosion and compaction. Furthermore, Cornell University's Composting Resources notes that vermicompost contains a higher diversity of beneficial bacteria and plant growth hormones (auxins and gibberellins) compared to traditional thermophilic compost, which can sometimes sterilize beneficial microbes if temperatures exceed 160°F.
On the other hand, thermophilic tumbler compost is superior for bulk soil building. If you are filling large raised beds or amending heavy clay soil in a suburban yard, the sheer volume of organic humus produced by a tumbler will improve soil tilth and drainage more effectively than the limited, albeit potent, output of a worm bin.
"Soil health is defined as the continued capacity of soil to function as a vital living ecosystem that sustains plants, animals, and humans." - USDA NRCS
Step-by-Step Guide to Starting Your System
Starting a Tumbler (The 30:1 C:N Ratio)
Success in a tumbler hinges on the Carbon-to-Nitrogen (C:N) ratio. Kitchen scraps are nitrogen-heavy "greens." To prevent a slimy, anaerobic mess, you must balance them with carbon-heavy "browns."
- Prep the Base: Add 2 gallons of dry carbon material (shredded corrugated cardboard, dry autumn leaves, or coconut coir) to the empty chamber.
- The Golden Ratio: For every 1 part kitchen scraps (nitrogen) you add, mix in 2 to 3 parts browns (carbon) by volume.
- Moisture Check: The mixture should feel like a wrung-out sponge. If it is too dry, the bacteria will go dormant; if it is too wet, it will smell like ammonia. Add a spray bottle of water if needed.
- Aeration: Spin the tumbler 5 full rotations every time you add new material, and at least twice a week to maintain oxygen flow.
Starting a Worm Bin (The Habitat Setup)
Worms are sensitive to their environment. They breathe through their skin, meaning moisture and bedding are non-negotiable.
- Prepare the Bedding: Soak the provided coconut coir or shredded newspaper in water for 20 minutes, then wring it out until it is damp, not dripping. Fill the bottom tray 3 inches deep.
- Acclimate the Worms: Gently place your Red Wigglers on top of the bedding. Leave the lid off and shine a bright light on the bin for an hour. Worms are photophobic and will burrow down into the bedding to escape the light, preventing them from crawling out.
- Initial Feeding: Wait 5 to 7 days before feeding. Start with just one cup of finely chopped kitchen scraps buried in a "pocket" under the bedding.
- The Grit Factor: Worms lack teeth and rely on a gizzard to grind food. Always sprinkle a tablespoon of pulverized eggshells or agricultural lime into the bin weekly to provide essential grit and buffer pH levels.
Troubleshooting Common Urban Composting Issues
- Tumbler Smells Like Ammonia: Your bin has gone anaerobic due to excess nitrogen and moisture. Solution: Stop adding food scraps immediately. Add 3 gallons of dry shredded cardboard, spin thoroughly, and leave the aeration vents open for 24 hours.
- Fruit Flies in the Worm Bin: Fruit flies lay eggs on exposed fruit peels. Solution: Always bury your food scraps under at least 2 inches of damp bedding. Top the bedding with a layer of damp newspaper or a specialized hemp mat to create a physical barrier.
- Worms Trying to Escape: This usually indicates an acidic environment caused by overfeeding acidic foods (like citrus or tomatoes) or a lack of oxygen. Solution: Mix in crushed eggshells to raise the pH, reduce feeding frequency, and gently fluff the bedding with a hand fork to introduce air.
Harvesting and Applying Your Black Gold
The true reward of urban composting is the application phase. How you harvest and apply your compost dictates how well your patio containers and garden beds will thrive.
Harvesting from a Tumbler
Stop adding new materials to the chamber when it is 75% full. Allow it to cure and spin it every few days for 2 to 3 weeks. The compost is ready when it is dark brown, crumbly, and smells like a forest floor after a rainstorm. Screen the compost through a 1/4-inch hardware cloth mesh to remove any large, undecomposed twigs or avocado pits, which can be tossed back into the active chamber.
Harvesting from a Worm Bin
The Worm Factory 360 uses a vertical migration system. When the bottom tray is full of dark, rich castings and devoid of visible food, move it to the very top of the stack and leave the lid off. The light will drive any remaining worms down into the lower, active trays. After 48 hours, the top tray will be pure, worm-free castings ready for harvest.
Application Rates for Garden-to-Table Health
- Patio Container Top-Dressing: Apply a 1/2-inch layer of worm castings to the surface of your potted tomatoes, peppers, and herbs. Water it in to allow the microbial tea to seep down to the root zone.
- Raised Bed Amendment: When preparing outdoor raised beds for the spring planting season, mix tumbler compost into the top 6 inches of your existing soil at a ratio of 20% compost to 80% native soil or potting mix.
- Seed Starting Mix: Screen worm castings finely and mix them with coconut coir and perlite (1 part castings, 2 parts coir, 1 part perlite) to create a biologically active, disease-suppressive seed starting medium.
Conclusion: Bridging the Indoor-Outdoor Loop
Whether you choose the high-volume, sun-baked efficiency of a compost tumbler or the meticulous, microbe-rich environment of an indoor vermicomposting bin, you are taking a vital step toward closing the nutrient loop in your home. By transforming daily kitchen waste into a powerful soil amendment, you reduce your household's environmental footprint while cultivating a vibrant, living soil ecosystem. The result is not just healthier plants and more flavorful garden-to-table harvests, but a deeper, more tangible connection to the natural cycles that sustain our homes and gardens.

