
Vermicomposting: Turn Indoor Scraps Into Outdoor Garden Gold
Bridging the Gap: The Indoor-Outdoor Composting Loop
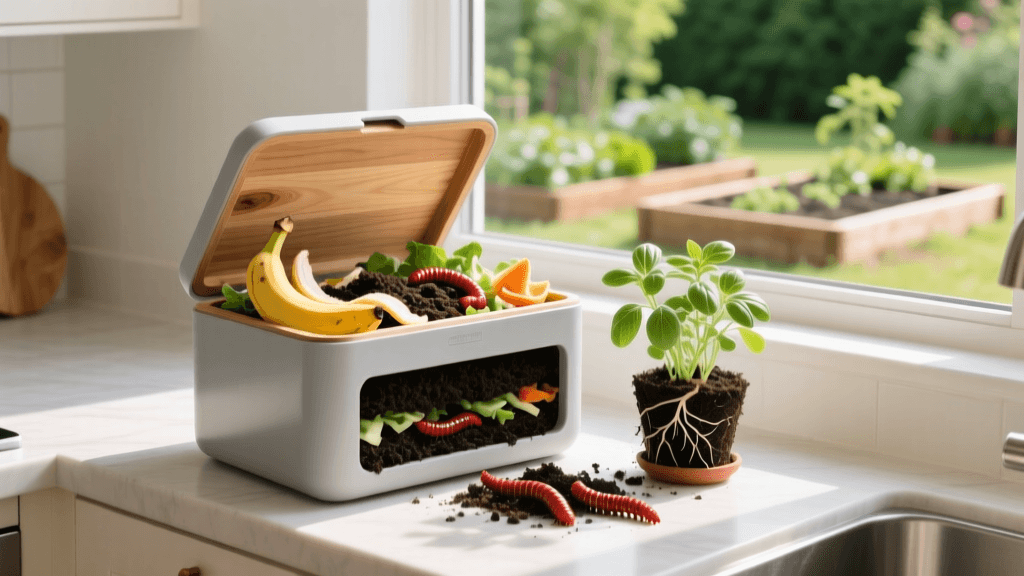
For the modern home gardener, the boundary between indoor living and outdoor landscaping is increasingly fluid. One of the most effective ways to bridge this gap is through vermicomposting—the practice of using worms to decompose organic food waste. By setting up a compact, odorless worm bin in your kitchen, garage, or basement, you can continuously convert daily indoor kitchen scraps into premium, microbially active worm castings. These castings are then transported outdoors to supercharge your garden beds, lawn, and patio containers. This closed-loop system not only reduces household waste but also eliminates the need for synthetic outdoor fertilizers, fostering a deeply sustainable home ecosystem.
The Science of Vermicomposting and Soil Health
Unlike traditional outdoor hot composting, which relies on thermophilic (heat-loving) bacteria to break down yard waste, vermicomposting relies on the digestive tracts of specific earthworms, primarily the Red Wiggler (Eisenia fetida). As these worms consume decaying organic matter, they grind it in their gizzards and inoculate it with beneficial microbes. The resulting excrement, known as worm castings, is a humus-rich material teeming with plant growth hormones, humic acids, and essential nutrients like calcium, magnesium, and phosphorus.
According to the USDA Natural Resources Conservation Service, soil health is fundamentally driven by biological activity and organic matter. Vermicompost directly addresses both. When introduced to outdoor garden soil, the microbes in worm castings help suppress soil-borne plant diseases, improve soil structure for better water retention, and make locked-up nutrients bioavailable to plant roots.
Setting Up Your Indoor Worm Bin: Costs and Materials
You do not need a massive outdoor footprint to start composting. A vermicomposting system can easily fit under a kitchen sink or in a utility closet. You have two primary routes for setting up your bin:
Option 1: Commercial Multi-Tray Systems
Products like the Worm Factory 360 or the Uncle Jim's Worm Farm 3-Tray Composter are designed for indoor convenience. They use a vertical stacking system where worms migrate upward toward fresh food, leaving finished castings in the lower trays. They also feature built-in spigots to drain excess liquid (leachate). Expect to invest between $100 and $150 for a complete commercial kit.
Option 2: The DIY Tote Method
For a budget-friendly approach, you can build a highly effective bin for under $25. Purchase two opaque, 18-gallon plastic storage totes (like those from Sterilite). Using a 1/8-inch drill bit, drill roughly 30 ventilation holes near the top of the first tote, and a dozen drainage holes in the bottom. Nest this tote inside the second tote (which acts as a catch basin for liquid). Place a few small wooden blocks between the rims of the inner and outer totes to ensure airflow and drainage space.
The Bedding and The Worms
Worms need a carbon-rich bedding that retains moisture while allowing for airflow. A mixture of shredded corrugated cardboard (free) and hydrated coco coir (about $15 per compressed block) provides the ideal environment. The bedding should feel like a wrung-out sponge—roughly 70% moisture.
For the worms themselves, you must purchase Red Wigglers (Eisenia fetida). Standard nightcrawlers will not survive in a bin environment. One pound of Red Wigglers (approximately 1,000 worms) costs between $35 and $45 from online suppliers and is enough to process about half a pound of kitchen scraps per day.
Feeding Your Worms: The Carbon-to-Nitrogen Ratio
A common mistake for beginners is overfeeding or feeding the wrong materials. The Environmental Protection Agency (EPA) emphasizes the importance of balancing "greens" (nitrogen-rich food scraps) with "browns" (carbon-rich bedding). Every time you add a handful of kitchen scraps, you should cover it with an equal or greater volume of dry carbon bedding to prevent odors and fruit flies.
| Category | Materials | Feeding Instructions |
|---|---|---|
| Greens (Nitrogen) | Fruit cores, vegetable peels, coffee grounds, tea bags, crushed eggshells. | Bury in a different corner of the bin each feeding. Feed 2-3 times a week. Limit citrus and alliums (onions/garlic). |
| Browns (Carbon) | Shredded newspaper, corrugated cardboard, dry leaves, coco coir, sawdust (untreated). | Add a handful over the top of the greens after every feeding. Fluff weekly to prevent soil compaction and anaerobic pockets. |
| Avoid Completely | Meat, dairy, oils, grease, pet waste, spicy foods, glossy magazine paper. | These attract pests, create foul odors, and can harm the delicate skin of the worms. |
Pro Tip: To accelerate decomposition and prevent fruit flies, freeze your kitchen scraps overnight before adding them to the bin. Freezing breaks down the cellular walls of the plant matter, making it instantly accessible to the worms once it thaws, and it kills any hidden fruit fly eggs.
Harvesting Castings for the Outdoor Garden
Depending on your worm population and feeding schedule, your bin will be ready for its first harvest in 3 to 4 months. The finished product will look like dark, rich, uniform coffee grounds. To harvest from a DIY tote, use the "Light Migration Method." Dump the contents of the bin onto a tarp under a bright lamp or in direct sunlight. The worms are highly photophobic and will immediately burrow downward to escape the light. Scrape the top layer of finished castings off every 10 minutes until only a tight ball of worms remains at the bottom. Transfer the worms back into the bin with fresh bedding and begin the cycle anew.
Applying Vermicompost to Outdoor Soil and Containers
Worm castings are incredibly potent, but they are not a standalone potting soil. They are a soil amendment. Because they are so rich in soluble salts and nutrients, using them at 100% concentration can actually stunt seedling growth. Here is how to apply your indoor harvest to your outdoor spaces:
- Seed Starting and Potting Mixes: Blend vermicompost into your outdoor container potting soil at a ratio of 10% to 20% by volume. This provides a slow-release nutrient buffet for patio tomatoes and balcony herbs without risking fertilizer burn.
- Garden Bed Top Dressing: In the spring, apply a 1/4-inch to 1/2-inch layer of castings directly over your outdoor vegetable beds and gently scratch it into the top inch of soil. Water deeply to allow the microbes and nutrients to percolate into the root zone.
- Transplanting Boost: When transplanting outdoor seedlings or shrubs, drop a small handful (about 1/4 cup) of pure worm castings directly into the planting hole before setting the roots. This encourages rapid root establishment and reduces transplant shock.
Brewing Vermicompost Tea for a Liquid Boost
If you want to stretch your indoor harvest to cover a large outdoor lawn or extensive garden beds, brewing aerated compost tea is the most efficient method. This process multiplies the beneficial microbes exponentially.
- Fill a 5-gallon bucket with non-chlorinated water (let tap water sit for 24 hours to off-gas chlorine).
- Place 2 cups of fresh worm castings into a mesh bag or old pantyhose and suspend it in the water.
- Add 1 tablespoon of unsulfured blackstrap molasses to feed the microbes.
- Drop an aquarium air pump with an airstone into the bucket and let it bubble vigorously for 24 to 36 hours.
The resulting liquid will smell sweet and earthy. Dilute it at a 1:1 ratio with water and apply it to your outdoor garden foliage or soil using a watering can. The foliar application introduces beneficial bacteria that outcompete airborne fungal pathogens like powdery mildew.
Troubleshooting Common Worm Bin Issues
Even the best-maintained indoor systems occasionally run into hiccups. Here is how to diagnose and fix them:
- Fruit Flies: This means food is exposed. Always bury your greens under at least two inches of brown bedding, and consider laying a damp sheet of newspaper over the very top of the bin contents as a physical barrier.
- Foul, Sour Odors: A healthy bin smells like a forest floor after a rainstorm. A sour or rotten smell indicates anaerobic conditions, usually caused by overfeeding or excess moisture. Stop feeding immediately, mix in a generous amount of dry shredded cardboard to absorb moisture, and fluff the bedding to introduce oxygen.
- Worms Escaping the Bin: Worms will only leave the bin if the environment is toxic to them. This is often caused by a buildup of acidic compounds from too much fruit or a lack of drainage. Add a handful of pulverized eggshells or agricultural lime to neutralize the pH, and ensure your drainage holes are not clogged.
Conclusion
Vermicomposting is the ultimate intersection of indoor home maintenance and outdoor garden stewardship. By investing a small amount of space and roughly $50 in initial setup costs, you create a perpetual engine that devours your household waste and produces some of the most valuable soil amendments on earth. As you watch your kitchen scraps disappear and your outdoor garden flourish with vibrant, disease-resistant growth, the connection between your indoor habits and outdoor landscape will become beautifully, undeniably clear.

