
Gardening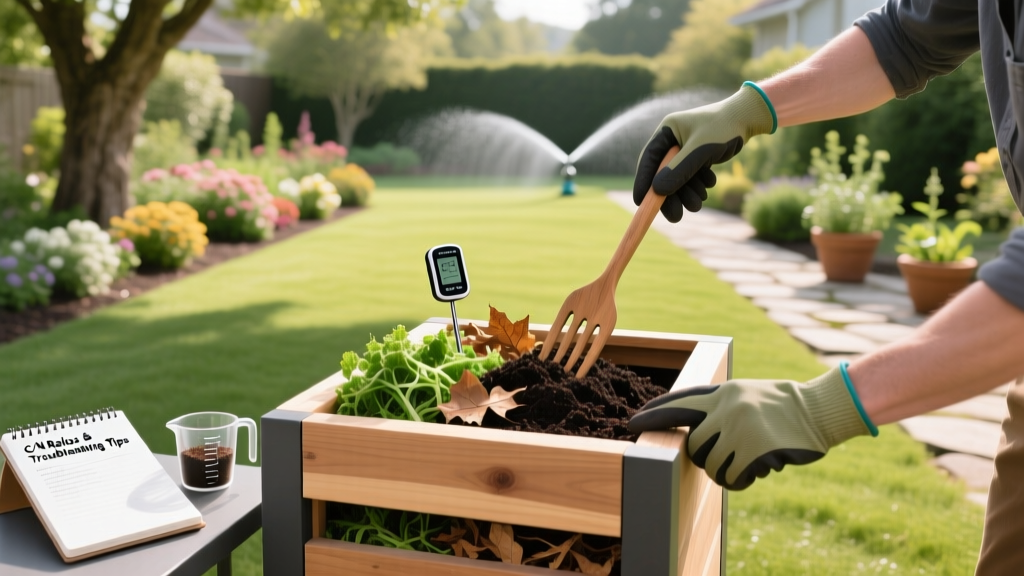
Advanced Composting Guide: C-N Ratios, Bins, and Troubleshooting
The Mathematics of Carbon-to-Nitrogen (C:N) Ratios
Most beginner resources reduce composting to a simplistic 'browns and greens' heuristic. While directionally helpful, this approach frequently leads to stalled piles, nitrogen lock-up, or anaerobic rot. To engineer a high-performance compost pile, you must manage the Carbon-to-Nitrogen (C:N) ratio by weight. Carbon provides the energy (carbohydrates) for decomposing microbes, while nitrogen supplies the protein required for microbial reproduction and enzyme synthesis.
The ideal target for a backyard pile is a C:N ratio between 25:1 and 30:1. If the ratio exceeds 40:1, decomposition halts due to nitrogen starvation. If it drops below 15:1, excess nitrogen off-gasses as ammonia, creating foul odors and wasting valuable nutrients. According to the Cornell University Waste Management Institute, understanding the specific C:N values of your feedstocks is the single most critical factor in rapid decomposition.
| Feedstock Material | C:N Ratio (by Weight) | Typical Moisture Content |
|---|---|---|
| Dry Autumn Leaves | 40:1 to 80:1 | 10% - 20% |
| Fresh Grass Clippings | 15:1 to 25:1 | 75% - 85% |
| Coffee Grounds | 20:1 | 70% |
| Shredded Corrugated Cardboard | 300:1 to 350:1 | 5% - 10% |
| Vegetable Kitchen Scraps | 15:1 to 20:1 | 80% - 90% |
| Wood Chips (Hardwood) | 400:1 to 500:1 | 20% - 30% |
CRITICAL CALCULATION WARNING: Volume vs. Weight
A common failure mode is measuring C:N by volume (e.g., buckets) instead of weight. Dry leaves are extremely light and bulky. To achieve a 30:1 ratio by weight using dry leaves and fresh grass clippings, you need roughly 2 parts leaves to 1 part grass by volume. If you use equal volumes, your pile will be heavily nitrogenous, leading to ammonia off-gassing and a slimy, compacted mess.
Bin Selection and Aeration Economics
The physical containment system dictates your aeration strategy, moisture retention, and maximum thermal mass. Selecting the right bin depends on your available footprint, feedstock volume, and willingness to perform manual labor. Below is a comparison matrix of standard backyard systems based on current 2026 market pricing and operational requirements.
| System Type | Example Model / Build | Approx. Cost | Capacity | Aeration Method | Best Use Case |
|---|---|---|---|---|---|
| Dual Tumbler | FCMP Dual Tumbling Composter | $85 - $110 | 37 Gallons | Passive (spinning) | Small urban yards; continuous batch processing |
| Expandable Cylinder | Geobin (Recycled HDPE) | $40 - $50 | 11 cu. ft. | Manual (pitchfork) | High-volume leaf mold; moderate turning effort |
| Stationary Plastic | Soil Saver Classic Bin | $60 - $80 | 9 cu. ft. | Manual (top-down) | Set-and-forget cold composting; pest resistance |
| 3-Bay Pallet System | DIY Heat-Treated Pallets | $80 - $120 (lumber/hardware) | Unlimited (scaling) | Manual (bay-to-bay) | Hot composting; large properties; high thermal mass |
The Hot Composting Protocol: Pathogen and Weed Seed Eradication
Cold composting takes 12 to 18 months and fails to kill persistent weed seeds (like bindweed or nutsedge) or soil-borne pathogens. Hot composting accelerates the timeline to 60-90 days and sanitizes the output. The Environmental Protection Agency notes that maintaining specific thermal thresholds is mandatory for safe, usable compost.
Phase 1: Batch Building and Calibration
Do not build a hot pile incrementally. Accumulate your carbon and nitrogen materials, then build the entire 3x3x3 foot (1 cubic meter) batch at once. This volume is the minimum thermal mass required to insulate the core. Mix materials thoroughly and water the pile as you build. Perform the 'squeeze test': grab a handful of the mix (wearing gloves) and squeeze hard. It should yield exactly one or two drops of water. If it drips, it is too wet and will go anaerobic; if it crumbles, it is too dry for microbial activation.
Phase 2: Thermal Monitoring and Turning
Insert a long-probe compost thermometer into the center of the pile. You are tracking three distinct biological phases:
- Days 1-4 (Mesophilic Phase): Temperatures rise from ambient to 100°F (38°C). Moderate-temperature bacteria consume easily available sugars.
- Days 5-21 (Thermophilic Phase): Temperatures spike to 135°F - 160°F (57°C - 71°C). Heat-loving bacteria and actinomycetes break down complex proteins and lignins. Target: Maintain at least 135°F for three consecutive days to ensure pathogen and weed seed destruction.
- Days 22+ (Cooling and Curing): As food sources deplete, temperatures drop below 110°F (43°C). Fungi and macro-invertebrates (earthworms, pillbugs) colonize the pile to finish the humification process.
Turning Trigger: Turn the pile with a pitchfork only when the core temperature drops below 110°F. Turning too frequently during the thermophilic phase releases trapped heat and resets the microbial succession cycle, delaying completion.
Diagnostic Troubleshooting Matrix
When a pile fails, it communicates through odor, temperature, and visual cues. Use this decision tree to correct biological imbalances.
- Symptom: Rotten egg or sulfur smell.
Diagnosis: Anaerobic conditions (Hydrogen sulfide production). The pile is too wet or compacted, cutting off oxygen to aerobic microbes.
Correction: Immediately turn the pile with a pitchfork to introduce O2. Mix in 3-4 gallons of dry, shredded corrugated cardboard or wood chips to absorb excess moisture and create structural air pockets. - Symptom: Sharp ammonia or urine smell.
Diagnosis: Nitrogen overload. The C:N ratio has dropped below 15:1, and microbes are off-gassing excess nitrogen as ammonia gas.
Correction: Incorporate high-carbon bulking agents. Add dry autumn leaves (C:N 60:1) or hardwood sawdust (C:N 400:1) and mix thoroughly to rebalance the ratio. - Symptom: Pile is cold (ambient temperature) and dry in the center, but warm on the edges.
Diagnosis: Insufficient moisture or lack of critical mass. The core has desiccated, halting microbial activity.
Correction: Break open the core, water it directly with a hose while turning, and ensure the pile meets the minimum 3x3x3 foot dimensions. Cover the top with a tarp or a 2-inch layer of finished compost to trap moisture. - Symptom: White, chalky, ash-like webbing throughout the pile.
Diagnosis: Actinomycetes colonization. This is actually a positive sign indicating the breakdown of tough lignins and chitin, but it often means the pile is slightly too dry.
Correction: Lightly mist the pile during the next turn to raise moisture content back to the 50% threshold.
Edge Cases: What NEVER Goes in the Backyard Bin
While commercial municipal composting facilities can process complex materials using high-heat industrial windrows, backyard systems lack the thermal consistency to handle certain inputs safely. According to Penn State Extension, avoiding these specific contaminants protects your soil microbiome and local ecosystem.
- 'Compostable' Bioplastics (PLA/PHA): Cups, cutlery, and bags labeled 'compostable' are made from polylactic acid. They require sustained industrial temperatures of 140°F+ combined with specific humidity levels to hydrolyze. In a backyard bin, they will remain intact for years and eventually fragment into microplastics.
- Treated Lumber and Sawdust: Wood treated with Alkaline Copper Quaternary (ACQ) or older Chromated Copper Arsenate (CCA) leaches heavy metals (copper, arsenic) into the compost. This is highly toxic to earthworms and beneficial soil fungi. Only use untreated, raw wood chips.
- Carnivore Pet Waste: Dog and cat feces carry pathogens like Toxocara canis (roundworm) and Toxoplasma gondii. These parasites form resilient oocysts that easily survive the fluctuating temperatures of a backyard compost pile. Never apply compost containing pet waste to edible food crops.
- Diseased Plant Material: Tomatoes with late blight, roses with black spot, or cucurbits with powdery mildew should be bagged and sent to municipal trash. Backyard piles rarely maintain the uniform 145°F required to denature the proteins of these specific fungal spores, risking reinfection of next year's garden.
'The curing phase is where the magic of humification happens. Rushing to apply unfinished, hot compost to your garden beds will cause nitrogen drawdown in the soil and can chemically burn delicate plant roots. Always allow the compost to cure until it smells like rich forest floor and no longer generates heat.' — Master Composter Certification Guidelines

