
Gardening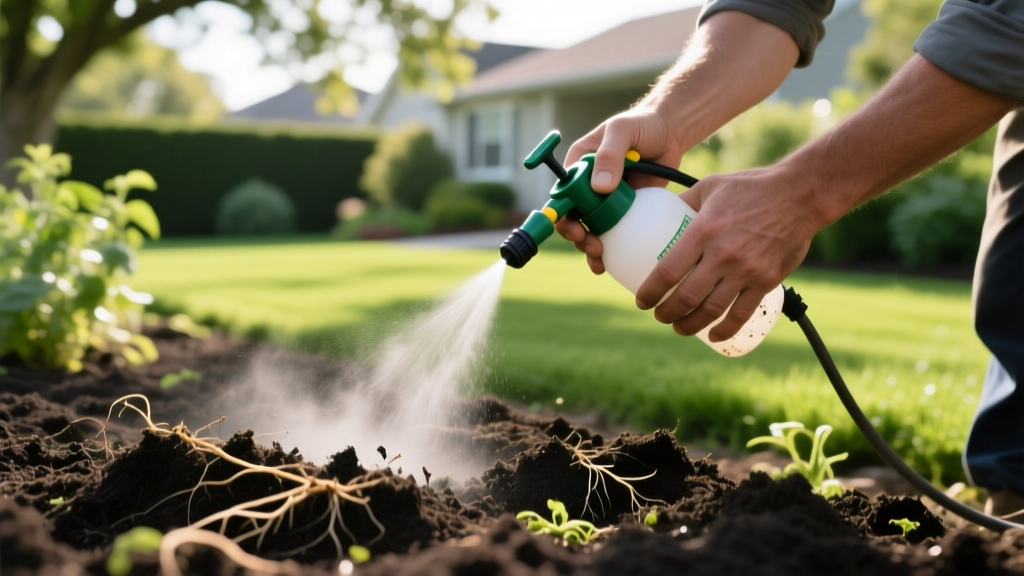
How to Apply Beneficial Nematodes for Garden Pest Control
Beneficial nematodes (entomopathogenic nematodes) are microscopic, unsegmented roundworms that parasitize and kill soil-dwelling insects. Unlike chemical nematicides that sterilize soil ecosystems, these biological control agents specifically target pests like fungus gnats, Japanese beetle grubs, and flea larvae while leaving earthworms, plants, and mammals entirely unharmed. According to the Environmental Protection Agency (EPA), biological controls like nematodes are a cornerstone of integrated pest management (IPM) because they do not leave toxic residues or trigger pest resistance.
However, nematodes are living organisms with strict environmental requirements. A failed application is almost always the result of improper mixing, UV exposure, or incorrect soil moisture. This guide details the exact protocols for selecting, mixing, and applying nematodes for garden pest eradication.
Selecting the Correct Nematode Species for Your Target Pest
Not all nematodes hunt the same way or survive in the same temperatures. The two primary genera used in home gardens are Steinernema and Heterorhabditis. Choosing the wrong species for your specific pest or soil temperature will result in zero efficacy. Steinernema feltiae (Sf) is an ambush forager that waits near the soil surface, while Heterorhabditis bacteriophora (Hb) is a cruiser that actively hunts deep in the soil profile.
| Species | Primary Target Pests | Optimal Soil Temp | Hunting Strategy & Depth |
|---|---|---|---|
| Steinernema feltiae (Sf) | Fungus gnats, thrips pupae, some grubs | 50°F - 78°F | Ambush; shallow topsoil (1-3 inches) |
| Steinernema carpocapsae (Sc) | Armyworms, cutworms, sod webworms | 55°F - 85°F | Ambush; surface level (0-2 inches) |
| Heterorhabditis bacteriophora (Hb) | Japanese beetle grubs, weevils, flea larvae | 60°F - 90°F | Active cruiser; deep soil (up to 6 inches) |
Pre-Application Soil and Weather Parameters
Nematodes travel exclusively through the water film that coats soil particles. If the soil is dry, they cannot move, and they will desiccate and die within minutes of application. Before you even open the package, you must verify the following conditions:
- Soil Moisture: Pre-water the target area 24 hours before application. The top 6 inches of soil should be moist but not waterlogged. If water pools on the surface, the soil is too saturated, and nematodes will drown from oxygen deprivation.
- Soil Temperature: Use a digital soil probe thermometer. The temperature at a 3-inch depth must be consistently between 55°F and 90°F. Applying nematodes to cold spring soil (below 50°F) will render them dormant and vulnerable to fungal pathogens.
- UV Radiation: Ultraviolet light is lethal to nematodes. Never apply them during the middle of the day. Schedule your application for late evening, just before sunset, or early morning on a heavily overcast day.
Warning: Never apply nematodes to frozen ground, and do not apply if a hard freeze is forecasted within 48 hours. The ice crystals will rupture their cellular walls.
Step-by-Step Mixing and Spraying Protocol
Nematodes are typically sold in clay powder, peat, or marine sponge formulations. A standard garden application rate is 1 million nematodes per 1,000 square feet for preventative maintenance. For active, severe infestations (such as heavy grub populations in late summer), increase the rate to 2.5 million per 1,000 square feet. As of 2026, a commercial package of 10 million nematodes (covering up to 10,000 sq ft) typically costs between $35 and $50.
- Hydrate the Product: Submerge the sponge or clay powder in a 5-gallon bucket filled with 2 to 3 gallons of clean water. Critical: If using municipal tap water, it must be dechlorinated. Chlorine kills nematodes on contact. Either use rainwater, well water, or let tap water sit in an open bucket for 24 hours to off-gas the chlorine. Water temperature must be between 50°F and 80°F. Do not use hot water from a garden hose that has been baking in the sun.
- Agitate Gently: Stir the mixture with a wooden stick or plastic spoon for 3 to 5 minutes to ensure the nematodes are evenly suspended in the water. Do not use a mechanical paint mixer or a high-speed drill attachment; the sheer hydraulic force will physically damage and kill the organisms.
- Prepare the Sprayer: Use a hose-end sprayer (like an Ortho Dial N Spray) or a backpack pump sprayer. You must remove any internal filter screens finer than 50-mesh (0.3mm). Nematodes range from 0.5mm to 1.5mm in length; fine screens will trap them or crush them against the mesh, rendering the application useless.
- Apply Evenly: Spray the mixture evenly over the target area. Keep the suspension agitated by occasionally shaking the sprayer tank or swirling the hose-end siphon tube. Nematodes will sink to the bottom of the tank if left undisturbed.
Post-Application Moisture Management
Once the nematodes are sprayed onto the soil surface or grass blades, they must be washed down into the soil profile where the pests live. Immediately after spraying, water the area with 1/4 inch of clean water using a gentle sprinkler head. This pushes the nematodes off the foliage and into the thatch and topsoil.
For the next 10 to 14 days, you must maintain consistent soil moisture. Water the treated area lightly every 1 to 2 days, depending on your local evaporation rates. The soil should feel like a wrung-out sponge. If the top inch of soil dries out completely during this 14-day establishment window, the nematode population will collapse before they can complete their reproductive cycle inside the host pests.
Troubleshooting: Why Your Nematodes Failed
According to Clemson University Extension, when gardeners report that nematodes 'did not work,' the failure is rarely due to the product itself, but rather environmental mismanagement. Review these common failure modes:
- Applying with Chemical Nematicides: If you applied a synthetic soil drench containing carbaryl, imidacloprid, or chlorantraniliprole within 30 days prior to the nematode application, the chemical residue will kill the biological agents.
- Clogged or Sheared by Equipment: Using a sprayer with a fine mesh filter or a high-pressure power washer attachment will physically shred the nematodes. Stick to low-pressure backpack sprayers or modified hose-end siphons.
- Incorrect Pest Targeting: Nematodes only kill the larval stages of insects living in the soil. They will not kill adult Japanese beetles flying around your roses, nor will they kill caterpillars feeding on the leaves of your tomato plants. They are strictly a soil-drench treatment.
- Expired Inventory: Nematodes are living creatures with a finite shelf life. If you purchased them from a big-box garden center where they were left on a hot retail shelf for three weeks, they are likely already dead upon purchase. Always buy from specialized biological control suppliers who ship them in insulated coolers with ice packs.
Chemical Compatibility and Storage
You can safely apply most organic fertilizers, compost teas, and mycorrhizal inoculants alongside beneficial nematodes. In fact, the organic matter provides a hospitable micro-environment that retains the moisture they need. However, avoid applying copper-based fungicides or highly alkaline wood ash to the soil within two weeks of a nematode application, as these can alter the soil pH and create toxic conditions for the roundworms.
For storage, keep unopened nematode packages in a dedicated refrigerator set between 39°F and 42°F. Never store them in a freezer, as ice crystal formation is lethal. Additionally, do not store them in the same crisper drawer as ethylene-producing fruits like apples, bananas, or tomatoes. Ethylene gas is a plant hormone that can accelerate the degradation of nematode viability. When stored correctly, a sealed package will remain viable for 3 to 6 months from the date of harvest, though applying them as close to the manufacture date as possible ensures maximum vigor and host-seeking aggression.

