
Gardening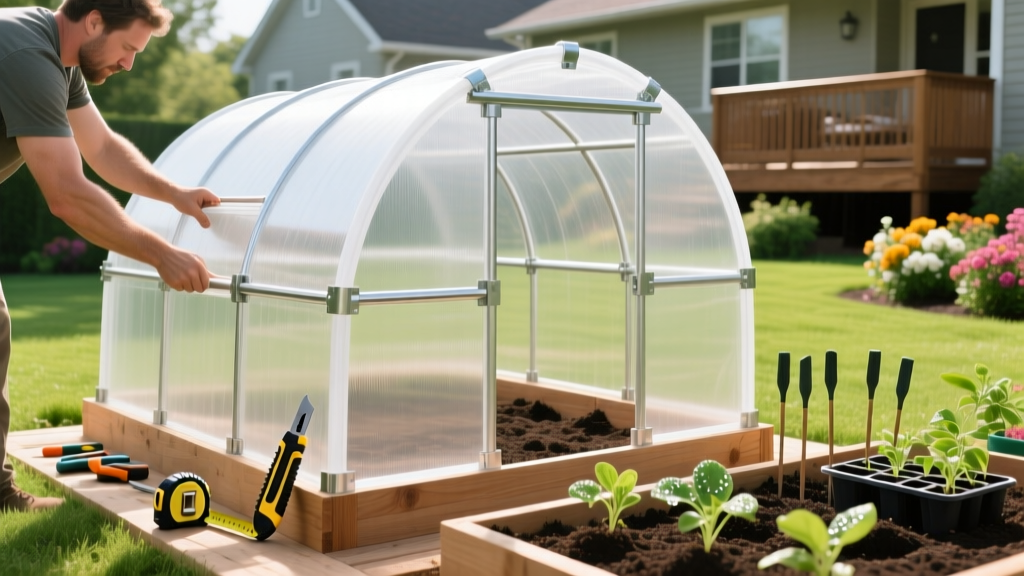
How to Build a Greenhouse at Home: DIY PVC Hoop House Guide
The Economics of the Backyard Hoop House
Learning how to build a greenhouse at home does not require pouring a concrete foundation or investing $15,000 in a glass-and-aluminum conservatory. For beginner gardeners looking to extend their growing season by four to eight weeks, the PVC hoop house (often called a high tunnel) is the undisputed champion of cost-to-yield ratio. By utilizing 1-inch Schedule 40 PVC pipes and UV-treated polyethylene film, you can construct a highly functional 10-by-20-foot greenhouse for under $300 based on 2026 hardware store pricing. This guide bypasses vague conceptual advice and provides the exact material specifications, dimensional mathematics, and structural failure points you need to know before breaking ground.
Site Selection and Dimensional Mathematics
Before purchasing a single piece of PVC, you must map your site. The optimal footprint for a DIY beginner greenhouse is 10 feet wide by 20 feet long. Why these exact dimensions? Standard greenhouse polyethylene film is manufactured in 12-foot and 24-foot widths. A 10-foot wide hoop house with 4-foot tall sidewalls requires roughly a 22-foot wide sheet of plastic to drape over the top and reach the ground. Buying a 24-foot wide roll minimizes waste and eliminates the need to tape seams, which is a primary failure point for wind damage.
Site Orientation Rule: Align the long axis of your greenhouse North-to-South. This ensures the sun travels directly over the roof, providing even light distribution to both sides of your plant beds throughout the day. East-to-West alignment creates permanent shading on the north-facing beds during winter months.
Exact Material List and Cost Breakdown
Skip the flimsy 'greenhouse kits' sold online that use 1/2-inch PVC and 2-mil plastic. They will collapse under a light snow load and shatter in UV light within six months. Here is the professional-grade material list for a 10x20 foot structure.
| Material | Quantity | Specifications | Est. Cost |
|---|---|---|---|
| Hoops | 12 pieces | 1-inch Schedule 40 PVC (20 ft lengths) | $110.00 |
| Ground Anchors | 24 pieces | 1/2-inch steel rebar (2 ft lengths) | $65.00 |
| Glazing | 1 roll | 6-mil UV-treated greenhouse film (24x25 ft) | $85.00 |
| Baseboards | 4 pieces | 2x4 pressure-treated lumber (10 ft lengths) | $45.00 |
| Fasteners | Misc | Wiggle wire, lock channel, UV zip ties | $35.00 |
Step 1: Anchoring the Base and Bending the Hoops
The structural integrity of a hoop house relies entirely on the ground anchors. Do not attempt to dig holes and set the PVC in concrete; this prevents you from ever moving the structure and traps water inside the pipe, leading to winter freeze-cracks.
- Mark the perimeter of your 10x20 foot rectangle using mason line.
- Using a sledgehammer, drive 2-foot lengths of 1/2-inch rebar into the soil every 4 feet along the long sides. Leave exactly 12 inches of rebar exposed above ground.
- Take a 20-foot length of 1-inch Schedule 40 PVC and slide one end over the exposed rebar. Walk to the other side and bend the pipe down, sliding it over the opposing rebar.
Warning: PVC Snap-Back Hazard. When bending 20-foot PVC pipes, the tension is immense. If the pipe slips off the rebar before being fully seated, it will whip back with enough force to cause severe injury. Always wear safety glasses and keep your face outside the bending arc.
Step 2: The Ridgepole and Purlins
Once your 6 hoops are erected, the structure will feel wobbly. You must install a ridgepole—a single 20-foot piece of 1-inch PVC running horizontally across the exact apex of the hoops. Secure the ridgepole to each hoop using aluminum pipe straps and 1-inch stainless steel screws. For added wind resistance, install two purlins (horizontal support pipes) on the left and right 'shoulders' of the hoops, roughly halfway between the ground and the ridgepole.
Step 3: Glazing with 6-Mil Polyethylene
The most common beginner mistake is purchasing 6-mil clear plastic from the paint aisle of a big-box store. This is construction vapor barrier, and the sun's ultraviolet rays will degrade it into brittle shards within 90 days. You must purchase agricultural-grade, UV-inhibited greenhouse plastic. According to the University of New Hampshire Extension, UV-treated 6-mil polyethylene is engineered to withstand continuous solar exposure for up to four years before requiring replacement.
To install the film, unroll it on a clean, grassy surface (never on gravel, which will puncture it). With the help of a partner, pull the plastic over the ridgepole. Secure the edges to your 2x4 pressure-treated baseboards using aluminum lock channels and wiggle wire. This mechanical fastening system creates a weatherproof seal that will not rip the plastic during high winds, unlike staples or batten tape.
'Always install your greenhouse plastic on a warm, sunny afternoon. The heat causes the polyethylene to expand, allowing you to pull it drum-tight. When the temperature drops at night, the plastic will contract and form a rigid, wind-resistant shell.'
Ventilation: Preventing the Lethal Oven Effect
A sealed greenhouse on a 55°F (12°C) spring day can easily exceed 120°F (49°C) internally, cooking your seedlings in hours. Passive ventilation is non-negotiable. The UMass Amherst Extension recommends a minimum of 15% to 20% of the greenhouse floor area be dedicated to ventilation.
Beginner-Friendly Ventilation Solutions
- Roll-Up Sidewalls: Attach the bottom edge of your plastic to a 10-foot piece of PVC pipe using batten tape. By cranking a hand winch, you can roll the entire sidewall up to the purlin, allowing cross-breezes to flush out hot air.
- Solar-Powered Louver Vents: For the end walls, install two 12x12-inch solar-powered exhaust fans. These require no electrical wiring; the built-in solar panel triggers the fan automatically when internal temperatures hit 80°F.
- Shade Cloth Integration: In mid-summer, drape a 40% aluminet shade cloth over the roof to reflect solar radiation and drop internal temperatures by up to 15 degrees.
Troubleshooting Common DIY Hoop House Failures
Even with perfect construction, environmental factors will test your greenhouse. Here is how to handle the three most common edge cases:
| Failure Symptom | Root Cause | Corrective Action |
|---|---|---|
| Plastic tearing at baseboard | Wind flutter creating friction against rough lumber | Sand the 2x4 edges smooth and apply a layer of foam tape before installing lock channel. |
| Hoops flattening under snow | Schedule 40 PVC lacks the tensile strength for heavy wet snow loads | Install temporary 2x4 wooden T-posts under the ridgepole during winter, or upgrade hoops to 1.5-inch galvanized steel conduit. |
| Severe condensation drip | Smooth plastic surface allows condensation to form large, cold droplets | Upgrade to anti-drip (IR-treated) polyethylene, which causes condensation to form a thin sheet that runs down the walls rather than dripping. |
Building your own greenhouse is an exercise in practical geometry and material science. By adhering to these specific dimensional ratios, utilizing UV-stabilized glazing, and engineering for passive airflow, your DIY hoop house will reliably protect your crops and extend your harvest well into the late autumn frost.

