
Gardening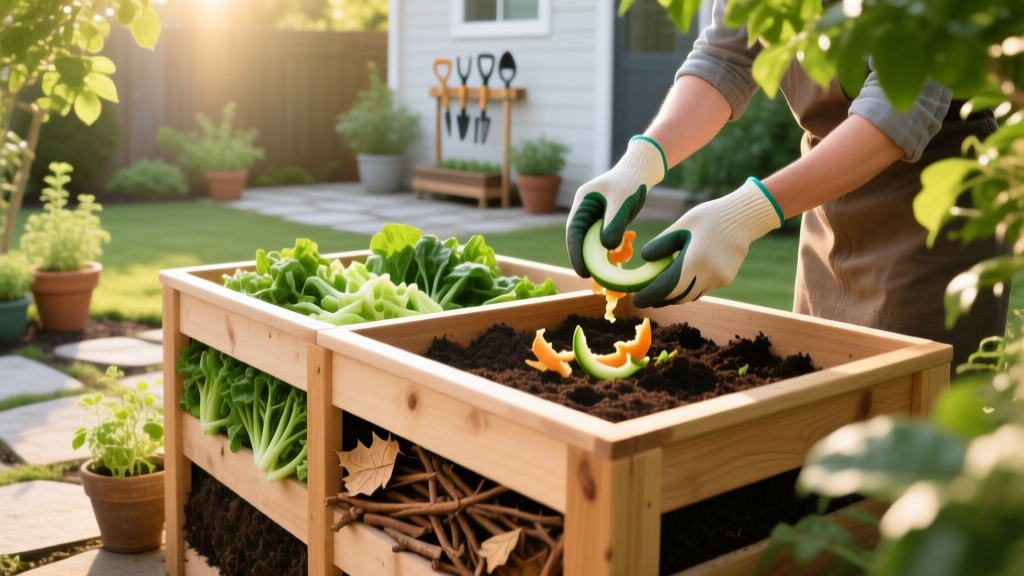
Beginner Compost Bin Setup: Turning Scraps Into Rich Soil
Tumbler vs. Stationary: Choosing Your First Bin
Transitioning from synthetic fertilizers to organic soil amendments starts with a single piece of equipment: a beginner compost bin. While commercial bagged compost costs $4 to $6 per cubic foot, home composting reduces household yard waste by up to 30% while generating premium humus for your garden beds. According to the United States Environmental Protection Agency (EPA), composting at home diverts millions of tons of organic material from landfills annually, but the real reward for gardeners is the soil structure improvement and water retention it provides.
Selecting the right bin dictates your success rate. Beginners typically choose between sealed tumblers and open-bottom stationary bins. Tumblers offer pest resistance and easy turning, while stationary bins provide larger volumes necessary for hot composting (reaching 130°F–160°F to kill weed seeds).
| Bin Model | Type | Capacity | Avg. Cost | Best For |
|---|---|---|---|---|
| FCMP Outdoor IM4000 | Dual Tumbler | 37 Gallons | $65 - $75 | Small yards, pest-heavy areas, fast batch cycling |
| SoilSaver Classic | Stationary | 10 Cubic Ft. | $90 - $110 | High volume yard waste, hot composting, worm integration |
| Geobin Expandable | Open Ring | 216 Gallons | $30 - $35 | Budget setups, leaf mold, passive cold composting |
Expert Insight: If your primary goal is creating a soil amendment to top-dress a lawn or mix into raised beds, a stationary bin like the SoilSaver Classic is superior. Tumblers often lack the critical mass (minimum 27 cubic feet) required to sustain the thermophilic bacteria needed for hot composting, resulting in a slower, cold-compost process that may not neutralize pathogens or weed seeds.
The 30:1 Carbon-to-Nitrogen Framework
The most common reason a beginner compost bin fails is an imbalanced Carbon-to-Nitrogen (C:N) ratio. Microbes require carbon for energy and nitrogen for protein synthesis. The Cornell University Composting Resource identifies a 30:1 C:N ratio as the biological sweet spot for rapid decomposition.
The Volume Rule of Thumb
Do not measure by weight; measure by volume. To achieve a 30:1 ratio using standard household materials, mix 1 part nitrogen-rich 'greens' to 3 parts carbon-rich 'browns'.
- Greens (Nitrogen): Vegetable scraps, coffee grounds (pH 6.5-6.8), fresh grass clippings.
- Browns (Carbon): Dry autumn leaves, shredded corrugated cardboard (remove tape), untreated sawdust, pine needles.
A frequent beginner mistake is adding too many kitchen scraps (which have a C:N ratio of roughly 15:1) without sufficient dry leaves or cardboard (C:N ratio of 200:1 to 400:1). This causes the pile to go anaerobic, resulting in a foul, sulfuric odor. Keep a dedicated 5-gallon bucket of shredded cardboard next to your kitchen scrap pail to ensure you always have browns on hand.
Step-by-Step Bin Layering for Fast Decomposition
Proper initial layering establishes the aeration and moisture baseline your microbial ecosystem needs. Follow this exact sequence when starting a new batch in a stationary bin:
- The Aeration Base (4 inches): Start with a 4-inch layer of bulky, woody material. Use small twigs, wood chips, or chopped corn stalks. This prevents the bottom of the pile from compacting and allows oxygen to flow upward through the core.
- The Microbial Inoculant (1 inch): Add a 1-inch layer of finished compost, rich garden topsoil, or a commercial compost starter. This introduces the initial colony of mesophilic bacteria required to break down the fresh organics.
- The Green Layer (3 inches): Add your nitrogen-rich kitchen scraps or fresh grass clippings. Chop or blend large scraps (like melon rinds) into 1-inch pieces to increase the surface area for bacteria.
- The Brown Cap (6-9 inches): Cover the greens completely with your carbon materials. This bio-filter traps escaping ammonia odors and deters fruit flies and rodents.
- Hydration Check: Water each layer as you build. The target moisture content is 40-60%. Perform the 'sponge test': grab a handful of the mixed material (wearing gloves) and squeeze it tightly. Only one or two drops of water should fall. If it drips continuously, add more dry browns; if it crumbles apart, add water.
Troubleshooting Common Beginner Compost Bin Failures
Even with a precise setup, environmental variables can disrupt the decomposition process. Use this diagnostic matrix to correct issues before they ruin your batch.
| Symptom | Underlying Cause | Corrective Action |
|---|---|---|
| Pile smells like ammonia | Excess nitrogen (Too many greens) | Turn the pile and mix in 2 parts shredded cardboard or dry leaves. Do not add water. |
| Pile smells like rotten eggs | Anaerobic conditions (Lack of oxygen) | Turn the pile immediately to introduce oxygen. Mix in bulky wood chips to create air pockets. |
| Center is hot, but edges are cold | Insufficient overall mass | Insulate the bin with straw bales, or move to a larger bin. Ensure minimum 3x3x3 ft volume. |
| Decomposition has completely stalled | Moisture below 30% or ambient temp drop | Add water to reach 50% moisture. If winter, wrap the bin in black plastic to absorb solar heat. |
| Presence of rodents or maggots | Exposed food scraps or meat/dairy added | Bury all kitchen scraps under 8 inches of browns. Never compost meat, dairy, or oils. |
Harvesting and Applying Your Finished Soil Amendment
Knowing when your compost is finished is critical. Applying immature compost to garden beds can actually rob your plants of nitrogen as the material continues to break down in the soil (a process called nitrogen immobilization).
The Maturity Test: Finished compost should be dark brown, crumbly, and smell distinctly like a forest floor after a rainstorm. You should not be able to identify the original materials. Crucially, the internal temperature of the pile must drop to within 5°F of the ambient outdoor air temperature, and it should not reheat after you turn it and add a splash of water.
Once harvested, cure the compost in a dry, covered area for 2 to 4 weeks. This allows the pH to stabilize (usually settling around 6.5 to 7.0) and the microbial population to shift from active decomposers to stable humus-builders.
Application Rates for Soil Amendment:
- New Garden Beds: Incorporate 2 to 3 inches of finished compost into the top 6 inches of native soil before planting.
- Established Lawns: Top-dress with a thin 1/4-inch layer in early fall, followed by core aeration to work the humus into the root zone.
- Potted Plants & Containers: Mix compost with peat moss or coco coir and perlite at a 1:1:1 ratio to create a well-draining, nutrient-dense potting medium.
By mastering the C:N ratio, maintaining proper aeration, and selecting the right bin architecture for your space, your beginner compost bin will transition from a simple waste receptacle to a biological factory producing high-grade soil amendments year-round.

