
Gardening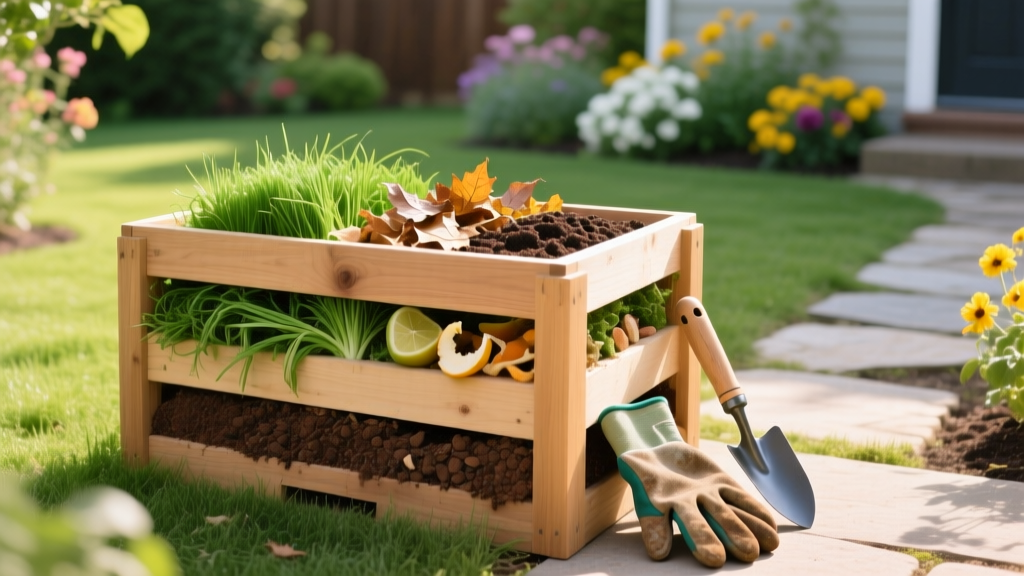
How to Compost at Home for Beginners to Build Rich Garden Soil
Transforming yard waste and kitchen scraps into humus-rich soil amendments requires managing a microscopic ecosystem. For those learning how to compost at home for beginners, success hinges on balancing carbon, nitrogen, oxygen, and moisture rather than simply piling debris in a corner of the yard. When executed correctly, home composting generates thermophilic heat that destroys weed seeds and pathogens, yielding a dark, crumbly soil conditioner in 90 to 120 days. This guide provides the exact measurements, bin specifications, and biological triggers needed to build a high-performance compost system from scratch.
The Biology of Decomposition: Carbon, Nitrogen, and Moisture
Composting is driven by aerobic bacteria, fungi, and actinomycetes that consume organic matter. These microorganisms require a specific diet to multiply and generate heat. The ideal Carbon-to-Nitrogen (C:N) ratio is 30:1 by weight. Because carbon-rich materials (browns) are significantly lighter and bulkier than nitrogen-rich materials (greens), this translates to a volumetric ratio of roughly 3 parts browns to 1 part greens.
The Golden Volumetric Ratio: Always mix 3 parts dry browns (leaves, shredded paper, wood chips) with 1 part wet greens (vegetable scraps, grass clippings, coffee grounds). This prevents the pile from becoming a slimy, anaerobic mess while ensuring microbes have enough nitrogen to reproduce rapidly.
Moisture is the second critical variable. Microbes require a moisture content between 40% and 60% to transport nutrients across their cell membranes. If the pile is too dry, decomposition halts; if it is too wet, water fills the air pockets, suffocating aerobic bacteria and inviting odor-causing anaerobes. According to the U.S. Environmental Protection Agency, the ideal moisture level should feel like a wrung-out sponge—damp to the touch, but not dripping when squeezed.
Selecting Your Compost Vessel: Cost and Capacity Breakdown
The container you choose dictates how easily you can maintain aeration and heat. A minimum volume of 27 cubic feet (3x3x3 feet) is generally required to retain thermophilic heat. Below is a comparison of the most effective setups for beginners.
| Bin Type | Model Example | Capacity & Cost | Best Use Case |
|---|---|---|---|
| Dual Tumbler | FCMP Outdoor IM4000 | 37 Gallons | $90 - $120 | Small yards, pest-prone areas, rapid batch curing |
| Stationary Bin | Soil Saver Classic | 68 Gallons | $35 - $50 | Medium yards, continuous feeding, earthworm access |
| Open Wire Mesh | DIY Hardware Cloth | Variable | $15 - $25 | Large properties, heavy leaf fall, maximum aeration |
| Vermicompost | Worm Factory 360 | 10 Gallons | $100 - $130 | Indoor/garage use, apartment dwellers, high-nutrient castings |
The 4-Layer Assembly Method for Rapid Heating
To trigger the thermophilic phase (135°F to 160°F) where beneficial bacteria rapidly break down complex carbohydrates, build your pile using this specific layering sequence. Chop all materials into 1-inch to 2-inch pieces to maximize the surface area available for microbial colonization.
- The Aeration Base (4 inches): Start with a 4-inch layer of coarse, woody material like twigs, stalks, or wood chips. This creates a passive air intake at the bottom of the pile, allowing oxygen to rise through the center.
- The Nitrogen Engine (2 inches): Add a 2-inch layer of high-nitrogen greens. Fresh grass clippings, coffee grounds, and vegetable peels are ideal. Coffee grounds are particularly valuable, boasting a C:N ratio of roughly 20:1 and providing a slow-release nitrogen source.
- The Carbon Canopy (6 inches): Cover the greens with a 6-inch layer of browns. Dry autumn leaves, shredded unbleached cardboard, or straw act as a carbon source and an odor-filtering bio-cap.
- The Inoculant (1 inch): Sprinkle a 1-inch layer of finished compost, rich garden topsoil, or a commercial compost starter over the browns. This introduces the initial microbial colonies required to kickstart decomposition.
Repeat this sequence until the bin is full, watering each layer lightly with a hose as you build. The Cornell Waste Management Institute recommends turning stationary piles every 3 to 5 days during the first two weeks to redistribute heat and oxygen, which prevents the core from exceeding 165°F and killing off beneficial microbes.
Feedstock Matrix: What to Add and What to Ban
Not all organic matter belongs in a home compost system. Introducing the wrong materials can introduce pathogens, attract rodents, or create toxic compounds.
Approved High-Nitrogen Greens
- Fruit and vegetable scraps (avoid citrus in worm bins)
- Used coffee grounds and paper filters
- Fresh grass clippings (mix with browns to prevent matting)
- Plant trimmings and spent annual flowers
Approved High-Carbon Browns
- Dry, shredded autumn leaves (oak and maple are excellent)
- Shredded corrugated cardboard (remove glossy tape and labels)
- Pine needles (use in moderation; they are highly acidic and slow to break down)
- Straw or hay (ensure it is seed-free to prevent weed germination)
Banned Materials (Pathogen and Pest Risks)
- Meat, bones, and dairy: Attract rodents and produce severe putrefaction odors.
- Dog and cat feces: Harbors dangerous parasites like Toxoplasma gondii and roundworms that home compost temperatures rarely sustain long enough to kill.
- Diseased plants or aggressive weeds: Unless your pile consistently holds 145°F for three consecutive days, pathogens and weed seeds will survive and be spread back into your garden.
- Glossy paper and treated wood: Contains heavy metals, synthetic dyes, and toxic preservatives like CCA (chromated copper arsenate).
Monitoring Temperature and Moisture
Guesswork leads to failed piles. Invest in a 20-inch stainless steel compost thermometer with a 2-inch dial. Insert the probe into the geometric center of the pile. During the first 21 days, the core should read between 130°F and 150°F. If temperatures drop below 110°F, the pile requires turning to reintroduce oxygen or a fresh addition of nitrogen-rich greens. Conversely, if moisture levels drop and the pile cools prematurely, use a garden hose to soak the core until water barely seeps out of the bottom drainage holes.
Diagnostic Troubleshooting for Failing Piles
Even carefully constructed piles can stall. Use this diagnostic matrix to identify biological failures and apply the correct amendment.
| Symptom | Biological Cause | Corrective Action |
|---|---|---|
| Strong ammonia odor | Excess nitrogen (C:N ratio too low); microbes cannot process the surplus. | Turn the pile and mix in 3 parts shredded cardboard or dry leaves to absorb excess nitrogen. |
| Rotten egg / sulfur smell | Anaerobic conditions; pile is too wet or compacted, starving aerobic bacteria. | Turn aggressively with a pitchfork. Mix in coarse wood chips to create permanent air pockets. |
| Pile is cold and inactive | Lack of moisture, insufficient mass, or nitrogen depletion. | Check moisture (add water if dry). Ensure pile is at least 3x3x3 ft. Add fresh grass clippings. |
| Swarm of fruit flies | Exposed kitchen scraps providing a breeding ground. | Always bury fresh greens under at least 4 inches of dry brown carbon material. |
The Curing Phase: Knowing When It Is Ready
Compost is not finished when it stops heating up; it must cure. After the thermophilic phase ends (usually around day 45 to 60), the pile enters the mesophilic curing phase. Let the pile sit undisturbed for 30 to 45 days. Finished compost will be dark brown, smell like rich forest soil, and none of the original ingredients should be recognizable. Once cured, screen the material through a 1/2-inch hardware cloth to remove uncomposted woody bits, which can be tossed back into your next batch as aeration material. Apply the finished humus as a 2-inch top-dressing to garden beds or mix it into potting soil at a 20% ratio to dramatically improve water retention and soil structure.

