
Gardening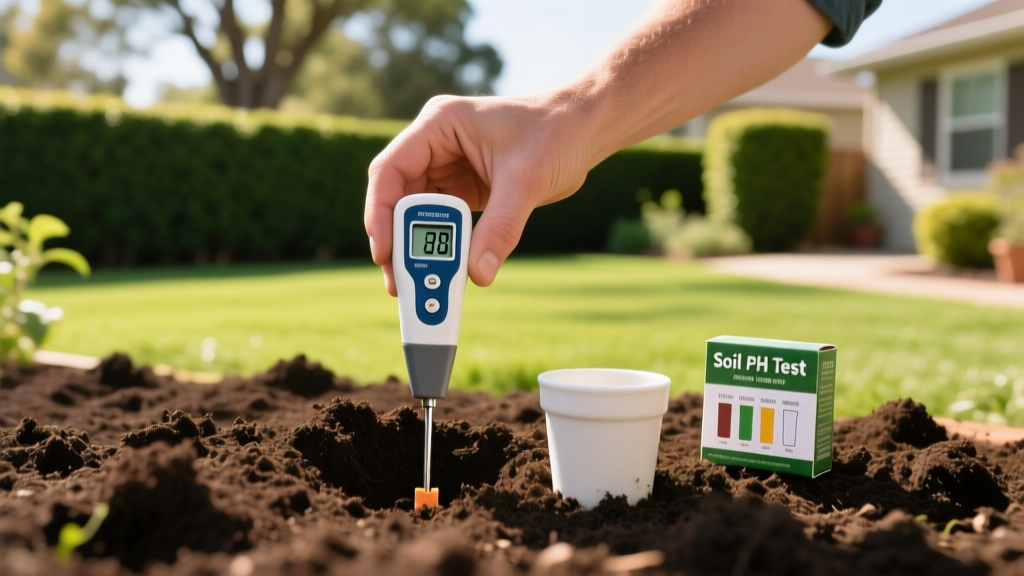
How to Run a Soil Acidity Test: Kits, Meters & Lab Results
Why Soil pH Dictates Your Garden's Success
Before purchasing seeds, transplants, or expensive fertilizers, you must understand the chemical environment of your dirt. A soil acidity test measures the concentration of hydrogen ions in your soil, expressed as a pH value from 0 to 14. This single metric acts as the master gatekeeper for nutrient availability. If your soil is too acidic (below 6.0) or too alkaline (above 7.5), essential nutrients like phosphorus, iron, and calcium become chemically locked out, rendering them inaccessible to plant roots regardless of how much fertilizer you apply.
The pH Sweet Spot: Most common vegetable garden crops, including tomatoes, peppers, and leafy greens, thrive in a slightly acidic range of 6.2 to 6.8. At this range, the maximum number of macro and micronutrients remain water-soluble and available for root uptake.
Performing a reliable soil acidity test is the only way to diagnose hidden deficiencies. Guessing based on plant symptoms often leads to over-fertilization, which can burn roots and pollute local waterways. Below, we break down the three primary testing methods, exposing common beginner mistakes and providing exact protocols for accurate results.
Comparing Your Soil Acidity Test Options
Choosing the right testing method depends on your budget, required accuracy, and whether you need a full nutrient profile alongside pH data.
| Test Method | Average Cost | Accuracy Level | Best Use Case |
|---|---|---|---|
| At-Home Chemical Dye Kit | $15 - $25 | Moderate (+/- 0.5 pH) | Quick seasonal checks, raised bed monitoring |
| Glass-Electrode Digital Meter | $50 - $80 | High (+/- 0.1 pH) | Container gardening, hydroponics, frequent testing |
| University Extension Lab | $20 - $35 | Definitive (+/- 0.01 pH) | New garden beds, diagnosing severe plant failures |
Step-by-Step: Using a Chemical Dye Kit
Chemical dye kits, such as the widely available Luster Leaf Rapitest 1601 (approx. $18), use colorimetric indicators to estimate pH. While not lab-grade, they are highly effective for general garden maintenance when used correctly.
- Collect the Sample: Dig down 4 to 6 inches below the surface, removing the top layer of mulch or turf. Place two tablespoons of soil into the kit's provided mixing chamber.
- Add the Reagent: Carefully open a green-capped pH test capsule. Empty the powder into the chamber. Do not touch the powder with your fingers, as the oils and natural acidity of your skin will skew the results.
- Add Distilled Water: Fill the chamber to the designated fill line using only distilled water. Tap water or bottled spring water contains dissolved minerals and buffering agents that will immediately alter the pH reading.
- Mix and Settle: Cap the chamber, shake gently for 15 seconds, and let it sit undisturbed for 60 seconds. The soil particles will sink, leaving colored liquid at the top.
- Read the Result: Compare the liquid's color against the provided chart in natural daylight. Artificial indoor lighting heavily distorts color perception, often leading to misreadings of up to 1.0 pH unit.
The Digital Probe Meter Trap: What Manufacturers Won't Tell You
A massive point of failure for beginner gardeners is purchasing cheap, $10 to $15 analog "soil pH meters" featuring two or three flat metal prongs. These devices are largely inaccurate for measuring actual soil acidity. Instead of measuring hydrogen ion concentration, the dual-metal prongs measure soil electrical conductivity and moisture, using a basic internal algorithm to guess the pH based on how wet the dirt is. If the soil dries out, the pH reading swings wildly, even if the chemical makeup of the soil hasn't changed.
Critical Warning: If your digital meter has flat metal probes and requires no calibration fluid, it is not a true pH meter. To get accurate digital readings, you must invest in a glass-electrode meter like the Apera Instruments PH20 (approx. $60), which uses a specialized glass bulb sensor and requires calibration with 4.01 and 7.00 buffer solutions before every use.
When to Upgrade to a Professional Lab Test
If you are establishing a new garden, dealing with persistent plant stunting, or planting high-value perennials, DIY kits are insufficient. You need a professional soil acidity test paired with a full macro and micronutrient analysis. Sending a sample to a university cooperative extension, such as the UMass Amherst Soil Testing Lab, provides definitive data and customized amendment prescriptions.
How to Collect a Composite Soil Sample for the Lab
Labs require a "composite" sample to account for natural micro-variations in your yard. Never scoop dirt from just one spot.
- Walk your garden area in a "W" or "Z" pattern.
- Using a clean stainless steel trowel (avoid galvanized or rusty tools, which can contaminate zinc and iron readings), take 8 to 10 core samples at a depth of 6 inches.
- Mix all cores thoroughly in a clean plastic bucket. Do not use metal buckets.
- Allow the mixed soil to air dry on a newspaper for 24 hours. Do not bake it in the oven or microwave, as extreme heat alters the chemical structure of organic matter.
- Place exactly one cup of the dried, mixed soil into the lab's provided mailing envelope.
Interpreting Lab Results: Water pH vs. Buffer pH
When your lab results arrive, you will likely see two different pH numbers: Water pH and Buffer pH. Understanding the difference is crucial for calculating how much amendment to buy.
According to the University of Minnesota Extension, Water pH tells you the current acidity level of your soil. Buffer pH, however, measures the soil's "cation exchange capacity" (CEC)—essentially, how stubbornly the soil resists change. Clay-heavy soils have high buffering capacity and require massive amounts of lime to shift the pH, while sandy soils have low buffering capacity and require very little. The lab uses the Buffer pH to calculate your exact amendment rate.
Exact Amendment Application Rates
If your lab report recommends adjusting the pH, use the following baseline rates for standard loamy soil to shift the pH by 0.5 units. Always re-test 6 months after applying amendments.
- To Raise pH (Reduce Acidity): Apply 5 lbs of pelletized calcitic lime per 100 square feet. If your soil is also deficient in magnesium, substitute with dolomitic lime.
- To Lower pH (Increase Acidity): Apply 1.5 lbs of elemental sulfur per 100 square feet. Avoid aluminum sulfate, as repeated use leads to toxic aluminum buildup in the root zone.
According to Michigan State University Extension, elemental sulfur relies on soil bacteria (Thiobacillus) to oxidize and create sulfuric acid. This biological process requires warm, moist soil and can take 3 to 6 months to fully react. Apply sulfur in the fall for spring planting.
By selecting the correct soil acidity test for your specific scenario and understanding the underlying chemistry of your results, you eliminate guesswork and create a highly optimized environment for robust root development and maximum crop yields.

