
Gardening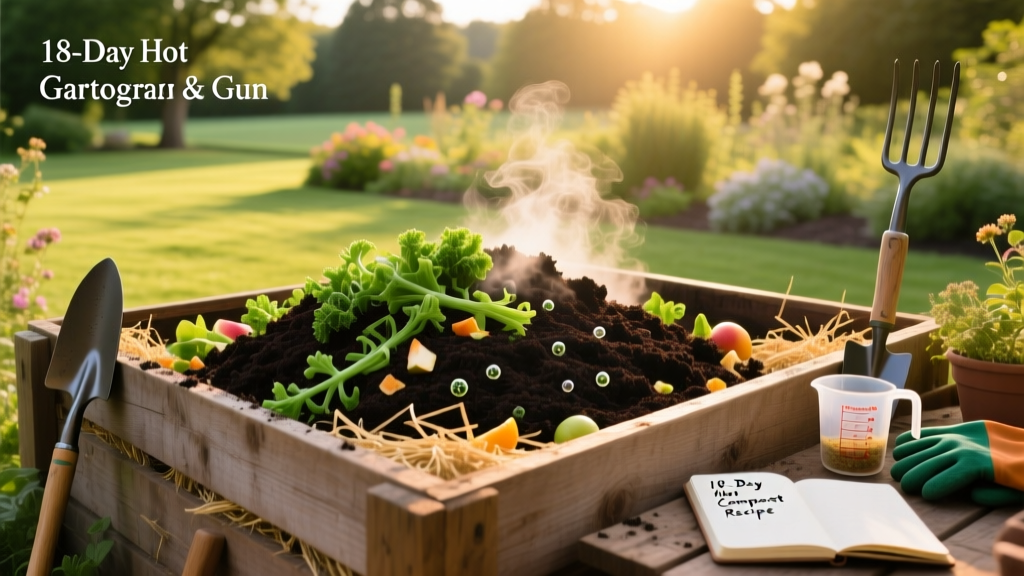
The 18-Day Hot Compost Recipe for Rapid Soil Amendment
Most home gardeners practice cold composting—tossing scraps into a bin and waiting a year for them to break down. While this eventually yields organic matter, it fails to generate the thermal energy required to destroy weed seeds, kill soil-borne pathogens, and rapidly unlock nutrients. For serious soil amendment, you need a controlled thermal process. The Berkeley 18-day hot compost recipe leverages thermophilic bacteria to break down organic matter in less than three weeks, producing a biologically active, humus-rich amendment that dramatically improves soil cation exchange capacity (CEC).
According to the Environmental Protection Agency (EPA), properly managed hot composting reaches temperatures that sanitize the material, making it safe for use on food crops. This guide details the exact mechanics, ratios, and turning schedules required to execute this recipe flawlessly.
Engineering the Carbon-to-Nitrogen (C:N) Matrix
The foundation of any successful compost recipe is the Carbon-to-Nitrogen ratio. Carbon provides the energy source for microbes, while nitrogen is essential for protein synthesis and cellular replication. The ideal target for a hot pile is a 25:1 to 30:1 ratio by weight. If the ratio is too high (excess carbon), the pile will stall and remain cold. If it is too low (excess nitrogen), the pile will go anaerobic and off-gas ammonia, losing valuable nutrients to the atmosphere.
Because weighing every ingredient is impractical for home gardeners, we translate the weight ratio into a volume ratio. A general rule of thumb is mixing two parts 'browns' (carbon) to one part 'greens' (nitrogen) by volume. However, understanding the specific C:N ratios of your materials allows for precise adjustments.
| Material Type | Common Ingredients | Approximate C:N Ratio (by weight) |
|---|---|---|
| High Carbon (Browns) | Dried Oak Leaves | 50:1 |
| High Carbon (Browns) | Wheat Straw | 80:1 |
| High Carbon (Browns) | Pine Needles | 80:1 |
| High Carbon (Browns) | Shredded Cardboard | 350:1 |
| Balanced | Coffee Grounds | 20:1 |
| High Nitrogen (Greens) | Fresh Grass Clippings | 17:1 |
| High Nitrogen (Greens) | Vegetable Scraps | 19:1 |
| Extreme Nitrogen | Chicken Manure | 7:1 |
When formulating your compost recipe, avoid using shredded cardboard as your primary brown. Its massive 350:1 ratio and tendency to mat together restrict airflow. Stick to dried leaves, straw, or wood chips for structural carbon, and use coffee grounds or grass clippings to drive the nitrogen levels.
Constructing the Thermal Mass
Thermophilic bacteria require critical mass to retain heat. The minimum viable dimension for a hot compost pile is 4 feet wide by 4 feet long by 4 feet high (64 cubic feet). Piles smaller than 27 cubic feet lose heat to the ambient air faster than the microbes can generate it. Conversely, piles larger than 5x5x5 feet often compact under their own weight, squeezing out oxygen and creating anaerobic dead zones in the core.
Particle size dictates the speed of decomposition. Chop or shred your carbon materials into 1-inch to 2-inch pieces. This increases the surface area for microbial attack while maintaining enough physical structure to allow oxygen to permeate the pile. Greens can be left slightly larger, as their high moisture content causes them to break down rapidly.
Moisture is the final variable. The pile must be maintained at 50% to 60% moisture content. Use the squeeze test: grab a handful of the mixed materials and squeeze firmly. You should see exactly one or two drops of water drip out. If water streams out, the pile is too wet and will go anaerobic. If no moisture appears, the microbes will desiccate and the pile will stall.
The 18-Day Turning Protocol
The Berkeley method relies on a strict turning schedule to redistribute heat, moisture, and oxygen. This ensures that all material spends time in the thermophilic core, guaranteeing complete pathogen destruction.
- Days 1 to 4 (The Ignition Phase): Do not turn the pile. Mesophilic bacteria begin breaking down simple sugars, generating enough heat to transition the environment to thermophilic bacteria (like Bacillus stearothermophilus). By Day 4, the core temperature should reach 130°F to 150°F.
- Day 5 (The First Turn): Using a pitchfork, dismantle the pile completely. Move the outer, cooler material into the center of the new pile, and place the hot, decomposed core material on the outside. This redistributes the microbial populations.
- Days 6 to 18 (The Maintenance Phase): Turn the pile every 48 hours (Day 7, 9, 11, 13, 15, 17). Each turn introduces a fresh pulse of oxygen, which the thermophilic bacteria consume rapidly to generate heat.
Warning: Monitor the core temperature with a long-stemmed compost thermometer. If the temperature exceeds 160°F, turn the pile immediately. Temperatures above 165°F will kill beneficial thermophilic bacteria and favor the growth of undesirable, heat-resistant actinomycetes that slow down the process and produce a chalky, dusty finished product.
Troubleshooting Recipe Failures
Even with precise measurements, environmental variables can cause the pile to deviate from the ideal trajectory. Use this diagnostic framework to correct issues mid-cycle.
Symptom: Sharp Ammonia Odor
Cause: The C:N ratio is too low (excess nitrogen). The microbes cannot process the nitrogen fast enough, and it off-gases as ammonia.
Fix: Immediately mix in 3 to 4 cubic feet of high-carbon bulking agent, such as dry shredded oak leaves or wheat straw. Water the pile lightly if the new dry materials drop the overall moisture below 50%.
Symptom: Rotten Egg or Sulfur Smell
Cause: Anaerobic conditions. The pile is either too wet, the particles are too small (compaction), or it hasn't been turned frequently enough.
Fix: Turn the pile immediately, incorporating dry, coarse wood chips to increase porosity and absorb excess moisture. Ensure your particle sizes are not smaller than 1 inch.
Symptom: Pile Stalls at 90°F to 100°F
Cause: Lack of nitrogen, lack of moisture, or insufficient thermal mass.
Fix: First, verify the moisture level. If the pile is dry, water it while turning. If moisture is adequate, the pile is nitrogen-starved. Add a high-nitrogen activator like blood meal (12-0-0) at a rate of 1 cup per cubic foot of pile volume, mixing it thoroughly during the turn.
Many commercial products claim to 'start' or 'accelerate' compost piles. According to Penn State Extension, commercial microbial inoculants are entirely unnecessary. Native soil, decaying leaves, and fresh grass clippings already contain billions of the exact thermophilic microbes required. Save your money and rely on proper C:N ratios and aeration instead.
Curing and Application Rates
By Day 18, the active heating phase will conclude. The pile will no longer heat up after turning, and the material will be dark, crumbly, and smell like rich forest soil. However, it is not yet ready for the garden. The compost must cure for 14 to 21 days in a shaded, covered area. Curing allows the pH to neutralize (dropping from a temporary high of 8.0 down to a plant-friendly 6.5 to 7.0) and allows slower-acting fungi to colonize the humus.
Once cured, apply this potent soil amendment based on your specific horticultural needs:
- Vegetable Garden Beds: Incorporate 2 inches of compost into the top 6 inches of soil prior to spring planting. This requires approximately 2.5 cubic yards per 1,000 square feet.
- Lawn Top-Dressing: Apply a thin 1/4-inch layer over existing turf in the early fall. Rake it gently into the aeration holes to improve soil structure without smothering the grass blades.
- Perennial and Shrub Mulch: Apply a 2-inch layer around the drip line of trees and shrubs, keeping it 3 inches away from the main trunk to prevent crown rot.
By strictly adhering to this 18-day compost recipe, you bypass the year-long wait of cold composting and produce a biologically diverse, nutrient-dense soil amendment that fundamentally upgrades your garden's soil architecture.

