
Gardening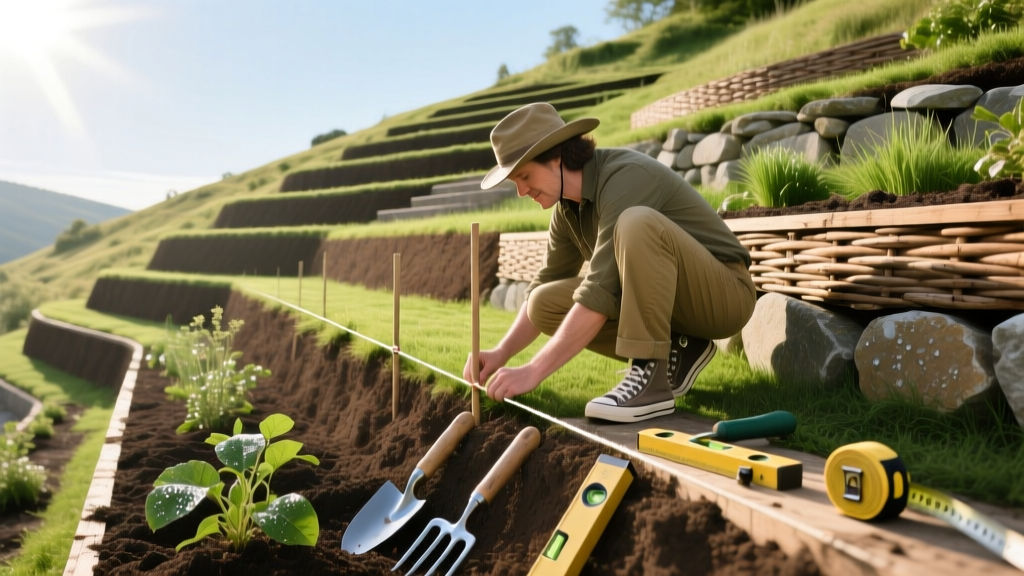
How to Build Terraced Gardens on a Steep Slope: Beginner Guide
The Physics of Slopes: Why Terracing Works
Unmanaged slopes are a liability for homeowners. When rain hits a steep grade, water velocity strips away nutrient-rich topsoil and creates severe erosion channels. Building terraced gardens transforms these unusable inclines into flat, productive planting zones while fundamentally altering the hydrology of your yard. By breaking a single steep drop into multiple level steps, you reduce water runoff velocity by up to 75%, allowing moisture to percolate into the soil rather than washing it away.
According to the North Carolina State Extension, terracing is one of the most effective structural methods for erosion control on grades exceeding a 15% slope. However, the success of your terraced gardens relies entirely on subsurface engineering, not just the visible retaining walls.
Choosing Your Retaining Wall Materials
The material you select dictates the excavation depth, drainage requirements, and overall lifespan of your terraced gardens. Below is a cost and performance matrix for the most common beginner-friendly materials.
| Material | Avg. Cost (per sq. ft.) | Lifespan | Max Height (Unreinforced) | Beginner Difficulty |
|---|---|---|---|---|
| Pressure-Treated Timber (6x6) | $15 - $25 (linear ft) | 10 - 15 years | 3 feet | Easy |
| Segmental Concrete Blocks (SRW) | $5 - $12 | 30+ years | 4 feet | Moderate |
| Natural Boulder / Flagstone | $15 - $35 | 50+ years | 2 feet (dry stack) | Hard |
| Corten Steel Edging | $25 - $45 | 50+ years | 3 feet | Moderate (Pro weld) |
Expert Recommendation: For beginners building terraced gardens, segmental retaining wall (SRW) blocks with a built-in rear lip (like the Allan Block Classic or Versa-Lok Standard) offer the best balance of structural integrity and ease of installation. The lip automatically creates the necessary backward lean, or 'batter', eliminating the guesswork.
The Golden Rule: Managing Hydrostatic Pressure
The number one reason retaining walls bulge, crack, or collapse is hydrostatic pressure—the immense force exerted by water trapped in the soil behind the wall. A cubic foot of waterlogged soil can weigh over 100 pounds. To prevent this, you must install a dedicated drainage system.
The Drainage Mandate: Never use round pea gravel for backfill. Its smooth, rounded edges allow the stones to shift and settle, eventually clogging the system. Always use 3/4-inch washed, angular crushed stone. The jagged edges lock together, maintaining permanent void spaces for water to flow.
Step-by-Step Construction for a 3-Tier Terrace
Follow these precise measurements to ensure your terraced gardens remain structurally sound for decades.
Step 1: Excavate the Base Trench
Your first course of blocks must be buried to prevent the wall from sliding forward. The trench depth should be 10% of the total wall height plus 6 inches for the gravel base. For a 3-foot (36-inch) wall, dig a trench 9.6 inches deep. Use a hand tamper or a rented 80-pound plate compactor to compress the native soil at the bottom of the trench until it is rock-hard.
Step 2: Lay the Gravel Base and First Course
Fill the trench with 6 inches of 3/4-inch angular gravel and compact it. Lay your first row of SRW blocks directly on the gravel. Use a 4-foot torpedo level to ensure the blocks are perfectly level from left to right, and use a string line to keep them straight. Do not use mortar or concrete for the base; a flexible gravel base allows the wall to shift slightly with frost heave without cracking.
Step 3: Install the Drainage Pipe
Behind the first course, lay a 4-inch Schedule 40 perforated PVC pipe. The holes must face downward (a common beginner mistake is facing them up, which fills the pipe with sediment). Ensure the pipe has a 1% downward slope (1/8 inch drop per foot) and daylight it (exit it) at the lowest end of the wall or tie it into a French drain.
Step 4: Backfill and Stack
As you stack subsequent courses, stagger the vertical joints so no two seams align. After every course, shovel 3/4-inch angular gravel behind the blocks to a depth of 12 inches. Compact the gravel lightly. Once you reach the top course, cap it with construction adhesive (like SRW Blocks Cap Adhesive) and cover the final 6 inches of backfill with landscape fabric before adding your topsoil.
Microclimates: Planting Strategies for Each Tier
Terraced gardens create distinct microclimates. The top tier drains rapidly and bakes in the sun, while the bottom tier collects runoff and stays cooler and moister. Match your plants to the tier:
- Top Tier (Dry/Hot): Plant drought-tolerant Mediterranean herbs (Rosemary, Lavender), creeping thyme, sedum, and ornamental grasses like Blue Fescue.
- Middle Tier (Moderate): Ideal for standard vegetable gardens, daylilies, echinacea, and dwarf shrubs.
- Bottom Tier (Moist/Shaded): Utilize moisture-loving plants like hydrangeas, astilbe, ferns, hostas, and creeping jenny.
For comprehensive planting guidelines tailored to your specific regional hardiness zone, consult the University of Minnesota Extension's landscaping resources, which offer excellent frameworks for integrating hardscapes with regional flora.
Critical Beginner Mistakes to Avoid
Warning: Ignoring the 'Batter'
Retaining walls must lean backward into the slope. The standard engineering requirement is a 1-inch batter for every 12 inches of wall height. If you build a perfectly plumb (vertical) wall over 2 feet tall, gravity and soil pressure will inevitably push it outward.
Retaining walls must lean backward into the slope. The standard engineering requirement is a 1-inch batter for every 12 inches of wall height. If you build a perfectly plumb (vertical) wall over 2 feet tall, gravity and soil pressure will inevitably push it outward.
Warning: Stacking Tiers Too Close
When building multiple terraces, the distance between the lower wall and the upper wall must be at least twice the height of the lower wall. If your lower wall is 2 feet tall, the upper wall must be set back at least 4 feet. Placing them closer compounds the structural load and can cause a cascading failure.
When building multiple terraces, the distance between the lower wall and the upper wall must be at least twice the height of the lower wall. If your lower wall is 2 feet tall, the upper wall must be set back at least 4 feet. Placing them closer compounds the structural load and can cause a cascading failure.
Terraced Gardens FAQ
Do I need a permit to build terraced gardens?
In most municipalities, retaining walls under 3 or 4 feet (measured from the bottom of the footing to the top of the wall) do not require a building permit. However, if your terraced gardens are near a property line, utility easement, or public right-of-way, you must check with your local zoning office. Walls over 4 feet almost always require a stamped engineering plan.
When is geogrid reinforcement necessary?
Geogrid is a synthetic mesh layered into the soil backfill to tie the wall to the earth behind it. You must use geogrid if your wall exceeds 3 feet in height, if the slope above the wall is steep, or if you plan to place heavy loads (like a driveway, patio, or large shed) within 10 feet of the top of the wall.
Can I use landscape timbers for curved terraces?
No. Pressure-treated 6x6 timbers are rigid and only suitable for straight lines or sharp 90-degree corners. If your terraced gardens feature sweeping curves, you must use segmental concrete blocks or natural stone, which can be tapered to follow a radius.

