
Gardening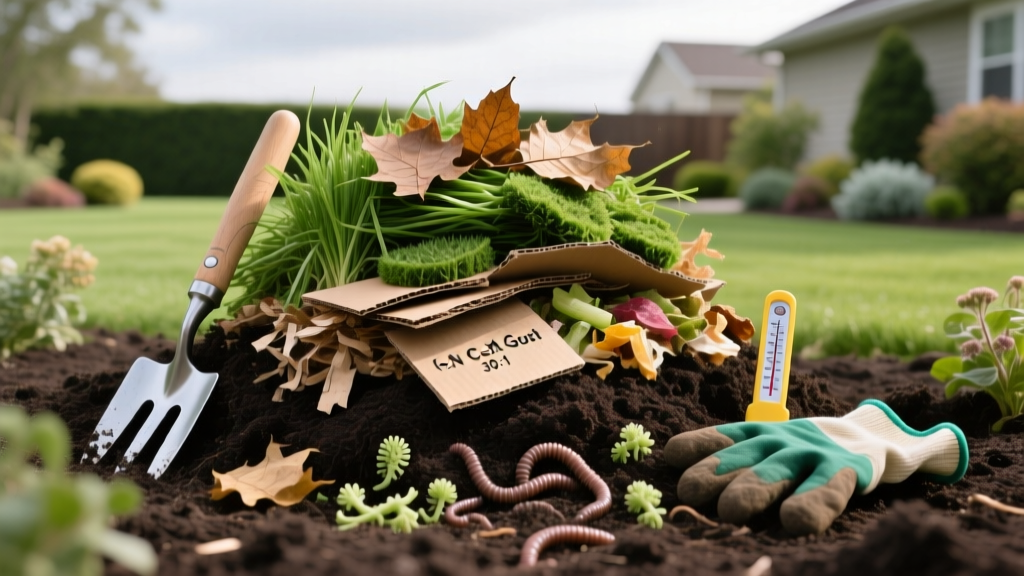
Building Hot Compost Piles: C:N Ratios and Soil Amendment Guide
The Thermodynamics of Hot Compost Piles
Building hot compost piles is fundamentally an exercise in applied microbiology and thermodynamics. Unlike passive cold composting, which relies on slow fungal decomposition over 12 to 24 months, hot composting harnesses thermophilic bacteria to break down organic matter in 4 to 8 weeks. The primary objective is to achieve and maintain internal pile temperatures between 131°F and 160°F (55°C to 71°C). This specific thermal window is critical: it is hot enough to destroy weed seeds, soil-borne pathogens, and harmful nematodes, but cool enough to prevent the die-off of beneficial microbes and the volatilization of nitrogen as ammonia gas.
According to the Environmental Protection Agency (EPA), active management of these thermal phases requires precise calibration of four variables: carbon-to-nitrogen ratios, moisture content, oxygen levels, and physical pile dimensions. Neglecting any single variable shifts the biological process from aerobic thermophilic decomposition to anaerobic putrefaction, resulting in foul odors and a highly acidic, phytotoxic end product.
Calibrating the Carbon-to-Nitrogen (C:N) Ratio
The metabolic fuel for composting microorganisms is carbon, while nitrogen is required for protein synthesis and cellular reproduction. The optimal starting C:N ratio for hot compost piles is 25:1 to 30:1 by weight. If the ratio exceeds 40:1, decomposition stalls due to nitrogen starvation. If it drops below 20:1, excess nitrogen is lost as ammonia, creating severe odor issues and depleting the final amendment of its nutritional value.
Common Feedstock C:N Profiles
To achieve the 30:1 target, you must blend high-carbon 'browns' with high-nitrogen 'greens'. A practical volumetric rule of thumb is 2 to 3 parts browns to 1 part greens, though exact weights vary by material density.
| Material Category | Feedstock Example | Approximate C:N Ratio | Role in Pile |
|---|---|---|---|
| High Carbon (Brown) | Dried oak leaves | 40:1 to 60:1 | Bulking agent, carbon source |
| High Carbon (Brown) | Wood chips / Sawdust | 200:1 to 500:1 | Structural aeration, slow carbon |
| High Carbon (Brown) | Straw (wheat/oat) | 50:1 to 80:1 | Porosity, carbon source |
| High Nitrogen (Green) | Fresh grass clippings | 12:1 to 15:1 | Moisture, rapid nitrogen |
| High Nitrogen (Green) | Kitchen vegetable scraps | 15:1 to 20:1 | Moisture, rapid nitrogen |
| High Nitrogen (Green) | Coffee grounds | 20:1 | Dense nitrogen, microbial food |
Warning: The Sawdust Trap
Sawdust has an exceptionally high C:N ratio (up to 500:1). If used as a primary brown, it will rapidly immobilize all available nitrogen in the pile. Limit sawdust to no more than 10% of the total pile volume, and always pre-mix it with high-nitrogen greens like grass clippings or blood meal to prevent localized nitrogen starvation.
Dimensional Requirements for Thermal Mass
Heat generation in compost piles is a volume-dependent process, while heat loss is a surface-area-dependent process. To achieve the 131°F threshold required for pathogen kill, the pile must possess sufficient thermal mass to outpace ambient heat dissipation.
- Minimum Dimensions: 3 feet x 3 feet x 3 feet (1 cubic yard). Piles smaller than this lack the core mass to sustain thermophilic temperatures, especially in ambient conditions below 60°F.
- Maximum Dimensions: 5 feet x 5 feet x 5 feet. Exceeding this volume restricts passive oxygen diffusion to the core, inevitably creating an anaerobic center that produces methane and hydrogen sulfide.
- Containment: Use wire mesh bins, wooden pallet collars, or commercial tumblers. Avoid solid-walled plastic bins for hot composting unless they feature extensive lower ventilation, as they restrict the convective airflow necessary to feed aerobic bacteria.
Moisture Management and the Squeeze Test
Microorganisms require an aqueous environment to transport nutrients across their cell membranes. The ideal moisture content for hot compost piles is 40% to 60% by weight. Below 35%, microbial activity ceases and the pile goes dormant. Above 65%, water fills the pore spaces between particles, displacing oxygen and triggering anaerobic conditions.
Executing the Squeeze Test
Do not rely on visual cues or sprinkler timers. Perform the physical squeeze test daily during the active thermophilic phase:
- Wear a nitrile glove and extract a handful of material from 12 inches below the surface.
- Squeeze the material tightly in your fist.
- Ideal (40-60%): The material feels like a wrung-out sponge. One or two drops of water may escape, but no steady stream.
- Too Dry (<35%): The material crumbles and falls apart when you open your hand. Fix: Water the pile deeply while turning, aiming for 1 gallon per cubic foot of dry material.
- Too Wet (>65%): Water streams freely from your fist. Fix: Incorporate dry, high-carbon bulking agents like shredded cardboard or dry straw, and turn the pile to introduce oxygen.
Aeration and Turning Schedules
Aerobic bacteria consume oxygen at a rapid rate during the thermophilic phase. As oxygen levels drop below 5% in the pore spaces, the pile shifts to slower, odor-producing anaerobic microbes. Passive aeration via PVC pipes or bulking agents is rarely sufficient for true hot composting; mechanical turning is required.
The University of Minnesota Extension recommends monitoring core temperatures with a 24-inch compost thermometer. Turn the pile when the core temperature drops by 10°F to 15°F from its peak, which typically occurs every 3 to 4 days during the first two weeks. When turning, move the outer 6 inches of the pile into the new center, and move the hot center material to the outside. This ensures all feedstock is exposed to the pathogen-killing temperatures of the core.
Pro Tip: If your pile temperature peaks at 160°F or higher, you are losing nitrogen to volatilization. Turn the pile immediately to cool it down, and increase the proportion of high-carbon browns in your next batch to buffer the heat generation.
Troubleshooting Common Compost Pile Failures
Even carefully constructed hot compost piles can experience biological imbalances. Use this diagnostic matrix to identify and correct failure modes rapidly.
| Symptom | Probable Cause | Corrective Action |
|---|---|---|
| Strong ammonia or urine odor | C:N ratio is too low (excess nitrogen) | Mix in 2 parts shredded dry leaves or straw; turn thoroughly. |
| Rotten egg / sulfur smell | Moisture >65%; anaerobic core | Turn pile immediately; mix in dry woodchips to absorb water and create air pockets. |
| Pile is cold and inactive | Moisture <35% or pile volume <1 cubic yard | Water deeply while turning; add fresh grass clippings to restart microbial ignition. |
| Temps stall at 100°F (mesophilic) | Lack of nitrogen or insufficient aeration | Add 1 cup of blood meal per cubic foot; turn pile to introduce oxygen. |
| Presence of rodents or flies | Exposed food scraps or meat/dairy | Bury kitchen scraps 12 inches deep in the center; cap the pile with 2 inches of finished compost or soil. |
Curing and Application Rates for Soil Amendment
Once the pile no longer heats up after turning and the material resembles dark, crumbly earth, the active decomposition phase is complete. However, the compost is not yet ready for the garden. It must undergo a curing phase lasting 4 to 8 weeks. During curing, mesophilic organisms and fungi recolonize the material, breaking down intermediate organic acids and stabilizing the pH to a neutral 6.5–7.5 range. Applying uncured compost to garden beds can stunt plant growth due to oxygen competition and residual phytotoxicity.
Application Metrics for Garden Beds
When applying finished compost as a soil amendment, precision prevents nutrient runoff and salt accumulation.
- New Garden Bed Preparation: Apply 2 to 3 cubic yards of finished compost per 1,000 square feet. Incorporate it into the top 6 to 8 inches of native soil using a broadfork or rototiller. This yields a 10% to 15% organic matter concentration by volume, ideal for vegetable cultivation.
- Annual Top-Dressing (Established Beds): Apply a 1/4-inch to 1/2-inch layer over the soil surface in early spring. This translates to roughly 0.75 to 1.5 cubic yards per 1,000 square feet. Earthworms and soil fauna will naturally incorporate the amendment without disrupting existing root structures.
- Potting Mix Integration: Screen the finished compost through a 1/2-inch hardware cloth mesh. Blend the screened compost at a maximum ratio of 30% by volume with coconut coir, perlite, and vermiculite. Exceeding 30% compost in container mixes leads to compaction and poor drainage.
By strictly managing the C:N ratios, thermal mass, and moisture parameters outlined above, you transform raw yard waste into a biologically active, nutrient-dense soil amendment that outperforms commercial synthetic fertilizers in long-term soil health and water retention.

