
Gardening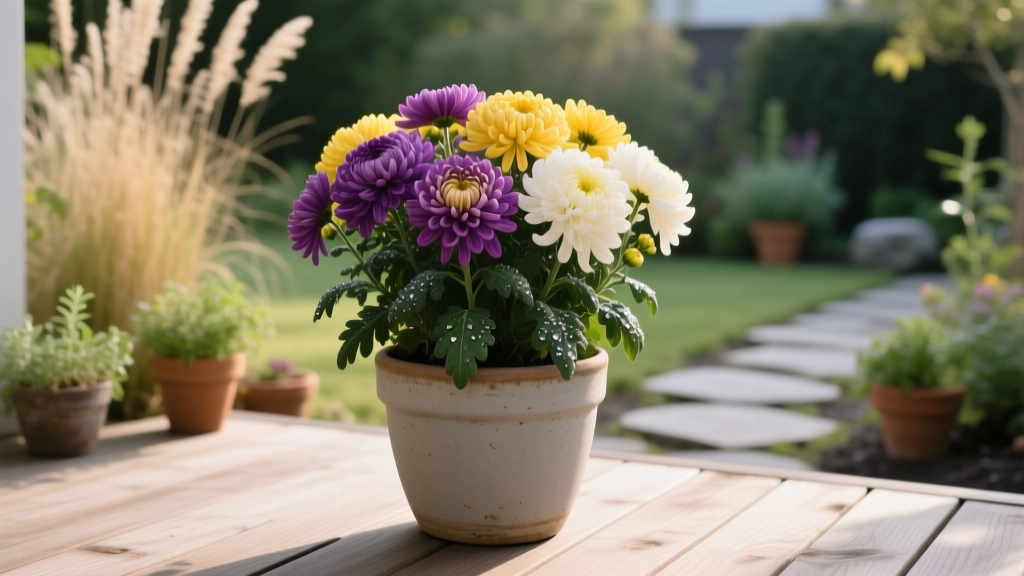
How to Care for Mums in a Pot for Long-Lasting Blooms
Transforming Nursery Mums into Long-Lasting Displays
Most gardeners treat potted chrysanthemums (Chrysanthemum x morifolium) as disposable seasonal decor, tossing them once the petals brown. However, with precise horticultural techniques, you can extend the bloom cycle of potted mums from a fleeting two weeks to a vibrant six-to-eight-week display. The secret lies in understanding their shallow root systems, high metabolic rate during flowering, and specific nutrient requirements. This guide details the exact protocols for soil formulation, moisture management, and structural pruning required to master how to care for mums in a pot.
Upgrading the Container and Soil Matrix
Store-bought mums are typically sold in 1-gallon (6 to 8-inch) nursery pots. These containers are severely root-bound by the time they reach retail shelves. To prevent rapid moisture depletion and nutrient lockout, you must repot them immediately upon bringing them home.
Selecting the Right Vessel
Choose a container that is 10 to 12 inches in diameter with a minimum depth of 10 inches. Material selection dictates your watering frequency:
- Glazed Ceramic or Plastic: Retains moisture effectively. Ideal for hot, dry climates or gardeners who cannot water daily.
- Unglazed Terracotta: Highly porous and wicks moisture away from the soil. Requires daily monitoring but prevents root rot in humid, rainy regions.
Critical requirement: The pot must have at least three 1/2-inch drainage holes. If it lacks them, drill them using a masonry or spade bit. According to the Royal Horticultural Society, inadequate drainage is the primary cause of container plant failure, as mums are highly susceptible to waterlogged anaerobic soil conditions.
The 60-20-20 Potting Recipe
Do not use garden soil or heavy topsoil, which will compact and suffocate the roots. Instead, mix a custom, high-drainage matrix:
- 60% Premium Peat-Based Potting Mix: Provides the base structure and initial nutrient charge (e.g., FoxFarm Ocean Forest or Miracle-Gro Moisture Control).
- 20% Coarse Perlite: Creates macro-pores for oxygen flow and rapid drainage. Avoid fine vermiculite, which holds too much water.
- 20% Worm Castings or Screened Compost: Introduces beneficial microbes and slow-release organic nutrients without burning the delicate feeder roots.
When repotting, gently tease the outer roots of the root ball with your fingers to break the circling pattern. Plant the mum at the exact same soil depth it was in the nursery pot; burying the crown will invite stem rot.
The 'Lift Test' Watering Framework
Mums possess dense, shallow root mats that dry out exceptionally fast, especially when loaded with flowers. Relying on a calendar schedule (e.g., 'water every two days') will inevitably lead to underwatering in high heat or overwatering in cool spells.
Instead, use the Lift Test. Lift the pot after a thorough watering to memorize its heavy, saturated weight. Check the pot daily by lifting it. When the container feels noticeably light—usually 50% to 60% of its saturated weight—it is time to water. Alternatively, use a digital moisture meter; water when the probe reads a 3 or 4 (on a 1-10 scale) at a 3-inch depth.
Expert Watering Technique: Apply water directly to the soil surface using a wand or watering can with a narrow spout. Never overhead-water potted mums. Wetting the dense foliage and flower heads promotes Botrytis cinerea (gray mold) and powdery mildew, which can defoliate the plant in days.
Deadheading and Apical Dominance
To understand how to care for mums in a pot for continuous color, you must manipulate the plant's hormonal growth patterns. Mums exhibit strong apical dominance, meaning the plant directs its energy to the terminal (top) buds. Once a flower fades and begins setting seed, the plant produces ethylene gas and abscisic acid, signaling the rest of the blooms to senesce (age and drop).
The Pinching Protocol
You must deadhead spent blooms every 48 to 72 hours during peak flowering. Do not simply pluck the dead petals. Use sterilized bypass pruners (wiped with 70% isopropyl alcohol) to snip the entire flower stem back to the first set of healthy, lateral leaf nodes. This removes the auxin-producing terminal bud, forcing the plant to break dormancy on the lateral buds and push a second, albeit smaller, flush of color.
Fertilizing: When to Push and When to Stop
Potted mums are heavy feeders, but their nutrient requirements shift dramatically depending on their growth stage. Because they are grown in a confined soil volume, nutrients leach out with every watering.
- Vegetative Stage (Early Fall/Green Foliage): Apply a balanced, water-soluble fertilizer like Jack's Classic 20-20-20 at half-strength (1/2 teaspoon per gallon) every 10 days.
- Bud Formation Stage: Switch to a high-phosphorus bloom booster, such as a 10-30-20 N-P-K ratio. Phosphorus is critical for root energy transfer and flower bud initiation.
- Full Bloom Stage (Color Showing): STOP fertilizing. Applying nitrogen while the plant is in full bloom forces the plant to abort flowers and push new green vegetative growth, drastically shortening your display.
Light Exposure and Microclimates
Chrysanthemums are photoperiodic, meaning their flowering is triggered by the lengthening dark periods of autumn. However, once buds have formed and opened, they require intense solar radiation to maintain petal turgidity and vibrant pigmentation.
Position your potted mums where they will receive a minimum of six hours of direct morning sunlight. In USDA Hardiness Zones 8 and 9, where autumn temperatures frequently exceed 80°F (26°C), provide dappled afternoon shade. Intense, late-day UV exposure combined with heat stress will cause the edges of the petals to scorch and crisp, turning vibrant whites and yellows into an unsightly brown.
Troubleshooting Potted Mum Decline
Even with meticulous care, potted mums can encounter physiological and pathological issues. Use this diagnostic matrix to identify and correct problems before they compromise the entire display.
| Symptom | Probable Cause | Corrective Action |
|---|---|---|
| Lower leaves turning yellow and dropping | Nitrogen deficiency or chronic underwatering | Apply half-strength 20-20-20 liquid fertilizer; increase watering frequency. |
| White, powdery spots on foliage | Powdery mildew (Erysiphe cichoracearum) | Improve air circulation; spray with potassium bicarbonate fungicide. |
| Mushy, blackened stems at soil line | Crown rot from waterlogged soil | Plant is unsalvageable. Discard soil, sterilize pot with 10% bleach solution. |
| Distorted, stunted new growth | Aphid infestation or Aster Yellows phytoplasma | Blast aphids with insecticidal soap. If Aster Yellows is suspected, destroy the plant. |
Overwintering: Can You Save Potted Mums?
The University of Minnesota Extension notes that while many garden mums are hardy to Zone 5, potted mums face a severe disadvantage: their roots are exposed to ambient air temperatures on all sides of the container. A plant hardy to -20°F in the ground will easily suffer root death at 15°F when suspended in a pot.
If you wish to save your mums for the following year, you must employ the Trenching Method or the Cold Storage Method:
- Trenching (Zones 5-7): After the first hard frost kills the top growth, cut the stems back to 2 inches. Dig a hole in the garden slightly larger than the pot. Sink the entire pot into the ground so the soil rim is flush with the earth. Mulch heavily with 4 inches of straw or shredded leaves. In spring, lift the pot out and resume care.
- Cold Storage (Zones 4 and below): Move the pot into an unheated garage, shed, or basement where temperatures remain strictly between 32°F and 40°F. The plant must remain dormant. Water sparingly—just enough to prevent the soil from turning to dust (once every 3 to 4 weeks). Do not expose them to light or warmth, or they will break dormancy prematurely and exhaust their root reserves.
A Note on 'Florist' vs. 'Garden' Mums: According to Clemson University HGIC, many autumn potted mums are actually 'florist mums' bred strictly for greenhouse production and short-term floral displays. These lack the underground stolons required to survive winter. If your mum does not produce new basal shoots at the soil line in late autumn, it is likely a florist variety and should be composted after its bloom cycle ends.
Mastering how to care for mums in a pot requires shifting your perspective from treating them as temporary decorations to managing them as high-performance, containerized perennials. By upgrading their soil matrix, implementing the Lift Test for precision watering, and aggressively deadheading to manipulate apical dominance, you will extract the maximum aesthetic and biological potential from your autumn display.

