
Gardening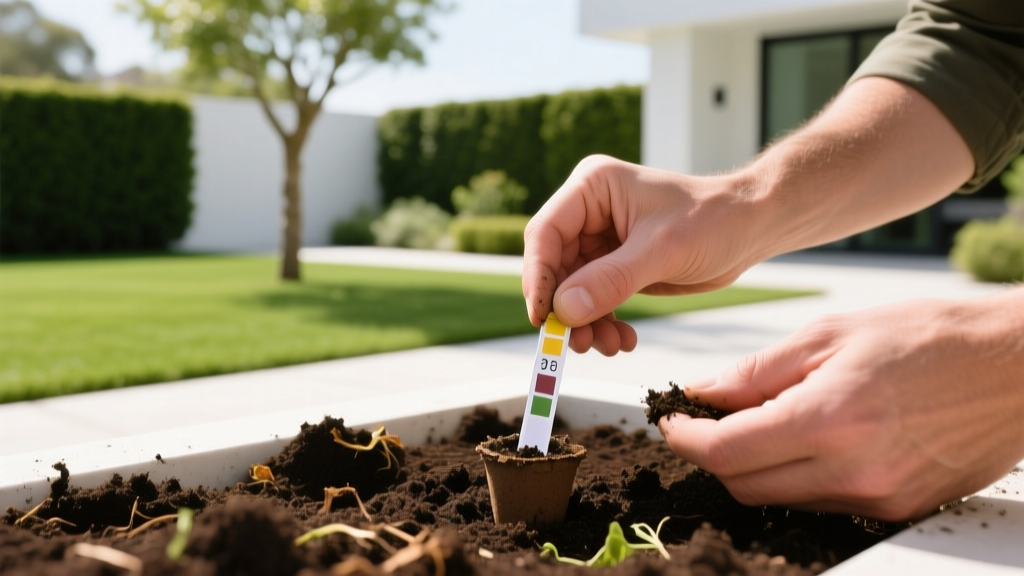
How to Check Acidity of Soil: 3 Accurate Testing Methods
Soil pH dictates the chemical availability of every nutrient in your garden. If your soil is too acidic (below 6.0) or too alkaline (above 7.5), essential macronutrients like phosphorus and micronutrients like iron become chemically locked out, regardless of how much fertilizer you apply. Learning how to check acidity of soil accurately is the foundational step in garden management. Guessing based on plant symptoms often leads to misdiagnosis; iron chlorosis, for example, can be caused by high pH locking out iron, or by waterlogged roots preventing its uptake.
This guide details three scientifically valid methods for measuring soil pH, ranging from rapid at-home chemical tests to comprehensive laboratory analyses, complete with exact calibration protocols and amendment calculations.
The Hidden Cost of Incorrect Soil pH
Soil acidity is measured on a logarithmic scale. A soil pH of 5.0 is ten times more acidic than a pH of 6.0, and one hundred times more acidic than a pH of 7.0. This exponential shift dramatically alters the Cation Exchange Capacity (CEC) of soil colloids. In highly acidic soils, hydrogen and aluminum ions dominate the exchange sites, effectively pushing out calcium, magnesium, and potassium. Conversely, in alkaline soils, calcium carbonate binds tightly to phosphorus, rendering it insoluble. Accurate testing prevents the wasteful application of fertilizers that plants cannot physically absorb.
Method 1: Chemical Dye Test Kits (Best for Routine Checks)
Chemical extraction kits use indicator dyes that change color based on the hydrogen ion concentration in a soil-water slurry. The industry standard for home gardeners is the Luster Leaf Rapitest 1601 (typically priced around $16 for 40 tests). While less precise than a lab, it provides a reliable 0.5 pH margin of error when executed correctly.
Step-by-Step Extraction Protocol
- Sample Collection: Use a clean trowel to extract soil from the root zone (4 to 6 inches deep for vegetables, 2 to 4 inches for turfgrass). Remove debris and stones.
- The Water Variable: You must use distilled water. Tap water contains dissolved minerals and buffering agents that will artificially skew the pH reading. Furthermore, use freshly opened distilled water; water left open to the air absorbs carbon dioxide, forming weak carbonic acid and dropping its pH to around 5.5.
- Mixing: Fill the test chamber to the soil line, add the provided reagent powder, and fill to the water line with distilled water.
- Agitation and Settling: Shake vigorously for 10 seconds, then let it sit undisturbed for 60 seconds. Compare the supernatant (the clear liquid at the top) against the color chart in natural daylight.
Method 2: Digital Soil pH Meters (Best for Frequent Monitoring)
The market is flooded with $10 to $15 metal-probe 'pH meters' that require no batteries. Do not buy these. They measure electrical conductivity (EC) and moisture, not pH. A true pH meter requires a glass-bulb electrode and a battery to power the internal voltmeter. A reliable entry-level model is the Apera Instruments PH60F (approximately $48), which features a replaceable glass electrode and automatic temperature compensation (ATC).
The 1:1 Slurry Technique for Digital Meters
Jamming a glass electrode directly into dry or dense garden soil risks breaking the bulb and yields erratic readings due to poor electrical contact. Always use the slurry method:
- Mix equal parts soil and distilled water (1:1 ratio by volume) in a clean glass jar.
- Stir for 15 seconds and let the mixture sit for 15 minutes to allow the hydrogen ions to equilibrate into the water.
- Calibrate your meter using pH 4.01 and pH 7.00 buffer solutions before testing.
- Submerge the electrode into the liquid supernatant, avoiding the heavy sediment at the bottom, and wait for the reading to stabilize (usually 30 to 45 seconds).
Warning: Never store a glass pH electrode in distilled water. The lack of ions will cause the internal reference solution to leach out through the glass membrane, permanently destroying the probe. Always store the cap with a sponge soaked in 3M KCl (potassium chloride) storage solution.
Method 3: University and Private Lab Testing (The Gold Standard)
For precise baseline data, professional laboratory analysis is mandatory. Labs like Logan Laboratories or your local university extension (e.g., the University of Minnesota Extension) use calibrated glass electrodes in standardized 1:1 or 1:2 soil-to-water suspensions. More importantly, they provide a full nutrient profile, CEC, and base saturation percentages. Expect to pay between $20 and $35 per sample, with a 7 to 14-day turnaround.
Pulling a Representative Composite Sample
A single scoop of soil does not represent your garden. To pull a proper composite sample for the lab:
- Map your garden and walk in a zig-zag pattern.
- Take 10 to 15 core samples at the correct root depth using a stainless steel probe (avoid galvanized or brass tools, as zinc and copper contamination will ruin micronutrient lab results).
- Mix all cores in a clean plastic bucket. Break up clods and let the soil air-dry for 24 hours.
- Extract 2 cups of the mixed, dried soil, place it in the lab's provided ziplock bag, and ship it.
Testing Method Comparison Matrix
| Method | Estimated Cost | Accuracy Margin | Turnaround Time | Best Application |
|---|---|---|---|---|
| Chemical Dye Kit | $0.40 / test | +/- 0.5 pH | 5 minutes | Quick seasonal checks, container gardens |
| Digital Meter (Glass) | $45 - $120 | +/- 0.1 pH | 2 minutes | Hydroponics, frequent greenhouse monitoring |
| Professional Lab | $20 - $35 | +/- 0.05 pH | 7 - 14 days | New garden beds, turf establishment, troubleshooting |
Amending Soil Acidity: Exact Application Rates
Once you know how to check acidity of soil and have your results, you must amend carefully. Soil texture dictates how much material is required to shift the pH. Clay soils have high buffering capacity and require significantly more amendment than sandy soils to achieve the same pH shift.
To Raise pH (Reduce Acidity): Apply Calcitic Lime (calcium carbonate) or Dolomitic Lime (calcium-magnesium carbonate). Use dolomitic only if your soil test shows a magnesium deficiency.
To Lower pH (Increase Acidity): Apply Elemental Sulfur. Soil bacteria (Thiobacillus) must oxidize the sulfur into sulfuric acid before the pH drops. This biological process takes 6 to 12 months; it is not an immediate fix.
Amendment Rates to Shift pH by 1.0 Unit (per 100 sq. ft.)
| Soil Texture | Elemental Sulfur (to lower 1.0) | Pelletized Lime (to raise 1.0) |
|---|---|---|
| Loamy Sand | 1.0 lb | 3.5 lbs |
| Silt Loam | 2.0 lbs | 7.0 lbs |
| Heavy Clay | 3.5 lbs | 12.0 lbs |
Expert Insight: Never apply more than 5 lbs of lime or 2 lbs of elemental sulfur per 100 square feet in a single application. Over-applying can shock the soil microbiome and cause severe nutrient imbalances. If your calculation requires more, split the application into two treatments spaced six months apart.
Debunking the Baking Soda and Vinegar Myth
A pervasive internet myth suggests you can test soil pH by adding baking soda (to check for acidity via fizzing) and vinegar (to check for alkalinity). This method is scientifically useless for gardening. The chemical reaction only triggers at extreme pH levels—typically below 5.0 or above 8.0. It completely fails to differentiate between a pH of 6.2 (ideal for most vegetables) and 7.4 (slightly alkaline), leaving you blind to the exact adjustments needed for optimal nutrient uptake. Rely on calibrated chemical dyes, glass-electrode meters, or professional labs to protect your garden's productivity.

