
Gardening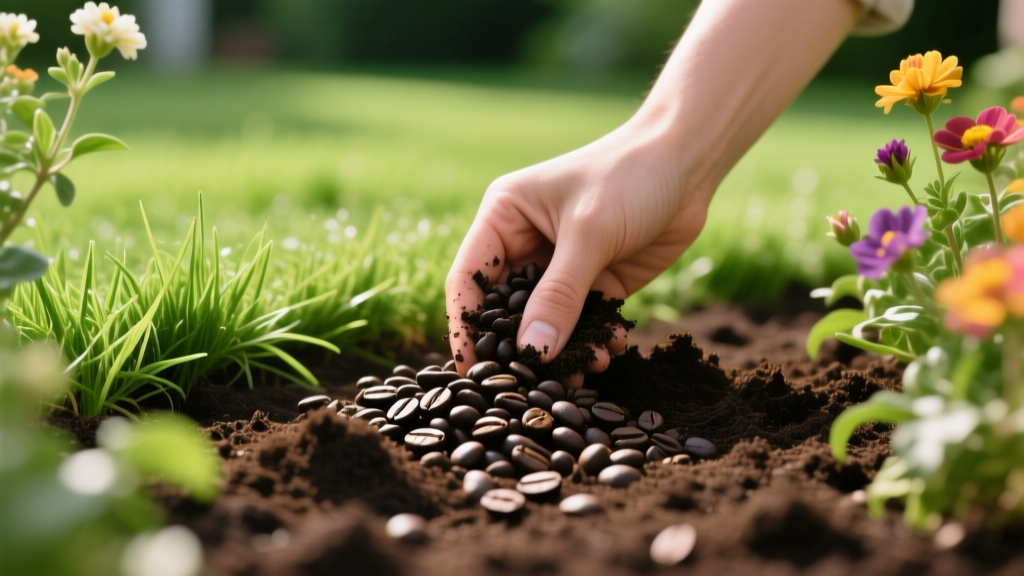
Coffee Grounds in the Garden: Diagnosing and Fixing Issues
The Paradox of the Morning Brew: Why Your Plants Are Struggling
Tossing leftover espresso and drip coffee residue into garden beds is a deeply ingrained horticultural habit. While organic matter is undeniably beneficial, the unmanaged application of coffee grounds in the garden frequently triggers a cascade of biological and physical soil problems. Homeowners often assume this kitchen scrap is a universal fertilizer, only to be met with stunted seedlings, impenetrable soil crusts, and mysterious fungal blooms.
The root of these issues lies in a misunderstanding of the material's physical structure and residual chemistry. Coffee grounds are not a simple nitrogen fertilizer; they are a complex, fine-particulate organic amendment that requires specific handling to unlock their value without suffocating root zones. Below, we diagnose the three most common problems caused by improper coffee ground application and provide precise, actionable solutions to rehabilitate your soil.
Symptom 1: White Mold and Hydrophobic Soil Crusts
If you have ever top-dressed a garden bed with a thick layer of wet coffee grounds, you have likely returned a few days later to find a hardened, pale crust that repels water and harbors white, fuzzy mycelium. This is not necessarily a dangerous pathogen, but it is a severe physical barrier to plant health.
⚠️ Warning: The Hydrophobic Effect
When fine particulate matter like coffee grounds dries out in direct sunlight, the particles bind together and shrink, creating a hydrophobic (water-repelling) barrier. Water will pool on top or run off the edges, leaving the underlying soil bone-dry while the surface remains a breeding ground for saprophytic fungi.
When fine particulate matter like coffee grounds dries out in direct sunlight, the particles bind together and shrink, creating a hydrophobic (water-repelling) barrier. Water will pool on top or run off the edges, leaving the underlying soil bone-dry while the surface remains a breeding ground for saprophytic fungi.
The Diagnosis: Surface Tension and Fungal Blooms
The physical structure of brewed coffee grounds is highly porous but incredibly fine. When applied in layers thicker than 1/2 inch, the surface area exposed to the air rapidly loses moisture. The resulting crust prevents oxygen exchange and blocks light rain from penetrating the root zone. The white mold is typically Trichoderma or Mucor species—benign decomposers that thrive in the damp, compacted micro-environment trapped beneath the crust.
The Solution: The 1/4 Inch Rule and Mechanical Incorporation
To resolve and prevent hydrophobic crusting, never apply raw coffee grounds as a standalone top-dressing mulch. Instead, adhere to the 1/4 inch rule: apply no more than a 1/4 inch layer of grounds, and immediately scratch them into the top 2 inches of existing soil using a hand cultivator or bow rake. This breaks up the surface tension, integrates the organic matter with existing soil aggregates, and allows water to percolate freely. If a crust has already formed, break it up mechanically with a hoe and water deeply with a surfactant-enhanced liquid (like a few drops of castile soap mixed into a gallon of water) to re-wet the hydrophobic layer.
Symptom 2: Stunted Seedlings and Yellowing Leaves
A frequent complaint among vegetable gardeners is that seeds fail to germinate, or young transplants develop chlorotic (yellow) leaves shortly after coffee grounds are worked into the bed. This is often misdiagnosed as a simple nutrient deficiency, but the reality involves both chemical allelopathy and microbial nitrogen immobilization.
The Diagnosis: Caffeine Allelopathy and Nitrogen Robbery
Caffeine is an alkaloid produced by the coffee plant specifically to act as a natural herbicide, inhibiting the germination and growth of competing plants (a phenomenon known as allelopathy). While the brewing process extracts much of the caffeine, residual amounts remain in the grounds. Direct exposure to these residues can severely stunt the radicle (root) development of sensitive seedlings like tomatoes, mustard, and clover.
Furthermore, while coffee grounds contain roughly 2% nitrogen by volume, their Carbon-to-Nitrogen (C:N) ratio is approximately 20:1 to 24:1. According to the Cornell Waste Management Institute, when organic materials with a C:N ratio above 20:1 are incorporated into the soil, the microbes required to break them down will temporarily scavenge available nitrogen from the surrounding soil to fuel their metabolism. This 'nitrogen tie-up' starves your plants of the very nutrient you intended to provide.
The Solution: Pre-Composting and C:N Balancing
Never apply raw grounds directly to seedling beds. To neutralize the allelopathic compounds and stabilize the nitrogen, coffee grounds must be pre-composted. Mix your grounds with high-carbon 'brown' materials to achieve an optimal composting C:N ratio of roughly 30:1.
| Carbon Source (Browns) | Approximate C:N Ratio | Mixing Ratio (Browns : Grounds) |
|---|---|---|
| Shredded Autumn Leaves | 60:1 | 2 parts leaves : 1 part grounds |
| Wheat Straw | 80:1 | 3 parts straw : 1 part grounds |
| Shredded Newspaper | 170:1 | 4 parts paper : 1 part grounds |
Allow this mixture to thermophillically compost for a minimum of 90 days. The sustained heat (130°F–150°F) and microbial action will completely degrade the residual caffeine and convert the nitrogen into a stable, plant-available humus form.
Symptom 3: The pH Myth (Are They Actually Too Acidic?)
Perhaps the most persistent piece of misinformation in gardening forums is the directive to use coffee grounds to lower soil pH for acid-loving plants like azaleas, blueberries, and hydrangeas. Gardeners who heavily mulch their blueberry bushes with fresh grounds are often confused when their soil pH barely shifts, or when their plants exhibit nutrient lockout.
The Diagnosis: Misunderstanding Brewed vs. Unbrewed pH
The confusion stems from a failure to distinguish between unbrewed coffee and spent, brewed grounds. While unbrewed coffee is indeed acidic (pH 5.0 to 5.5), the organic acids responsible for that tartness are highly water-soluble. They are extracted directly into your morning cup. What remains in the filter—the spent grounds—has a nearly neutral pH, typically ranging between 6.5 and 6.8, as confirmed by soil science analyses from Penn State Extension.
The Solution: Targeted Application and Proper Acidifiers
If your goal is to lower soil pH, coffee grounds will not achieve the desired result. Rely on proven elemental sulfur or aluminum sulfate applications based on a professional soil test. However, because spent grounds are near-neutral and rich in micronutrients like magnesium, copper, and potassium, they are actually an excellent, safe amendment for general vegetable garden beds and alkaline soils where you want to build organic matter without drastically altering the pH.
Quick-Reference Troubleshooting Matrix
Use this diagnostic matrix to quickly identify and correct issues related to coffee ground applications in your landscape.
| Visual Symptom | Underlying Cause | Immediate Corrective Action |
|---|---|---|
| Hard, cracked surface that sheds water | Hydrophobic crust from thick top-dressing | Mechanically break crust; incorporate into top 2 inches of soil |
| Seeds fail to sprout; roots look stunted | Caffeine allelopathy inhibiting cell division | Remove raw grounds from seed zone; pre-compost for 90+ days |
| Lower leaves turning pale yellow (chlorosis) | Microbial nitrogen tie-up (C:N imbalance) | Apply a fast-acting liquid nitrogen fertilizer (e.g., fish emulsion) |
| White, fuzzy mold growing on soil surface | Saprophytic fungi feeding on compacted organics | Rake to expose to UV light and improve air circulation |
Sourcing and Storing Grounds Safely
If you do not generate enough coffee waste at home, many local cafes participate in grounds-recycling programs, providing free 5-pound bags of spent espresso and drip grounds. When sourcing commercially, strictly avoid grounds from flavored syrups, sweetened lattes, or milk-heavy beverages. The residual sugars and dairy fats will attract destructive pests, rodents, and pathogenic bacteria to your garden beds.
Store collected grounds in a breathable container, such as a burlap sack or a bucket with drilled aeration holes. Sealing wet coffee grounds in an airtight plastic bin will rapidly induce anaerobic decomposition, resulting in a foul-smelling, phytotoxic sludge that can damage plant roots upon application. By diagnosing these physical and chemical hurdles and adjusting your application methods, you can safely transform this abundant kitchen waste into a powerful tool for building resilient, humus-rich garden soil.

