
Gardening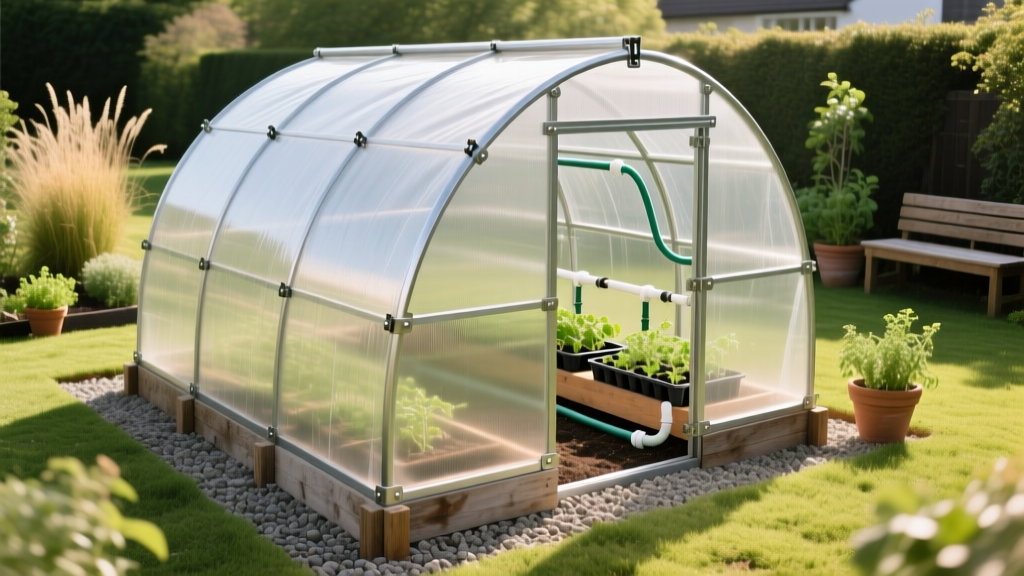
How to Make a Greenhouse: Step-by-Step DIY Hoop House Guide
Building a backyard greenhouse does not require a $3,000 rigid polycarbonate kit or specialized construction skills. For under $250, you can construct a 10x20-foot PVC hoop house that extends your growing season by 4 to 6 weeks in the spring and fall. This guide details exactly how to make a greenhouse using Schedule 40 PVC, pressure-treated lumber, and UV-stabilized polyethylene film, focusing on structural integrity and climate control.
Material List and Cost Breakdown
The most common failure point in DIY greenhouses is using undersized materials that collapse under wind or snow loads. The following bill of materials is engineered for a 10-foot wide by 20-foot long hoop house with a peak height of approximately 7.5 feet.
| Component | Quantity | Specifications | Estimated Cost |
|---|---|---|---|
| Base Lumber | 6 pieces | 1x4x10 Pressure-Treated Pine | $45.00 |
| Hoop Pipes | 10 pieces | 3/4-inch Schedule 40 PVC (20ft lengths) | $65.00 |
| Anchor Rebar | 20 pieces | 3/8-inch x 24-inch Steel Rebar | $40.00 |
| Ridge Pole | 2 pieces | 1x2x10 Furring Strips (SPF) | $12.00 |
| Greenhouse Film | 1 roll | 6-mil UV-Treated Polyethylene (25x50ft) | $85.00 |
| Fasteners & Tape | 1 box | 1 5/8-inch Exterior Wood Screws, Batten Tape | $25.00 |
| Total Estimated Project Cost | $272.00 | ||
Pro Tip: Never use standard hardware-store drop cloths for greenhouse covers. They lack UV inhibitors and will photodegrade, becoming brittle and tearing within 60 days of direct sunlight exposure. Always purchase 6-mil UV-stabilized greenhouse film from agricultural suppliers like Farm Plastic Supply or A.A.C. Resins.
Step 1: Site Preparation and Base Framing
Site selection dictates the success of your greenhouse. Orient the 20-foot length east-to-west to maximize southern sun exposure during the winter months. Clear the area of sod and roots, then level the ground using a tamper.
Squaring the Base
Lay out your 1x4 pressure-treated lumber to form a 10x20-foot rectangle. To ensure the base is perfectly square, measure diagonally from corner to corner. Both diagonal measurements must be exactly 22 feet, 4.3 inches. If they differ, adjust the frame until they match. Secure the corners using 3-inch galvanized deck screws driven at an angle (toe-screwed) or by using interior metal mending plates.
Step 2: Bending and Securing the PVC Hoops
The structural skeleton of this greenhouse relies on the tension of bent PVC. Space your hoops exactly 4 feet apart along the 20-foot base, giving you 6 hoops total (including the two end hoops).
- Drive the Rebar: Using a sledgehammer, drive a 24-inch piece of 3/8-inch rebar into the ground immediately outside the 1x4 base frame. Drive it 18 inches deep, leaving exactly 6 inches exposed above the soil.
- Slide the PVC: Take a 20-foot length of 3/4-inch Schedule 40 PVC and slide one end over the exposed rebar on the left side. Bend the pipe into an arch and slide the opposite end over the corresponding rebar on the right side.
- Secure to Base: Use two 1 5/8-inch exterior wood screws to fasten the PVC pipe directly to the 1x4 wooden base. Drive the screws at a 45-degree angle through the PVC and into the lumber to prevent the pipe from twisting.
Snow Load Warning: According to Michigan State University Extension, unbraced PVC hoop houses are highly susceptible to collapse under wet snow. You must install a continuous wooden ridge pole along the peak of the hoops. Screw a 1x2 furring strip directly into the top center of every PVC hoop using 1-inch pan-head screws. This lateral bracing distributes snow weight across the entire structure rather than forcing individual hoops to bear the load.
Step 3: Installing the 6-Mil Greenhouse Plastic
Timing is critical when installing polyethylene film. Perform this step on a warm, windless morning (ideally between 65°F and 75°F). Plastic expands in the heat; installing it when warm ensures that as it cools at night, it shrinks slightly to create a tight, drum-like finish that resists wind flap and tearing.
The Batten Roll Method
While aluminum lock channels and wiggle wire are the professional standard for permanent greenhouses, the batten roll method is highly effective for budget DIY builds.
- Drape the 6-mil film over the frame, ensuring you have at least 2 feet of overhang on all sides.
- Start at one 20-foot side. Lay a 1x2 wooden batten strip over the plastic, aligning it with the outer edge of your 1x4 base.
- Staple the plastic to the base using a heavy-duty staple gun, placing staples every 4 inches.
- Roll the 1x2 batten strip over the staples, wrapping the plastic tightly around the wood, and screw the batten strip down into the base frame using 1 5/8-inch exterior screws.
- Repeat this process on the opposite side, pulling the plastic as taut as physically possible before securing.
Step 4: Ventilation and Roll-Up Sidewalls
A sealed greenhouse will easily exceed 110°F on a 70°F sunny day. At temperatures above 85°F, tomato and pepper pollen becomes sterile, resulting in blossom drop and zero fruit production. Passive ventilation is non-negotiable.
Instead of cutting permanent vents into your plastic, build a roll-up sidewall. Cut a 20-foot length of 1x2 furring strip. Wrap the bottom 12 inches of your greenhouse side-wall plastic around this stick and staple it securely. Attach a hand crank or a simple rope-and-pulley system to one end of the stick. When the interior temperature rises, you simply crank the stick, rolling the plastic upward and exposing the bottom 2 feet of the greenhouse to cross-breezes.
"High tunnels and hoop houses require active daily management. Automated roll-up side vents driven by linear actuators and solar thermostats are becoming the standard for growers who cannot manually vent their structures multiple times a day." — USDA SARE Hoop House Guidelines
Common Build Mistakes and Failure Modes
Avoid these frequent errors that compromise the lifespan and utility of DIY greenhouses:
- Using Drywall Screws: Drywall screws lack shear strength and rust rapidly in the high-humidity greenhouse environment. They will snap under wind load. Always use ceramic-coated or galvanized exterior wood screws.
- Skipping the End-Wall Framing: The front and back walls require a rigid wooden frame (usually 2x4s) to mount a door and secure the plastic. Do not attempt to just drape and staple the plastic to the end hoops; it will tear out within a month.
- Inadequate Door Clearance: Build your front door frame at least 36 inches wide. Standard garden wheelbarrows are 27 to 30 inches wide at the handles; a narrow door will force you to unload soil and compost by hand outside the greenhouse.
- Ignoring Condensation Drip: Ensure the interior plastic surface is smooth. Wrinkles in the plastic will cause condensation to drip directly onto plant foliage, promoting powdery mildew and botrytis blight.
Final Site Integration
Once the structure is complete, trench a 6-inch perimeter around the exterior base and fill it with gravel. This French drain-style trench prevents surface runoff from pooling against your pressure-treated lumber, effectively doubling the lifespan of your base frame and keeping the interior soil from becoming waterlogged during heavy spring rains.

