
Gardening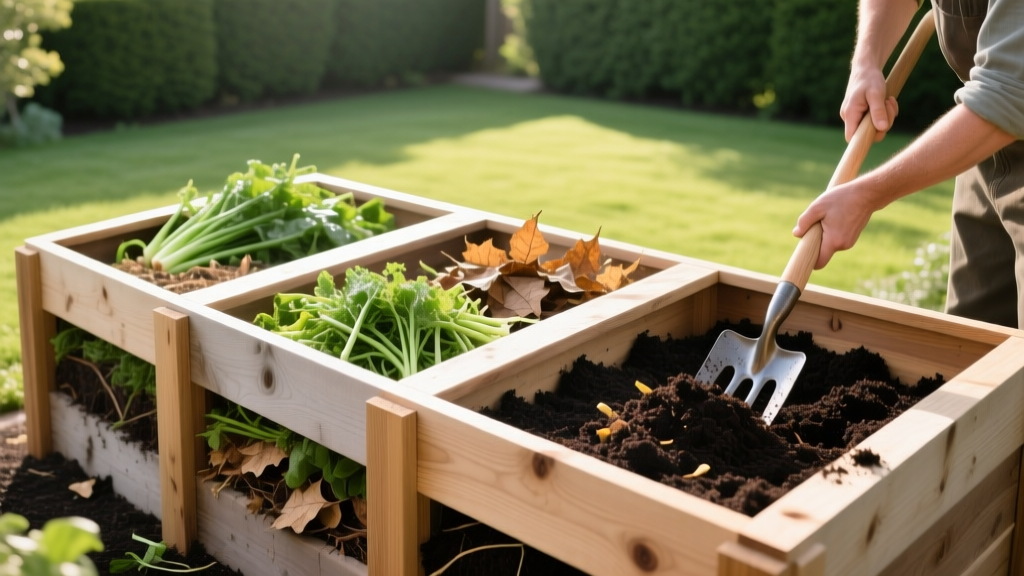
Building a Compost Bin: DIY 3-Bay System for Rich Soil
The Biological Reactor: Why a 3-Bay System Outperforms Single Bins
When it comes to producing high-quality soil amendments, a single stationary compost bin is fundamentally flawed. It forces you to mix fresh kitchen scraps with curing humus, resulting in an unfinished, nitrogen-robbing product that can harm delicate garden roots. Building a compost bin with a three-bay configuration solves this by creating a continuous batch-processing pipeline. Bay 1 receives fresh feedstock, Bay 2 hosts the active thermophilic (heat-generating) decomposition phase, and Bay 3 serves as the curing chamber where stable humus forms. This systematic approach is the cornerstone of professional-grade mulch and soil amendment production, allowing you to harvest finished compost every 4 to 6 weeks during the active growing season.
Material Selection: Lumber Grades and Chemical Leaching
The structural integrity of your bin and the safety of your edible garden beds depend entirely on your material choices. Avoid modern pressure-treated lumber (ACQ or MCQ) for composting systems intended for vegetable gardens. While safer than legacy CCA (chromated copper arsenate) wood, ACQ still leaches copper into the highly acidic, biologically active environment of a compost pile, which can accumulate in your soil over time and reach phytotoxic levels for sensitive crops like tomatoes and brassicas.
Material Warning: Never use reclaimed pallet wood or railroad ties. Pallets are frequently treated with methyl bromide or heat-treated with chemical accelerants, while railroad ties are saturated with creosote—a known carcinogen that will permanently contaminate your soil amendments.
The gold standard for building a compost bin is rough-sawn Western Red Cedar or Black Locust. These species contain natural tannins and oils (thujaplicins in cedar) that resist fungal decay and insect damage without chemical treatments. Expect to spend between $250 and $350 on cedar for a standard 3-bay system, compared to $80 for untreated pine (which will rot within 3 years) or $600+ for composite decking materials.
The Blueprint: Dimensions and Airflow Engineering
Microbial breakdown requires oxygen. A solid-walled bin will quickly turn anaerobic, producing hydrogen sulfide gas (the 'rotten egg' smell) and stalling the decomposition process. The design below utilizes 1/4-inch gaps between horizontal slats to provide passive aeration while retaining enough mass to insulate the thermophilic core.
| Component | Material Specification | Quantity | Cut Length |
|---|---|---|---|
| Corner & Divider Posts | 4x4 Western Red Cedar | 6 | 48 inches |
| Horizontal Slats (Front/Back) | 1x6 Cedar (Rough Sawn) | 42 | 96 inches |
| Horizontal Slats (Sides) | 1x6 Cedar (Rough Sawn) | 14 | 36 inches |
| Bottom Base Rails | 2x4 Cedar | 4 | 96 inches |
| Pest Exclusion Mesh | 1/2-inch 19ga Galvanized Hardware Cloth | 1 Roll | Cut to 8x4 ft |
Step-by-Step Assembly: Fasteners and Structural Integrity
Compost piles are incredibly heavy. A fully saturated 4x4x4 foot bay can weigh over 1,500 pounds, exerting massive lateral hydrostatic pressure on the bin walls. Standard nails or cheap interior screws will fail, causing the bin to bow and eventually collapse.
1. Install the Pest Barrier First
Lay the galvanized hardware cloth flat on the ground where the bin will sit. Do not use chicken wire; raccoons and rats can easily bypass it. Cut the cloth to extend 6 inches beyond the footprint of the bin on all sides, and fold the excess upward against the interior walls during assembly to create a seamless subterranean barrier.
2. Frame the Base and Uprights
Construct a rectangular base using the 2x4 base rails. Stand your six 4x4 posts at the corners and at the 4-foot and 8-foot marks to create the three distinct bays. Secure the posts to the base rails using GRK RSS structural screws (minimum 3-1/8 inch length). These screws feature a washer head that pulls joints tight and resists the sheer force of shifting compost loads.
3. Attach the Slats with Precision Spacing
Use a 1/4-inch spacer block (a scrap piece of 1/4-inch plywood works perfectly) between each 1x6 horizontal slat. Attach the slats to the 4x4 posts using 2-inch exterior-grade Torx (star-drive) deck screws. Torx drives prevent cam-out, allowing you to apply high torque without stripping the screw heads, which is critical when working with dense, rough-sawn cedar.
4. Build Removable Front Slats
For the front of each bay, do not screw the top four slats directly into the posts. Instead, install metal T-track or wooden cleats on the inside of the front posts, allowing the top slats to slide out vertically. This enables you to lower the front wall as the pile grows, and easily access the curing compost for harvesting with a pitchfork.
Managing the C:N Ratio for Premium Soil Amendments
The physical structure of your 3-bay system is only half the equation; the biological management dictates the quality of your final soil amendment. According to the Environmental Protection Agency (EPA), the ideal Carbon-to-Nitrogen (C:N) ratio for rapid composting is between 25:1 and 30:1. However, the target ratio shifts depending on your end goal for the garden.
Expert Insight: If you are producing compost specifically for heavy-feeding vegetable crops, aim for a slightly lower C:N ratio (20:1) by increasing nitrogen-rich 'greens' like grass clippings and coffee grounds. If your goal is a stable, woody mulch for perennial beds or fruit trees, push the ratio to 40:1 using abundant oak leaves and wood chips, which breaks down slower but provides superior long-term soil structure and moisture retention.
As noted by the University of Minnesota Extension, maintaining internal pile temperatures between 135°F and 160°F is non-negotiable for destroying weed seeds and soil-borne pathogens like verticillium wilt. The 3-bay system facilitates this: once Bay 1 peaks in temperature and begins to drop, you physically pitchfork the entire mass into Bay 2. This turning action reintroduces oxygen to the anaerobic core, triggering a secondary heating phase that guarantees a biologically safe, weed-free soil amendment.
Troubleshooting Common Bin Failures and Biological Stalls
Even with a perfectly engineered cedar bin, environmental variables can disrupt the decomposition process. Use this diagnostic matrix to correct issues before they ruin a batch of compost.
- Symptom: Ammonia Odor. Cause: C:N ratio is too low (excess nitrogen). Fix: Immediately mix in 2 parts high-carbon browns (shredded cardboard, dry leaves) to 1 part greens, and turn the pile into the adjacent bay to aerate.
- Symptom: Structural Bowing on Side Walls. Cause: Hydrostatic pressure from wet, heavy clay soils or saturated compost. Fix: Install a 2x4 horizontal cross-brace across the middle of the 4-foot span, secured with structural lag bolts, to distribute the lateral load.
- Symptom: Pile is Cold and Stagnant. Cause: Moisture content has dropped below 40%, halting microbial metabolism. Fix: The compost should feel like a wrung-out sponge. Attach a soaker hose to a rain barrel and slowly drip water into the pile while turning it into Bay 2 to ensure even moisture distribution without waterlogging the base.
- Symptom: White, Ashy Mold on Slats. Cause: Saprophytic fungi colonizing the cedar. Fix: This is harmless and indicates high biological activity, but if it accelerates wood decay, scrub the interior slats annually with a 10% white vinegar solution and allow the bin to dry completely between winter batches.
Building a compost bin with this level of precision transforms a simple backyard chore into a controlled soil-manufacturing operation. By investing in rot-resistant cedar, engineering for passive airflow, and utilizing the 3-bay batch system, you guarantee a continuous supply of pathogen-free, nutrient-dense humus that will fundamentally elevate your garden's soil food web.

