
Gardening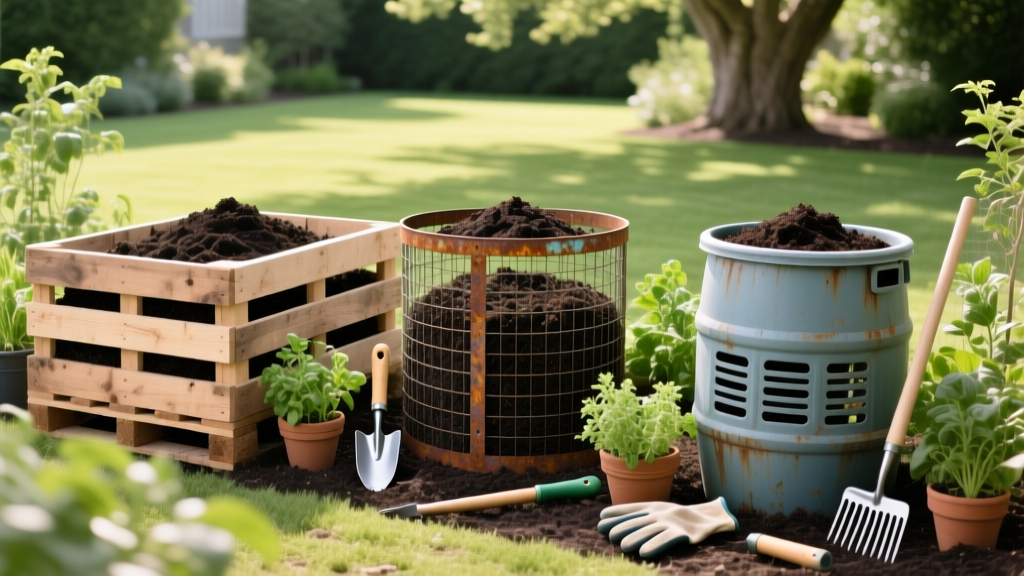
How to Build Compost Bins: 3 DIY Designs for Gardens
Why DIY Compost Bins Outperform Store-Bought Models
Learning how to build compost bins at home is one of the highest-ROI projects for any serious gardener. Most commercial plastic compost tumblers and enclosed bins fail to achieve the critical mass required for thermophilic (hot) composting. They restrict airflow, trap excess moisture, and often cost upwards of $150 to $300. A properly designed DIY system, by contrast, leverages passive aeration, accommodates the necessary 27-cubic-foot minimum volume, and can be constructed for under $50 using upcycled or basic hardware store materials.
This guide breaks down three distinct build methodologies tailored to different budgets and spatial constraints, providing exact material specifications, structural dimensions, and failure-point mitigations to ensure your system produces finished, pathogen-free humus in 60 to 90 days.
Design Comparison Matrix: Pallet vs. Hardware Cloth vs. Cedar
Before purchasing materials, evaluate which structural approach aligns with your site conditions, local wildlife pressure, and budget. The table below contrasts the three primary DIY methods.
| Feature | 3-Bay Pallet System | Hardware Cloth Cylinder | Cedar Wood Box |
|---|---|---|---|
| Estimated Cost (2026) | $15 - $40 (Hardware only) | $45 - $65 | $180 - $250 |
| Build Time | 2 - 3 Hours | 45 Minutes | 6 - 8 Hours |
| Rodent Resistance | Low (Requires retrofitting) | High (1/2-inch mesh) | Medium-High |
| Lifespan | 3 - 5 Years | 10+ Years (Galvanized) | 10 - 15 Years |
Design 1: The 3-Bay Pallet Compost System
The three-bay pallet system is the gold standard for high-volume gardeners. It allows you to manage three distinct phases of decomposition simultaneously: fresh inputs (Bay 1), active thermophilic breakdown (Bay 2), and curing/finishing (Bay 3).
Materials and Dimensions
- Pallets: Seven standard 48x40-inch wooden pallets. (Four for the back wall, three for the front dividers).
- Fasteners: 3-inch #8 exterior-grade Torx wood screws (do not use drywall screws; they will shear under lateral soil pressure).
- Corner Braces: Four heavy-duty galvanized mending plates for structural rigidity.
Step-by-Step Assembly
- Site Preparation: Level a 12x4-foot area. Lay down a base of 1/2-inch galvanized hardware cloth to prevent burrowing rodents from entering from below.
- Back Wall Construction: Stand four pallets on their 48-inch edges. Drive three 3-inch screws through the corner blocks of each adjacent pallet to bind them together.
- Divider Walls: Attach three pallets perpendicular to the back wall, creating three 48x48-inch bays. Secure them to the back wall using exterior screws driven at a 45-degree angle through the stringers.
- Front Retention Boards: Instead of using a full pallet for the front (which makes turning difficult), install a vertical track using 2x4 wood scraps on the front edges. Cut 1x6 pine boards to 46 inches and slide them down the tracks as the bin fills, allowing you to remove the bottom boards easily when harvesting finished compost.
Crucial Safety Warning: Pallet Toxicity. Never use random pallets without checking the IPPC stamp. You must only use pallets stamped with HT (Heat Treated). Avoid any pallet stamped with MB (Methyl Bromide), as this toxic fungicide will leach into your compost and subsequently into your food crops. Unmarked pallets should also be avoided due to unknown chemical spill histories.
Design 2: Heavy-Duty Hardware Cloth Cylinder
If you lack the space for a 3-bay system or need a rapid, low-skill build, a hardware cloth cylinder provides excellent 360-degree aeration. This design relies on the structural integrity of the wire itself to contain the pile.
Sourcing the Right Wire
Do not use chicken wire (poultry netting). Chicken wire is too flimsy to contain the lateral pressure of a heavy, wet compost pile, and raccoons or rats can easily tear through it. Purchase a 50-foot roll of 16-gauge or 14-gauge galvanized hardware cloth with a 1/2-inch x 1/2-inch mesh. As of 2026, expect to pay between $45 and $65 for a 3-foot tall roll at major home improvement centers.
Assembly Instructions
- Cut a 10-foot length of hardware cloth using heavy-duty aviation snips. Wear thick leather gloves; the cut edges are exceptionally sharp.
- Roll the wire into a cylinder approximately 3 feet in diameter.
- Overlap the ends by 6 inches. Secure the vertical seam using galvanized hog rings spaced every 4 inches, applied with hog ring pliers. Heavy-duty UV-rated zip ties work in a pinch but will degrade and snap after two seasons of sun exposure.
- Drive three 3-foot galvanized steel T-posts into the ground inside the cylinder, spaced evenly, to prevent the bin from bulging outward when loaded with dense, wet kitchen scraps.
The Physics of Hot Composting: Dimensions and Aeration
According to the EPA's composting guidelines, achieving thermophilic temperatures (130°F to 160°F) is essential for killing weed seeds and plant pathogens. This biological heat generation requires a minimum critical mass. A pile smaller than 3 feet by 3 feet by 3 feet (1 cubic yard) will lose heat to the ambient air faster than the microbes can generate it.
Both the pallet and cylinder designs outlined above meet this 27-cubic-foot minimum threshold. However, volume alone is insufficient without the correct Carbon-to-Nitrogen (C:N) ratio. The University of Minnesota Extension recommends a starting C:N ratio of roughly 30:1 by weight. In practical volume terms, this translates to roughly 3 parts browns to 1 part greens.
| Material Category | Examples | Function |
|---|---|---|
| Browns (Carbon) | Dry autumn leaves, shredded cardboard, straw, pine needles | Provides energy for microbes, creates physical air pockets |
| Greens (Nitrogen) | Vegetable scraps, coffee grounds, fresh grass clippings | Provides protein/amino acids for microbial reproduction |
Common Build Mistakes and Structural Failures
Even with the right materials, poor execution leads to anaerobic, foul-smelling sludge. Avoid these frequent errors:
- Skipping the Base Mesh: Failing to lay hardware cloth beneath the bin invites voles and mice. They will tunnel into the pile to eat kitchen scraps and breed, turning your compost into a rodent sanctuary.
- Using Untreated Pine for Retention Boards: If building a cedar box or using wood for pallet tracks, untreated pine will rot within 18 months when exposed to the high moisture and acidic environment of active compost. Use cedar, redwood, or composite decking boards for any wood touching the pile.
- Over-compacting the Pile: When adding materials, do not stomp them down. Hot composting requires oxygen. If the pile is compacted, it goes anaerobic, dropping the pH and producing hydrogen sulfide (a rotten egg odor). Always fluff the materials with a pitchfork when adding new layers.
Frequently Asked Questions
Do I need to build a lid for my compost bin?
A solid lid is not strictly necessary for the biology of composting, but it is highly recommended in climates with heavy rainfall. Excess rain fills the pore spaces in the pile, displacing oxygen and drowning aerobic microbes. A simple corrugated plastic panel or a repurposed pallet door weighted down with bricks will shed excess water while still allowing the pile to breathe.
How do I harvest finished compost from a wire cylinder?
Because a cylinder lacks a side door, harvesting requires the 'lift and shift' method. Once the bottom 12 inches of the pile has broken down into dark, crumbly humus, simply grab the edges of the hardware cloth, lift the entire cylinder up and over the pile, and set it down a few feet away. Shovel the finished compost from the bottom of the pile into a wheelbarrow, then toss the unfinished top layer back into the empty cylinder to continue breaking down.

