
Gardening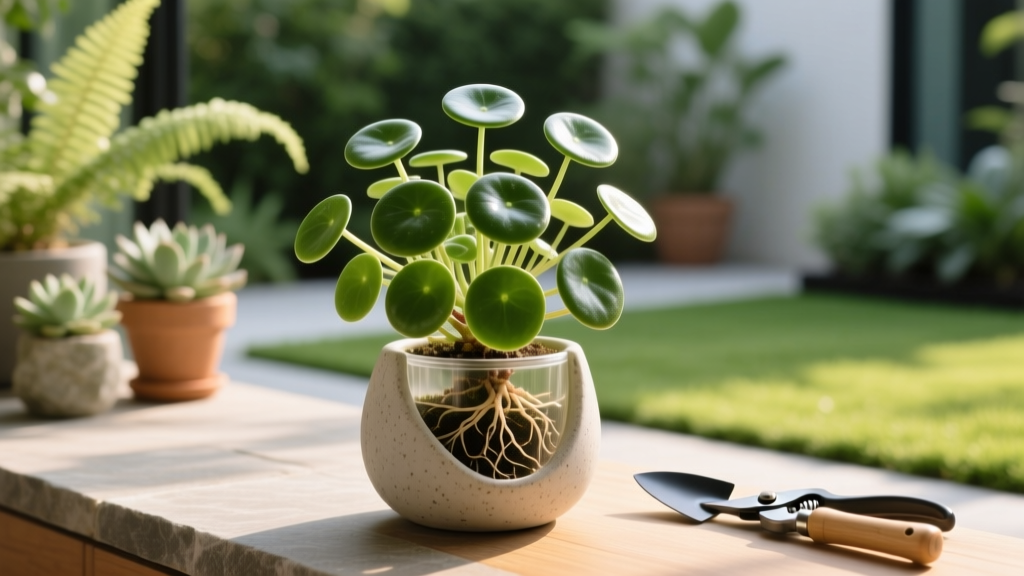
Money Plant Care Instructions: Establishment & Propagation Guide
Botanical Disambiguation: Identifying Your 'Money Plant'
Before executing any money plant care instructions, you must accurately identify your specimen. The common name 'money plant' is applied to several unrelated species globally. This guide focuses exclusively on Epipremnum aureum (commonly known as Golden Pothos, Devil's Ivy, or the true Money Plant in South and Southeast Asia), which is the most widely cultivated vining variety.
| Common Name | Botanical Name | Growth Habit | Primary Care Focus |
|---|---|---|---|
| Money Plant / Pothos | Epipremnum aureum | Vining / Trailing | Aroid soil mix, node propagation |
| Money Tree | Pachira aquatica | Upright / Braided trunk | Deep watering, high humidity |
| Chinese Money Plant | Pilea peperomioides | Upright / Pups at base | Well-draining succulent mix |
| Jade Plant (Money Tree) | Crassula ovata | Succulent / Shrub | Drought cycles, high light |
The Ideal Soil Matrix for Epipremnum aureum
Commercial 'indoor potting mixes' straight from the bag are often too dense and moisture-retentive for Epipremnum aureum, leading to hypoxia (oxygen deprivation) in the root zone during the critical establishment phase. To prevent root rot and encourage rapid root expansion, you must create a chunky, well-aerated aroid mix.
The 4-Part Establishment Recipe
- 40% Premium Potting Soil: Use a high-quality base like FoxFarm Ocean Forest or Espoma Organic Potting Mix. Avoid heavy peat-only blends.
- 30% Orchid Bark: Fir or pine bark chunks (1/2 inch size) create permanent air pockets. Brands like Better-Gro are widely available and cost-effective.
- 20% Coarse Perlite: Use #3 or #4 horticultural perlite (not the fine dust found in cheap mixes) to ensure rapid drainage.
- 10% Worm Castings: Provides a gentle, slow-release microbial inoculant and baseline nutrients without burning tender new roots.
⚠️ Warning on Nurseries Mix: If your newly purchased money plant is in dense, soggy nursery soil, do not wait to repot. Gently remove the top 30% and bottom 30% of the nursery soil before potting it into your custom matrix. Leaving the dense core intact creates a 'perched water table' effect, where the nursery soil stays wet while your new mix dries out.
Step-by-Step Establishment: Potting & First Watering
Proper potting technique dictates the success of the first 30 days. Follow these exact parameters for transplanting or up-potting.
- Select the Right Vessel: Choose a pot that is exactly 1 to 2 inches wider in diameter than the current root ball. Never over-pot; excess soil holds excess water. Ensure the pot has at least one drainage hole larger than 1/2 inch.
- Create a Drainage Base: Place a single piece of fiberglass window screen or a coffee filter over the drainage hole to prevent soil loss while allowing water to escape.
- Position the Root Ball: Add a 1-inch layer of your custom soil matrix to the bottom. Place the plant so the top of the root ball sits 1/2 inch below the pot's rim.
- Backfill and Tamp: Fill the gaps with your soil mix. Tap the sides of the pot firmly against the table three times to settle the soil. Do not press down on the soil with your hands, as this crushes the perlite and bark structure.
- The Establishment Soak: Water slowly until 20% of the water volume exits the drainage hole. This initial soak activates the worm castings and settles the soil around the roots.
Propagation Protocols: Water vs. Soil Rooting
Expanding your collection requires precise cutting techniques. Epipremnum aureum roots from the nodes (the brown bumps on the stem where leaves emerge). A cutting without a node will never produce roots.
Decision Framework: Which Method to Choose?
| Metric | Water Propagation | Direct Soil Propagation |
|---|---|---|
| Best Environment | Low humidity homes (under 40% RH) | High humidity / Terrarium setups |
| Rooting Timeline | 10 to 14 days for initial nubs | 21 to 35 days for soil integration |
| Root Type Produced | Water roots (fragile, white, brittle) | Soil roots (robust, brown, fuzzy) |
| Transplant Shock | High (water roots must adapt to soil) | None (roots are already adapted) |
Pro Tip for Water Rooting: If using water propagation, add a single drop of liquid kelp extract (like Neptune's Harvest) to the water. Change the water every 5 days to prevent bacterial stagnation. Transfer the cutting to soil when the water roots are exactly 2 inches long—waiting longer increases transplant shock.
The First 90 Days: Light, Water, and Nutrient Schedules
The establishment phase (days 1 through 90) requires strict environmental control. Do not fertilize during the first 60 days; the worm castings in your soil mix provide sufficient baseline nutrition.
Light Requirements (Lux Metrics)
While Epipremnum aureum is marketed as a 'low light' plant, this is a survival trait, not a thriving condition. For rapid establishment and to maintain variegation in cultivars like 'Golden' or 'Marble Queen', provide 10,000 to 20,000 lux of indirect light for 8 to 10 hours daily. Place the plant 3 to 5 feet away from an unobstructed East or West-facing window. Direct midday sun (exceeding 40,000 lux) will scorch the foliage, causing irreversible bleached patches.
The 'Soak and Dry' Watering Protocol
Abandon calendar-based watering. Instead, use the physical weight and moisture-depth method:
- Days 1-30: Water when the top 1 inch of soil feels dry to the touch. The root system is small and cannot pull water from the bottom of the pot yet.
- Days 31-90: Insert a wooden skewer or a digital moisture meter into the soil. Water only when the top 50% of the soil volume is dry. When watering, soak until runoff, then empty the saucer immediately. Never let the pot sit in standing water.
Fertilizer Introduction (Day 60+)
At day 60, begin a half-strength liquid fertilizer regimen. Use a premium synthetic or organic blend with a high nitrogen ratio to support vegetative vine growth. Dyna-Gro 7-9-5 Foliage-Pro is the industry standard for aroids, providing all 16 essential macro and micronutrients. Apply at 1/4 teaspoon per gallon of water every third watering.
Troubleshooting Establishment Failures
Even with precise money plant care instructions, environmental variables can cause stress. Use this diagnostic guide to correct issues during the first 90 days.
- Symptom: Yellowing leaves starting at the base, accompanied by a foul, swampy odor from the soil.
Diagnosis: Pythium root rot caused by overwatering or dense soil.
Fix: Unpot immediately. Wash roots in a 3% hydrogen peroxide solution. Trim black/mushy roots with sterilized shears. Repot in fresh, dry aroid mix and withhold water for 5 days. - Symptom: Crispy, brown leaf margins and tips.
Diagnosis: Low ambient humidity (below 30%) combined with tap water fluoride/chlorine toxicity.
Fix: Switch to filtered or distilled water. Group the plant with other tropicals to create a microclimate, or place a humidifier nearby to maintain 50%+ relative humidity. - Symptom: New leaves are emerging entirely green on a variegated cultivar.
Diagnosis: Insufficient light intensity. The plant is reverting to solid green to maximize chlorophyll production for survival.
Fix: Move the plant 2 feet closer to the light source or supplement with a full-spectrum LED grow light (like the Sansi 15W) placed 12 inches above the canopy for 10 hours daily.
Authoritative Sources & Further Reading
For deeper botanical data and safety information regarding Epipremnum aureum, consult these established horticultural and veterinary databases:
- Missouri Botanical Garden: Epipremnum aureum Plant Finder Profile - Comprehensive taxonomic data, hardiness zones, and cultural requirements.
- ASPCA: Pothos Toxicity Report - Critical safety information regarding calcium oxalate crystals and pet exposure protocols.

