
Gardening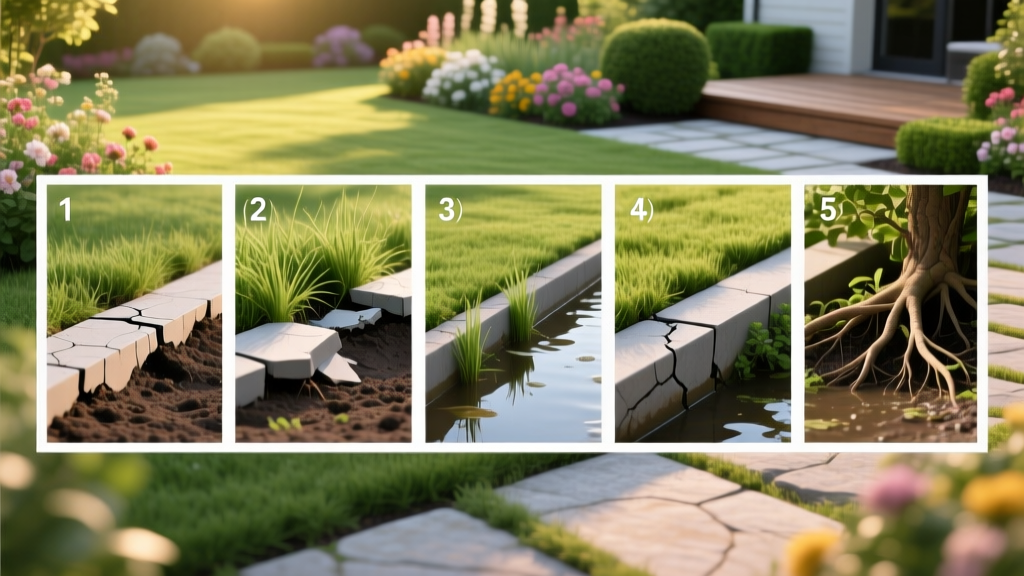
Bordering a Garden: Diagnosing & Fixing 5 Common Edging Failures
The Hidden Costs of Failing Garden Borders
When bordering a garden, most homeowners focus on the initial aesthetic—clean lines and fresh mulch. However, within one to two growing seasons, poorly planned borders degrade into a maintenance nightmare. Grass creeps into planting beds, mulch washes onto the lawn, and mower wheels drop into uneven trenches, scalping your turf. According to the University of Minnesota Extension, improper turf-to-bed separation is a leading cause of lawn edge decline and increased weed pressure.
Rather than ripping out your borders and starting over every spring, you need to diagnose the specific mechanical or biological failure causing the issue. Below is a comprehensive diagnostic framework to identify why your garden borders are failing and the exact materials and measurements required to fix them permanently.
Quick Diagnostic Matrix: Symptom to Root Cause
| Visible Symptom | Underlying Root Cause | Immediate Fix Protocol |
|---|---|---|
| Bermuda/Zoysia growing under the edging | Rhizomes bypassing shallow plastic barriers | Install 6-inch to 8-inch deep steel or aluminum edging |
| Mower wheels dropping, scalping lawn edges | 'Trenching' method used without a mowing strip | Install a flush 4-inch wide brick or paver mowing strip |
| Mulch spilling onto the turf after rain | Border height is lower than the mulch grade | Upgrade to 8-inch retaining-style Corten steel or stone |
| Edging popping out of the ground in spring | Frost heave in USDA Zones 5 and below | Switch to flexible aluminum with overlapping slip joints |
Problem 1: The 'Trench of Doom' and Mower Scalping
The most common amateur technique for bordering a garden is digging a narrow, 4-inch deep trench (often called an 'English trench' or 'spade edge') between the lawn and the mulch bed. While this looks crisp on day one, it creates a structural trap.
Why It Fails
When you mow, the right wheel of your mower inevitably drops into the trench. This tilts the mower deck downward, causing the blade to scalp the grass on the lawn side while leaving the grass inside the bed uncut. Furthermore, soil erosion quickly fills the trench, turning it into a muddy catch-basin that breeds weeds.
The Solution: A Flush Mowing Strip
Replace the trench with a dedicated mowing strip. This is a flat, hardscape border installed perfectly flush with the final soil grade.
- Material: Use 4-inch wide by 8-inch long clay pavers or concrete edging stones. Avoid natural stone, as irregular thicknesses cause uneven mower tracking.
- Installation Depth: Excavate a 3-inch trench. Lay down a 1-inch base of coarse builder's sand (not play sand, which retains too much moisture). Tamp the sand, lay the pavers, and ensure the top of the paver is exactly 1/8-inch below the top of the grass canopy. This allows the mower blade to cut the grass slightly over the edge without the deck scraping the brick.
- Cost Expectation: Clay pavers average $1.20 to $2.50 each. For a 50-foot border, expect to spend roughly $80 to $150 on materials.
Problem 2: Creeping Lawn Invasion (Rhizomatous Grasses)
If you are bordering a garden adjacent to aggressive warm-season grasses like Bermuda (Cynodon dactylon) or Zoysia, standard black plastic roll-edging will fail within 18 months. These grasses spread via rhizomes (underground stems) that can easily dive beneath shallow barriers.
Why Plastic Edging Fails
Consumer-grade plastic edging typically extends only 4 to 5 inches into the soil. Bermuda rhizomes in loose, amended garden soil can easily push down 6 to 8 inches to bypass the barrier, popping up on the mulch side where they rapidly colonize the bed.
The Solution: Commercial-Grade Metal Edging
You must install a physical barrier that exceeds the maximum rooting depth of the rhizomes.
- Material: 14-gauge Corten steel or heavy-duty aluminum (such as Permaloc or Dimex EdgePro). Steel provides the rigidity needed to resist soil pressure, while aluminum offers flexibility for curved beds.
- Dimensions: Select a 6-inch deep profile minimum. If your soil is highly amended and loose, opt for an 8-inch profile.
- Joint Overlap: Rhizomes will exploit any gap. When joining two pieces of metal edging, overlap the joints by at least 4 inches and secure them with heavy-duty steel stakes driven at a 45-degree angle into the soil.
Problem 3: Mulch Washout and Soil Erosion
Garden beds are typically mounded 2 to 3 inches higher than the surrounding lawn to improve drainage for plant roots. When bordering a garden with a slight slope, heavy rainfall causes the mulch and topsoil to wash over low-profile borders and spill onto the turf.
The Solution: Retaining-Style Borders
Standard edging is meant to separate, not retain. For elevated beds, you need a retaining border capable of holding back lateral soil pressure.
- Material: Stacked retaining wall blocks (minimum 6-inch height) or 1/8-inch thick Corten steel panels bent to form an L-shape footing.
- Hydrology Fix: According to research from NC State Extension, proper mulching and drainage are critical for soil health. To prevent hydrostatic pressure from blowing out your retaining border, install a 2-inch perforated PVC pipe wrapped in landscape fabric behind the border, sloping away to a lower drainage point. This relieves water pressure during heavy storms.
Warning: Frost Heave in Northern Zones
If you live in USDA Hardiness Zones 5 or below, rigid steel or concrete borders are susceptible to frost heave. As soil moisture freezes and expands, it pushes rigid borders upward, leaving them protruding 2 to 3 inches above grade by spring. The Fix: Use flexible aluminum edging with slip-joint connections. Aluminum expands and contracts with temperature shifts, and the slip joints allow the material to shift slightly without buckling or breaking the surface grade.
Material Comparison: Choosing the Right Border
Selecting the correct material is the most critical decision when bordering a garden. Use this comparison matrix to match the material to your specific site conditions.
| Material | Best Use Case | Lifespan | Cost per Linear Ft. | Failure Mode |
|---|---|---|---|---|
| Black Plastic (HDPE) | Small, low-traffic annual beds; tight curves | 3-5 Years | $1.00 - $2.00 | UV degradation, bypassed by rhizomes |
| Bender Board (Composite) | Curved beds in mild climates | 10-15 Years | $3.50 - $5.00 | Warping in high heat, stake pull-out |
| 14-Gauge Corten Steel | Straight lines, modern aesthetics, heavy retention | 25+ Years | $6.00 - $12.00 | Rust staining on adjacent concrete/pavers |
| Extruded Aluminum | Freeze-thaw zones, sweeping curves | 20+ Years | $5.00 - $9.00 | Bending under heavy mower impact |
Final Execution Checklist
Before breaking ground on your new border, verify these three critical measurements:
- Grade Check: Run a string line from the lawn grade to the bed grade. Ensure your chosen material height exceeds the mulch depth by at least 1/2 inch.
- Utility Sweep: Always call 811 before digging trenches deeper than 4 inches to avoid severing shallow irrigation lines or fiber-optic cables.
- Stake Spacing: For metal edging, drive anchoring stakes every 3 feet on straight runs, and every 18 inches on curves to prevent the metal from bowing outward under the weight of wet mulch.

