
Gardening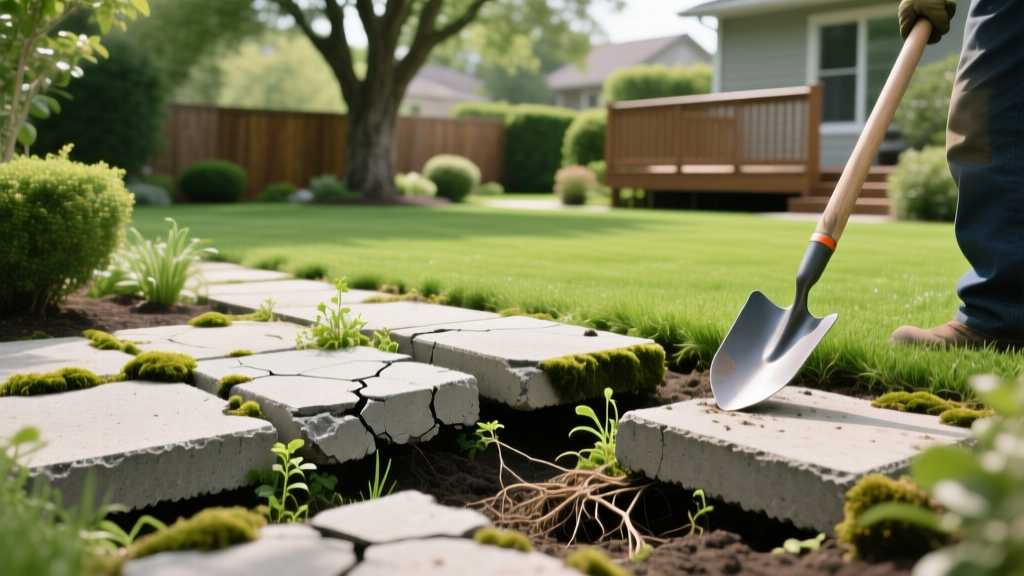
Garden Concrete Block Problems: Diagnosis and Repair Guide
The Hidden Chemistry and Physics of Concrete Block Garden Beds
Concrete blocks (often interchangeably called cinder blocks) are a staple for raised beds, retaining walls, and garden borders due to their low cost and modular stacking. However, their porous nature and alkaline composition create three distinct failure modes in garden environments: mineral leaching, moisture-driven surface staining, and base destabilization. Diagnosing the exact failure mechanism is critical before applying a fix, as treating a structural shift with surface sealers will only mask a failing foundation.
Problem 1: Efflorescence and Algae Colonization
Diagnosis: The White Powder and Green Slime
Efflorescence appears as a chalky white crust on the face of your garden concrete blocks. This is not mold; it is a crystalline deposit of water-soluble salts (primarily calcium sulfate and sodium carbonate). When irrigation water or rain penetrates the porous concrete, it dissolves these internal salts. As the moisture migrates to the surface and evaporates, the salts are left behind. Conversely, dark green or black staining indicates algae or cyanobacteria colonization, which thrives in the micro-pockets of moisture trapped in unsealed concrete.
Solution: Chemical Stripping and Hydrophobic Sealing
Pressure washing alone will not remove heavy efflorescence and can actually drive moisture deeper into the block, worsening the cycle. You must dissolve the mineral deposits chemically before sealing.
- Acid Wash for Efflorescence: Mix a solution of 1 part muriatic acid to 10 parts water. Always add acid to water, never water to acid. Apply with a stiff-bristled nylon brush, let it dwell for 3 to 5 minutes, and rinse thoroughly. Neutralize the surface afterward with a baking soda and water rinse (1 cup baking soda per gallon).
- Algae Removal: For biological growth, avoid bleach, which harms adjacent soil microbiology. Use a 50/50 mix of white vinegar and water, or a commercial oxygen bleach solution (sodium percarbonate).
- Apply a Siloxane Sealer: Once the blocks are bone-dry (wait 48 hours after washing), apply a penetrating silane/siloxane water-repellent sealer. As of 2026, premium solvent-based siloxane sealers cost between $45 and $65 per gallon. Unlike film-forming acrylics that peel and trap moisture, siloxanes penetrate up to 1/4 inch into the concrete matrix, creating a hydrophobic barrier that stops water ingress while allowing water vapor to escape.
Warning: Never apply a surface sealer to concrete blocks that are currently damp or have active efflorescence. Trapping moisture inside the block will cause spalling (surface flaking) during winter freeze-thaw cycles.
Problem 2: Frost Heave and Structural Shifting
Diagnosis: Leaning Walls and Separated Joints
If your concrete block retaining wall or raised bed is leaning outward, or if the blocks have separated vertically, you are experiencing frost heave or hydrostatic pressure failure. This occurs when blocks are placed directly on native topsoil or clay. Clay soils expand significantly when saturated and frozen, pushing the blocks upward unevenly. When the soil thaws, it settles unevenly, leaving the wall structurally compromised.
Solution: Base Excavation and Aggregate Interlock
Fixing a shifted wall requires partial dismantling and base reconstruction. You cannot simply push the blocks back into place.
- Excavation Depth: Dig a trench beneath the first course of blocks. In USDA Hardiness Zones 4 through 6, excavate a minimum of 12 inches below grade. In Zones 1 through 3, you must dig below the local frost line (often 36 to 48 inches).
- The Gravel Base: Do not use rounded pea gravel, which rolls and shifts under load. Use 3/4-inch minus crushed angular gravel. The jagged edges interlock when compacted, creating a semi-rigid base that drains water instantly, preventing ice lens formation.
- Compaction Protocol: Fill the trench in 2-inch lifts (layers). Compact each lift using a hand tamper for small beds or a vibratory plate compactor for walls over 10 feet long. Aim for 95% Proctor density.
Problem 3: Soil pH Alteration (The Lime Leaching Effect)
Diagnosis: Iron Chlorosis and Stunted Growth
Concrete is highly alkaline, with a natural pH ranging from 11 to 13. As it weathers, it continuously leaches calcium hydroxide (free lime) into the adjacent soil. Over two to three growing seasons, the soil immediately touching the interior walls of a concrete block raised bed can see its pH rise above 7.5. At this alkalinity, essential micronutrients like iron, manganese, and zinc become chemically locked up, resulting in interveinal chlorosis (yellowing leaves with green veins) in acid-loving plants like blueberries, azaleas, and tomatoes.
Solution: Physical Barriers and Chemical Buffering
To protect your soil chemistry, you must isolate the soil from the concrete matrix.
For New Builds: Line the interior walls of the concrete block bed with a 6-mil HDPE (high-density polyethylene) pond liner before adding soil. Avoid PVC or cheap polyethylene sheeting, which degrades under UV exposure and soil acids within a few years. Secure the HDPE liner to the top lip of the blocks using landscape fabric pins, ensuring it extends all the way to the bottom drainage layer.
For Existing Beds: If plants are already showing chlorosis, you must buffer the soil. According to University of Minnesota Extension guidelines on modifying soil pH, applying elemental sulfur is the most effective long-term method to lower alkaline soil pH. Incorporate 1 to 2 pounds of elemental sulfur per 100 square feet of bed space into the top 6 inches of soil. Note that sulfur relies on soil bacteria to convert it to sulfuric acid, meaning it takes 3 to 6 months to fully react. For an immediate fix, apply a chelated iron foliar spray directly to the plant leaves.
Chemical Treatment and Material Matrix
Use the following reference table to select the correct diagnostic treatment for your specific garden concrete block issue.
| Issue | Agent / Material | Ratio / Specification | Application Note |
|---|---|---|---|
| Heavy Efflorescence | Muriatic Acid | 1 part acid : 10 parts water | Neutralize with baking soda post-wash |
| Algae / Cyanobacteria | Sodium Percarbonate | 1/2 cup per gallon of warm water | Safe for adjacent soil and plant roots |
| Moisture Ingress | Silane/Siloxane Sealer | Undiluted (approx. 150 sq ft/gal) | Apply only to bone-dry concrete |
| Frost Heave Base | 3/4" Minus Crushed Gravel | 12" minimum depth (Zones 4-6) | Compact in 2" lifts to 95% density |
| Lime Leaching | 6-mil HDPE Liner | Full interior wall coverage | Pin to top lip; do not puncture base |
Step-by-Step Repair Workflow for a Failing Block Wall
If your garden wall exhibits both shifting and staining, follow this sequential repair protocol to ensure the structural fixes are not undone by subsequent moisture damage.
Pro Tip: When restacking concrete blocks, stagger the vertical joints (running bond pattern). If using hollow-core blocks, drive 1/2-inch fiberglass rebar vertically through the cores and fill the voids with coarse sand or crushed gravel to add shear strength without the rigidity of mortar, which cracks under frost movement.
- Dismantle and Sort: Remove the shifted blocks. Use a wire brush to clean old soil and root mass from the mating surfaces.
- Rebuild the Base: Excavate the failed trench section. Lay down a non-woven geotextile fabric to prevent the new gravel base from mixing with the native clay subsoil over time. Add and compact the 3/4-inch minus gravel.
- Restack and Align: Restack the blocks, using a 4-foot level to check for plumb and grade every two courses. Backfill the rear of the wall with 1/2-inch clear drainage gravel to relieve hydrostatic pressure.
- Clean the Surface: Once the wall is structurally sound and backfilled, perform the acid wash or oxygen bleach cleaning as outlined in the matrix above.
- Seal and Protect: Allow 48 hours of dry weather, then apply two flood coats of your siloxane sealer using a low-pressure pump sprayer, ensuring the joints and cores are thoroughly saturated.
For more insights on managing alkaline garden environments, the Gardening Know How guide on using cinder blocks provides excellent supplementary reading on crop selection for unlined beds. By understanding the material science behind your garden concrete blocks, you can transition from reactive patching to proactive landscape engineering, ensuring your hardscaping supports—rather than sabotages—your garden's health.

