
Gardening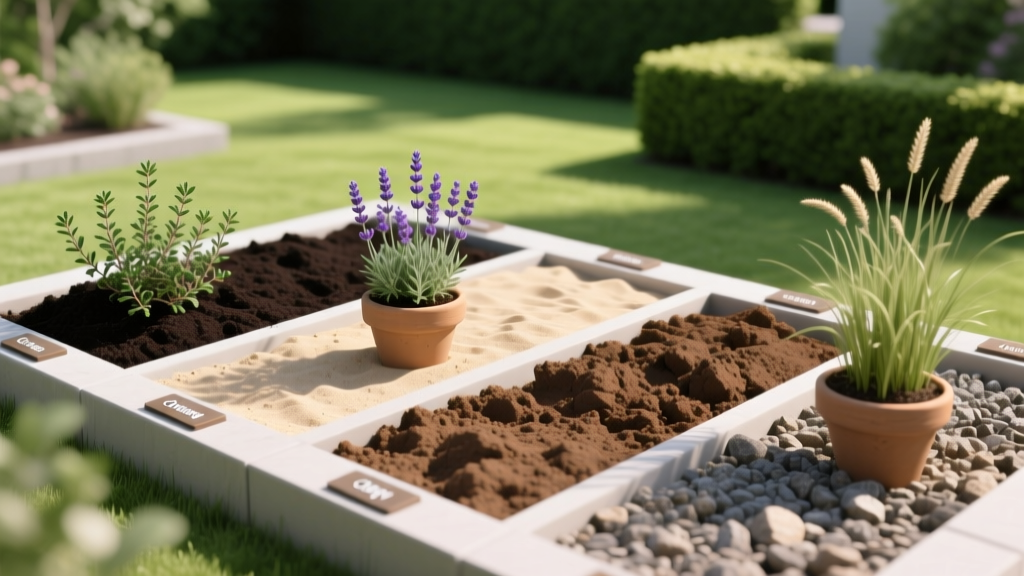
What Are the Kinds of Soil? The Ultimate Garden Identification Guide
The foundation of every successful garden lies beneath the surface. When gardeners ask, "what are the kinds of soil?", they are usually trying to solve a drainage issue, a nutrient deficiency, or a compaction problem. Soil is not just dirt; it is a complex matrix of mineral particles, organic matter, water, and air. The physical behavior of your soil—how it drains, holds nutrients, and supports root structures—is dictated entirely by the proportional mix of its mineral particles: sand, silt, and clay.
To manage your garden effectively, you must move beyond generic topsoil bags and understand the specific texture class of your native earth. This guide breaks down the primary soil types, provides exact field-testing protocols, and outlines targeted amendment strategies with specific product recommendations and application rates.
The Soil Texture Triangle and Particle Physics
Soil texture is classified by the diameter of its mineral particles. This physical dimension directly correlates to the soil's pore space, which dictates water infiltration rates and the Cation Exchange Capacity (CEC)—the soil's ability to hold onto positively charged nutrient ions like calcium, magnesium, and potassium.
- Sand (0.05 to 2.0 mm): Large particles create massive pore spaces. Water drains rapidly (often exceeding 2.0 inches per hour), leaching nutrients before roots can absorb them. CEC is very low (1-5 meq/100g).
- Silt (0.002 to 0.05 mm): Intermediate particles feel like flour when dry and smooth when wet. Silt holds moisture well but is highly susceptible to surface crusting and compaction under foot traffic.
- Clay (Less than 0.002 mm): Microscopic, plate-like particles pack tightly together. Clay drains poorly (less than 0.1 inches per hour) but boasts a massive CEC (25-80 meq/100g), making it a nutrient powerhouse if you can manage the aeration.
According to the USDA Natural Resources Conservation Service, the ideal agricultural soil is "loam," which balances these three particles to optimize both drainage and nutrient retention.
The 6 Primary Kinds of Soil Explained
1. Sandy Soil
Gritty to the touch, sandy soil warms up quickly in the spring, making it excellent for early root crops like carrots and radishes. However, it requires frequent, low-volume irrigation and heavy organic matter incorporation to retain fertility.
2. Silty Soil
Often found in river valleys and floodplains, silty soil is highly fertile and retains moisture better than sand. Its primary failure mode is structural collapse; without organic matter to bind it, silt turns into a hardpan when dry and a slick mud when wet.
3. Clay Soil
Heavy, sticky, and slow to drain. Clay soils are notoriously difficult to work in the spring because they stay cold and waterlogged. When they dry out, they shrink and crack, tearing shallow root systems.
4. Loam Soil
The horticultural gold standard. True loam contains roughly 40% sand, 40% silt, and 20% clay. It holds moisture without becoming waterlogged and provides a stable physical structure for deep root penetration.
5. Peat Soil
Rare in native mineral soils but common in boggy regions or heavily amended beds. Peat is predominantly organic matter. It is highly acidic (pH 3.5 to 5.5), holds immense amounts of water, and is primarily used as an amendment rather than a standalone growing medium.
6. Chalky Soil
Highly alkaline (pH 7.5 to 8.5) and stony, chalky soil is typically found over limestone bedrock. It drains freely but locks up essential micronutrients like iron and manganese, leading to severe chlorosis (yellowing) in acid-loving plants like azaleas and blueberries.
Field Identification: The Ribbon and Jar Tests
Do not guess your soil type based on appearance. Use these two empirical field tests to determine your exact texture class.
The Ribbon Test (Field Texture Estimation)
Take a handful of moist soil (the consistency of a wrung-out sponge) and squeeze it into a ball. Slowly push the soil out between your thumb and forefinger to form a "ribbon."
- Fails to form a ribbon: Sandy or loamy sand.
- Ribbon breaks before 1 inch: Sandy loam, loam, or silt loam.
- Ribbon reaches 1 to 2 inches: Clay loam or silty clay loam.
- Ribbon exceeds 2 inches: Heavy clay.
The Mason Jar Test (Precise Percentage Breakdown)
For exact ratios, perform a mechanical separation test:
- Fill a straight-sided quart mason jar one-third full with native garden soil.
- Add water until the jar is nearly full, plus one teaspoon of liquid dish soap (acts as a dispersing agent to separate clay particles).
- Shake vigorously for 3 minutes, then set the jar on a level surface.
- At 1 minute: Mark the top of the sand layer (the heaviest particles settle immediately).
- At 2 hours: Mark the top of the silt layer.
- At 24 to 48 hours: Mark the top of the clay layer (the water will finally clear).
Measure the height of each layer and divide by the total height of the soil mass to calculate your exact sand/silt/clay percentages. You can then plot these numbers on a soil texture triangle to find your precise classification.
Targeted Amendment Protocols and Costs
Amending soil requires specific interventions based on your identified texture. A common and disastrous mistake is adding sand to clay soil; without the correct particle size distribution, this creates a concrete-like matrix. Instead, use the following targeted protocols.
| Native Soil Type | Primary Issue | Recommended Amendment | Application Rate (per 100 sq ft) | Estimated Material Cost |
|---|---|---|---|---|
| Heavy Clay | Poor drainage, compaction | Expanded Shale (e.g., Profile Porous Ceramic) or Composted Pine Bark | 2.0 cubic feet, tilled into top 6 inches | $12 - $18 per cu ft bag |
| Sandy Loam | Nutrient leaching, low CEC | Biochar (charged with compost tea) or Sphagnum Peat Moss | 1.5 cubic feet, plus 2 lbs organic fertilizer | $20 - $30 per cu ft bag |
| Silty Clay | Surface crusting, poor aeration | Coarse Arborist Wood Chips (top dress) or Gypsum (Calcium Sulfate) | 3-inch wood chip layer OR 4 lbs Gypsum | $5 - $10 per 50lb bag Gypsum |
| Chalky / Alkaline | High pH, iron lockout | Elemental Sulfur and Acidic Organic Matter (Oak leaf mold) | 1.5 lbs Elemental Sulfur per 100 sq ft | $15 per 4lb bag of Sulfur |
Critical Warning on Tilling: Never rototill heavy clay soil when it is wet. Tilling wet clay destroys its aggregate structure, creating massive, impenetrable clods upon drying. Always wait until the soil passes the "ball test"—if you squeeze a handful and it crumbles easily when poked, it is dry enough to work.
Advanced Diagnostics: When to Use a Soil Lab
While physical texture tests tell you how your soil behaves mechanically, they reveal nothing about its chemical baseline. Before investing hundreds of dollars in fertilizers or lime, send a composite sample to a professional agricultural laboratory.
Labs like University of Minnesota Extension Soil Testing or private facilities like Logan Labs (approx. $30 for a standard horticultural panel) will provide exact measurements of your soil's pH, buffer pH (which dictates how much lime is actually needed to change the pH), and base saturation percentages.
Expert Insight: Pay close attention to the Calcium-to-Magnesium ratio on your lab report. An ideal ratio is roughly 6:1 to 7:1. If your magnesium levels are disproportionately high (common in heavy clay soils), it causes the clay particles to flocculate poorly, leading to severe compaction regardless of how much organic matter you add. In this specific edge case, applying Gypsum (Calcium Sulfate) will displace the excess magnesium and restore soil structure without altering the pH.
Collecting a Proper Composite Sample
Do not just scoop soil from the surface. Use a soil probe or a sharp spade to extract a 6-inch vertical slice from at least 5 to 8 different locations across your garden bed. Mix these slices in a clean plastic bucket, remove any debris or roots, and let the soil air-dry in the shade. Bag exactly one cup of this composite mixture in the ziplock bag provided by your testing lab. This ensures the chemical analysis represents the entire root zone, not just a localized anomaly.

