
Gardening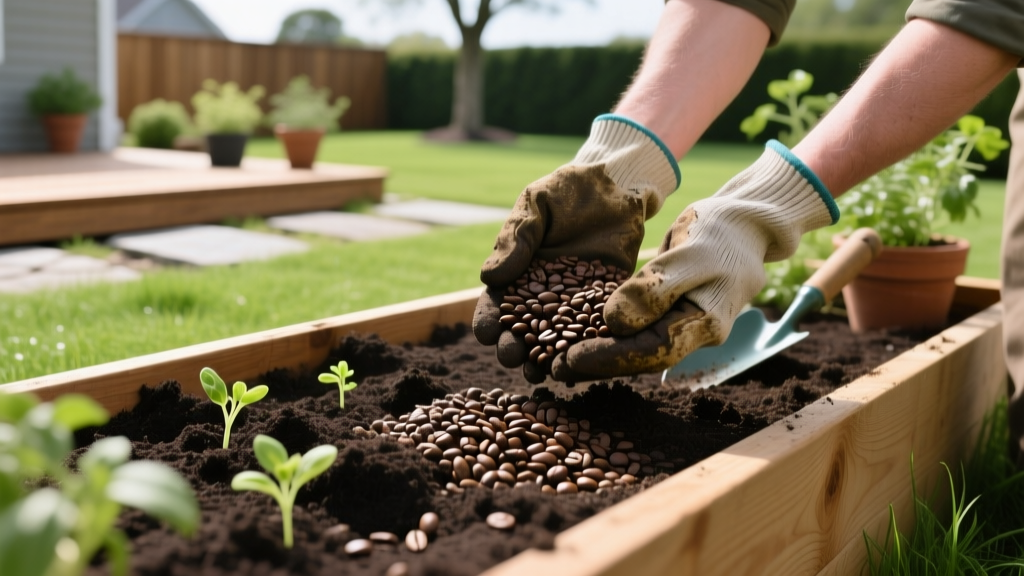
How to Safely Use Gardening Coffee Grounds for Soil Prep
The pH Reality Check: Are Brewed Grounds Actually Acidic?
The most persistent myth in horticulture is that coffee grounds will drastically lower your soil pH. While raw, unbrewed coffee beans and grounds are indeed acidic (pH 5.0 to 5.5), the brewing process extracts the vast majority of the organic acids into your cup. What remains in the filter—the spent grounds you actually apply to your garden—has a nearly neutral pH ranging from 6.5 to 6.8. Therefore, using gardening coffee grounds will not effectively acidify alkaline soils for acid-loving plants like azaleas or blueberries. If you need to lower soil pH, elemental sulfur or aluminum sulfate are the correct chemical amendments.
However, the near-neutral pH of spent grounds makes them an exceptionally safe, versatile organic matter amendment for the majority of vegetable and ornamental beds. They improve soil structure, increase water retention in sandy soils, and enhance drainage in heavy clays by promoting micro-aggregate formation.
Step-by-Step: Integrating Grounds into Garden Soil
Applying raw organic matter directly to planting zones can trigger nitrogen immobilization and allelopathic interference. Follow this precise protocol to integrate grounds safely.
Step 1: Leaching Fresh Grounds (If Uncomposted)
Freshly brewed grounds contain residual caffeine and tannic acid. Caffeine is an allelopathic chemical designed by the coffee plant to stunt the growth of competing seedlings. If you are applying grounds directly to soil rather than composting them first, place the wet grounds in a burlap sack or fine mesh strainer and rinse them with a garden hose for 3 to 5 minutes. This leaches out the water-soluble caffeine, eliminating the risk of seedling suppression.
Step 2: Calculating Application Volume
Never exceed a 20% volume ratio of coffee grounds to native soil. A practical measurement is applying no more than 10 pounds of wet grounds per 100 square feet of garden bed. Exceeding this threshold introduces excessive organic carbon that soil microbes cannot process efficiently, leading to temporary nitrogen tie-up.
Step 3: Tilling and Incorporation
Spread the leached grounds evenly over the bed surface. Using a broadfork or garden tiller, incorporate the material into the top 6 to 8 inches of soil. This depth places the grounds directly within the root zone and the most biologically active layer of the soil profile, where microbial mineralization can convert the organic nitrogen into plant-available ammonium and nitrate.
⚠️ Warning: Seedling Toxicity
Do not use uncomposted coffee grounds in seed-starting mixes or directly around newly germinated seeds. The residual allelopathic compounds and high osmotic pressure can inhibit radicle (root) emergence and cause fatal damping-off in delicate seedlings. Always use fully matured compost for propagation.
Composting Matrix: The C:N Ratio Breakdown
Despite their dark brown color, spent coffee grounds are classified as a "green" composting ingredient. In composting chemistry, "greens" are nitrogen-rich materials that fuel microbial reproduction, while "browns" are carbon-rich bulking agents. According to EPA composting guidelines, a successful pile requires a Carbon-to-Nitrogen (C:N) ratio of roughly 30:1. Coffee grounds possess a remarkably tight C:N ratio of 20:1 to 24:1 and contain approximately 2.28% nitrogen by weight.
To balance the nitrogen in coffee grounds and prevent anaerobic, foul-smelling compost, you must pair them with high-carbon browns. Refer to the matrix below for exact mixing ratios.
| Compost Ingredient | Classification | Approximate C:N Ratio | Mixing Ratio (per 1 part Coffee) |
|---|---|---|---|
| Spent Coffee Grounds | Green (Nitrogen) | 20:1 - 24:1 | 1 Part |
| Dry Autumn Leaves | Brown (Carbon) | 40:1 - 60:1 | 2 Parts |
| Shredded Cardboard | Brown (Carbon) | 300:1+ | 0.5 Parts |
| Pine Sawdust | Brown (Carbon) | 300:1 - 500:1 | 0.25 Parts |
| Straw / Hay | Brown (Carbon) | 50:1 - 80:1 | 1.5 Parts |
Research from Cornell University's composting research indicates that coffee grounds also help sustain high thermophilic temperatures (130°F to 150°F) in compost piles due to their dense microbial inoculation and readily available nitrogen, accelerating the breakdown of tougher carbon materials like wood chips.
Mulching Limitations: The Hydrophobic Crust Effect
Many gardeners dump thick layers of coffee grounds around the base of plants as mulch. This is a critical error. When wet coffee grounds dry out, the fine particles bind together to form a dense, impermeable crust. This hydrophobic barrier repels water, preventing rainfall and irrigation from reaching the root zone, and blocks vital gas exchange between the soil and the atmosphere.
"If you must use coffee grounds as a surface dressing, never exceed a thickness of 1/4 to 1/2 inch. Always scratch the surface of the crust with a hand cultivator before watering to break the surface tension and allow moisture penetration."
For optimal mulching, mix the grounds with coarser organic materials like wood chips or straw at a 1:4 ratio. The larger particles maintain structural porosity, preventing the fine coffee particles from compacting into a waterproof seal.
Troubleshooting Common Application Mistakes
Even experienced horticulturists encounter issues when managing high volumes of organic amendments. Use this diagnostic guide to correct common failures.
- Symptom: White, fuzzy mold growing on surface grounds.
Cause: Saprophytic fungi colonizing dense, moist organic matter.
Fix: This is generally harmless and indicates active decomposition. However, if it forms a thick mat, rake the grounds into the soil to improve aeration and reduce surface humidity. - Symptom: Yellowing leaves on established plants after application.
Cause: Nitrogen immobilization. Soil microbes are consuming available soil nitrogen to break down the carbon in the grounds.
Fix: Apply a fast-acting liquid nitrogen fertilizer (like fish emulsion at 2 tablespoons per gallon of water) to feed the plants while the microbes finish processing the grounds. - Symptom: Earthworms avoiding the treated bed.
Cause: High concentrations of un-leached caffeine or excessive soil acidity from unbrewed grounds.
Fix: Flush the soil bed deeply with 2 to 3 inches of water to leach residual alkaloids below the root zone, and top-dress with neutral pH compost. - Symptom: Stunted root growth in root vegetables (carrots, radishes).
Cause: Heavy metal accumulation. Commercial coffee can sometimes concentrate trace cadmium or lead from volcanic soils.
Fix: Limit coffee ground applications in root crop beds to 5 pounds per 100 square feet annually, and prioritize using grounds in ornamental or fruiting crop beds instead.
Sourcing Commercial Grounds Safely
When sourcing gardening coffee grounds from local cafes, request the contents of the espresso knock-box rather than the drip-brew filters. Espresso grounds are significantly finer and extract faster, meaning they leave behind fewer residual oils and acids. However, always inspect commercial grounds for contamination; cafe knock-boxes frequently contain discarded paper cups, plastic stirrers, and sugar residues that will disrupt soil biology and attract pest insects.

