
Gardening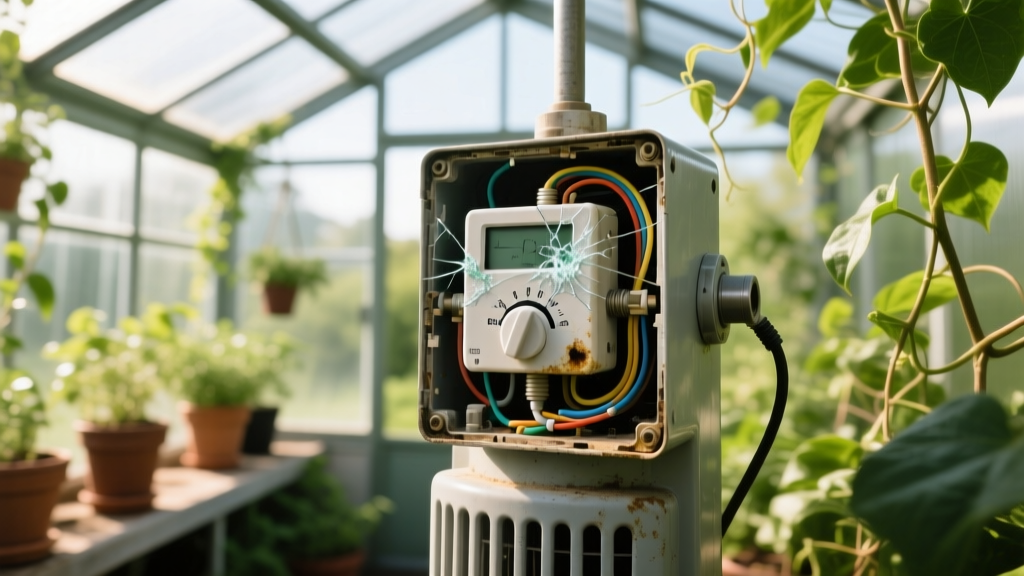
Diagnosing a Failing Greenhouse Heater With Thermostat: Top Fixes
The Anatomy of Greenhouse Heating Failures
When winter temperatures plummet, a reliable greenhouse heater with thermostat is the only barrier between your crops and catastrophic frost damage. However, greenhouse environments are notoriously hostile to electronic controls. High humidity, condensation, and extreme temperature fluctuations frequently cause heating systems to behave erratically. Rather than replacing the entire heating unit, experienced growers know that 80% of heating failures stem from thermostat misconfiguration, sensor drift, or inadequate environmental sealing.
Diagnosing the exact failure mode requires moving beyond basic troubleshooting. Below is a comprehensive diagnostic framework for the four most common greenhouse heating failures, complete with specific electrical tolerances, BTU calculations, and hardware upgrades to ensure your climate control survives the winter.
Symptom 1: Short-Cycling and Contactor Burnout
The Problem: The heater turns on and off every few minutes, never running long enough to stabilize the ambient temperature. This rapid short-cycling destroys the internal contactors and relays of the heater, leading to premature hardware failure.
The Diagnosis: Short-cycling is almost always caused by an improperly set hysteresis (temperature differential) or a thermostat sensor placed too close to the heat output. If your thermostat is set to trigger at 50°F and shut off at 50.1°F, the localized heat from the unit will immediately satisfy the sensor, shutting the unit off before the rest of the greenhouse warms up.
Expert Fix: Adjust the Hysteresis Differential
Access your thermostat settings and increase the temperature differential (hysteresis) to a minimum of 3°F to 4°F. For example, set the cut-in temperature to 48°F and the cut-out temperature to 52°F. High-end models like the Bio Green PAL 2.0 allow precise differential adjustments, preventing the relay from chattering.
'A properly calibrated hysteresis gap not only prevents mechanical burnout but also reduces winter energy consumption by up to 12% by allowing the thermal mass of the greenhouse to stabilize between heating cycles.' - Penn State Extension
Symptom 2: Temperature Drops Despite Continuous Heating
The Problem: The thermostat calls for heat, the heater runs continuously at maximum output, but the greenhouse temperature still drops below the target threshold during cold snaps.
The Diagnosis: This is not a thermostat failure; it is a BTU deficit. The heater's maximum output is lower than the rate of heat loss through the greenhouse glazing. Growers often buy heaters based on square footage of the floor, ignoring the total surface area and the U-value (thermal transmittance) of the glazing material.
Calculating Your True BTU Requirement
To solve this, calculate the exact heat loss using this formula: Total Surface Area (sq ft) × U-Value × Desired Temperature Rise (°F) = Required BTU/hr.
| Glazing Material | U-Value (BTU/sq ft·hr·°F) | Heat Loss per 100 sq ft (at 40°F rise) |
|---|---|---|
| Single Pane Glass | 1.13 | 4,520 BTU |
| Double-Layer Polyethylene | 0.70 | 2,800 BTU |
| 8mm Twin-Wall Polycarbonate | 0.53 | 2,120 BTU |
If your 5,000 BTU heater is struggling in a single-pane glass greenhouse, you must either upgrade to a 15,000 BTU unit or apply an interior thermal blanket to artificially lower the U-value. For deeper insights on structural heat retention, refer to the UMass Amherst Greenhouse Heating guidelines.
Symptom 3: Blank Screens and Corroded Terminals
The Problem: The digital thermostat display goes blank, or the unit fails to send the 24V/120V signal to the heater, despite having fresh batteries or active power.
The Diagnosis: Moisture ingress. Standard residential thermostats are not rated for the 80% to 95% ambient humidity typical of a winter greenhouse. Condensation forms inside the casing, bridging the low-voltage terminals and shorting the logic board.
The Solution: You must upgrade to a controller with a minimum IP65 or IP66 ingress protection rating.
- IP65: Protected against low-pressure water jets and heavy condensation (suitable for well-ventilated greenhouses).
- IP66: Protected against high-pressure water jets (mandatory for automated misting or hydroponic environments).
Symptom 4: Microclimates and Sensor Placement Errors
The Problem: The thermostat reads a comfortable 55°F, but plants on the lower benches are suffering from chilling injury or frost.
The Diagnosis: Stratification and radiant interference. Heat rises. If your thermostat sensor is mounted near the roof peak, it will read temperatures 10°F to 15°F warmer than the plant canopy. Furthermore, if the sensor is exposed to direct morning sunlight, radiant heating will trick the thermostat into shutting off the heater prematurely.
Step-by-Step Sensor Relocation Protocol
- Identify Canopy Height: Mount the sensor exactly at the top of your plant canopy, not near the ceiling or on the floor.
- Avoid Radiant Interference: Relocate the probe away from direct sunlight, grow lights, and the immediate exhaust path of the heater.
- Use an Aspirated Shield: For ultimate accuracy, place the sensor inside a louvered, aspirated radiation shield equipped with a small 12V fan. This pulls ambient air across the thermistor, eliminating false readings caused by radiant heat.
- Implement HAF Fans: Install Horizontal Air Flow (HAF) fans to destratify the air, ensuring the temperature at the roof matches the temperature at the bench level.
Thermostat Technology Comparison Matrix
Selecting the right control logic is just as critical as the heater itself. Here is how current market options compare for greenhouse applications:
| Feature | Mechanical Bimetallic | Digital Plug-in (e.g., Inkbird ITC-308) | Wi-Fi Smart Controller |
|---|---|---|---|
| Accuracy | ± 3°F to 5°F | ± 1°F | ± 0.5°F |
| Hysteresis Control | Fixed / Non-adjustable | Fully Adjustable | Fully Adjustable + AI Learning |
| Alerts & Logging | None | Local Audible Alarm | Push Notifications & Cloud Logs |
| Estimated Cost | $20 - $35 | $35 - $50 | $60 - $120 |
Preventative Winterization Checklist
Do not wait for the first freeze to test your equipment. Complete this diagnostic checklist in early autumn:
- Calibrate the Thermistor: Place a secondary, NIST-traceable digital thermometer next to the thermostat probe. If the variance exceeds 1.5°F, apply the offset calibration in the thermostat menu.
- Inspect the Contactor: If your heater draws more than 15 amps, ensure the thermostat is triggering a heavy-duty relay contactor rather than passing the full load through the thermostat's internal PCB. Internal relays will melt under continuous 1500W loads.
- Seal Glazing Leaks: Use UV-stable poly tape to seal any tears in polyethylene film. A 2-inch gap can increase your heating load by 15%, overwhelming your heater's capacity.
- Test the Fail-Safe: Unplug the thermostat while the heater is running. If the heater does not immediately shut off, your relay is fused closed and the thermostat must be replaced immediately to prevent a fire hazard.
By addressing sensor placement, hysteresis differentials, and moisture ingress, you transform a vulnerable heating setup into a resilient climate control system. For more data on calculating electrical loads and optimizing energy use, consult the U.S. Department of Energy's appliance estimation guides.

