
Gardening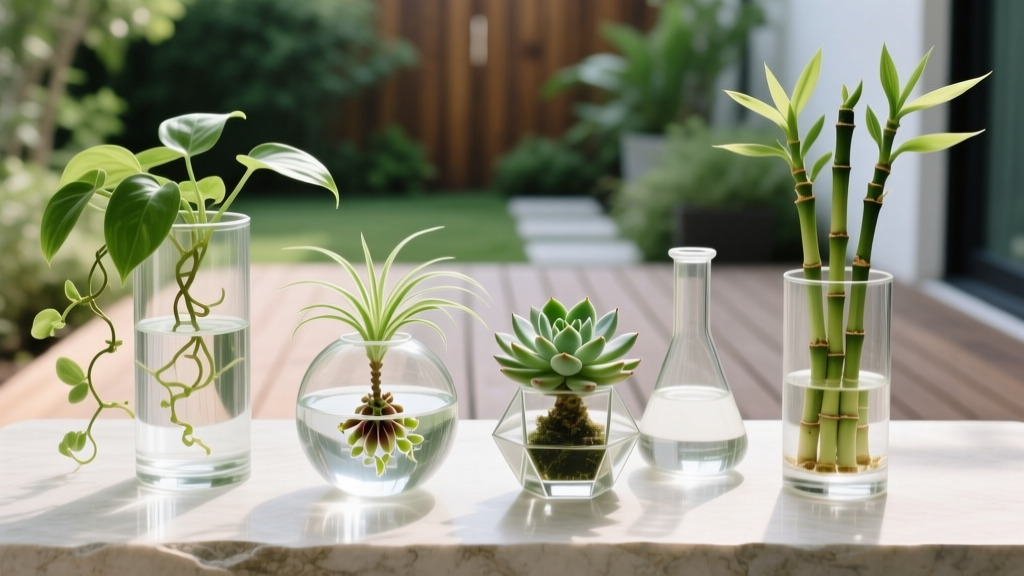
House Plants That Grow in Water: Establishment and Care Guide
The Science of Hydroculture: Why Water Works
Growing house plants in water—technically known as hydroculture or hydroponics—is not merely a temporary propagation trick; it is a viable long-term cultivation method. However, transitioning a plant from soil to water requires understanding root physiology. Soil roots are adapted to extract oxygen from air pockets in the earth. When submerged, these roots suffocate and rot. To survive long-term, plants must develop aerenchyma tissue, a spongy, porous root structure that transports dissolved oxygen from the water directly to the plant's vascular system.
The key to successfully establishing house plants that grow in water is forcing the plant to generate these specialized aquatic roots while preventing the existing soil roots from decaying and introducing anaerobic bacteria into your vessel.
Top 7 House Plants That Grow in Water Long-Term
Not all species adapt to hydroculture. Plants with thick, fleshy stems and high moisture retention thrive best. Below is a curated selection of reliable candidates, complete with their specific hydroculture requirements.
| Plant Species | Light Requirement | Water Change Frequency | Best Vessel Type |
|---|---|---|---|
| Pothos (Epipremnum aureum) | Low to Bright Indirect | Every 2-3 weeks | Narrow-neck glass bottle |
| Monstera (Monstera deliciosa) | Bright Indirect | Every 2 weeks | Wide-base heavy glass (to prevent tipping) |
| Philodendron (Philodendron hederaceum) | Medium Indirect | Every 2-3 weeks | Amber glass to block algae-promoting UV |
| ZZ Plant (Zamioculcas zamiifolia) | Low to Medium | Monthly (water level top-ups only) | Opaque ceramic or dark glass |
| Spider Plant (Chlorophytum comosum) | Bright Indirect | Every 2 weeks | Shallow, wide-mouth bowl |
| Peace Lily (Spathiphyllum) | Low to Medium | Weekly (high water uptake) | Large LECA-filled hydroponic vase |
| Lucky Bamboo (Dracaena sanderiana) | Low Indirect | Every 2 weeks | Tall cylinder with pebble support |
Step-by-Step Establishment: From Soil to Water
Achieving a 100% survival rate when moving plants from soil to water requires meticulous preparation. Follow this exact protocol to minimize transplant shock.
Step 1: Vessel Selection and Sterilization
Choose a vessel with a narrow neck to support the plant's base and keep the foliage dry. Before use, sterilize the glass with a 10% bleach solution (1 part bleach to 9 parts water) for 10 minutes, then rinse thoroughly with distilled water. This eliminates residual fungal spores that cause root rot.
Step 2: The Bare-Root Washing Technique
If you are transitioning a soil-grown plant, you must remove 100% of the soil. Soil harbors microbes that will rapidly multiply in a stagnant water environment. Gently massage the root ball under a gentle stream of lukewarm (70°F) water. Use a soft-bristled toothbrush to dislodge stubborn soil particles from the root crevices. Trim any mushy or blackened roots with sterilized pruning shears.
Step 3: Water Selection and Initial Soak
Never use tap water straight from the sink. Municipal water contains chlorine and chloramine, which damage delicate new root tips. Use distilled, reverse osmosis (RO), or rainwater. Submerge only the lower nodes and the basal plate of the plant; keeping the stem's upper nodes above the water line prevents stem rot.
⚠️ Warning: The Chloramine Trap
Unlike chlorine, which off-gasses if you let tap water sit out for 24 hours, chloramine does not evaporate. If your municipality uses chloramine (check your local water quality report), you must use a water conditioner containing sodium thiosulfate or switch to distilled water to prevent chemical root burn.
Unlike chlorine, which off-gasses if you let tap water sit out for 24 hours, chloramine does not evaporate. If your municipality uses chloramine (check your local water quality report), you must use a water conditioner containing sodium thiosulfate or switch to distilled water to prevent chemical root burn.
Long-Term Hydroculture Maintenance
Water alone does not contain the essential macro and micronutrients required for sustained growth. Once your plant has established white, fuzzy aquatic roots (usually within 3 to 6 weeks), you must begin a nutrient regimen.
- Nutrient Formulation: Use a specialized hydroponic fertilizer, such as Dyna-Gro Foliage-Pro 9-3-6 or General Hydroponics FloraSeries. Standard soil fertilizers lack the chelated micronutrients necessary in a soilless environment.
- Dosing Rates: Dilute the fertilizer to 1/4 of the manufacturer's recommended strength. For Dyna-Gro, this equates to roughly 1/2 teaspoon per gallon of water. Over-fertilizing in water causes immediate root burn and salt toxicity.
- Water Changes: Perform a 100% water change every 14 to 21 days. Between changes, simply top off the vessel with plain distilled water to replace what the plant has transpired.
- Lighting: Keep water-grown plants out of direct, intense sunlight. Direct sun heats the water, lowering dissolved oxygen levels and triggering aggressive algae blooms.
Troubleshooting Common Water-Rooting Failures
Even with perfect technique, issues can arise. According to plant pathology guidelines from the Royal Horticultural Society, identifying the exact failure mode early is critical for saving the specimen.
1. Algae Blooms (Green, Slimy Vessel Walls)
Cause: Excess light exposure combined with nutrient-rich water.
Fix: Move the plant to a lower-light area or switch to an opaque or amber glass vessel. Scrub the current vessel with white vinegar. Do not use chemical algaecides, as they are toxic to house plants.
2. Root Rot (Brown, Mushy Roots with a Sulfur Odor)
Cause: Anaerobic bacteria thriving in stagnant, warm water, often introduced by leftover soil.
Fix: Remove the plant immediately. Snip off all brown, slimy roots using sterile scissors. Rinse the healthy white roots in a 3% hydrogen peroxide solution for 5 minutes to kill lingering bacteria. Place the plant in fresh, sterile distilled water. The University of Minnesota Extension recommends ensuring at least 20% of the root mass remains above the water line to access atmospheric oxygen.
3. White Mineral Crust on Stems and Glass
Cause: Hard water minerals (calcium and magnesium) accumulating as water evaporates.
Fix: Wipe the glass and plant stems with a cloth soaked in a 50/50 mix of white vinegar and water. Switch exclusively to distilled or RO water to prevent recurrence.
Frequently Asked Questions
Can I add LECA (Clay Pebbles) to my water setup?
Yes. Adding Lightweight Expanded Clay Aggregate (LECA) to the base of your vessel provides a physical anchor for the roots and creates micro-pockets of air, which drastically reduces the risk of stem rot. If using LECA, rinse the pebbles thoroughly until the runoff water is completely clear to remove alkaline dust.
How do I know if my plant is getting enough oxygen in the water?
If the water roots develop a healthy, white, and slightly fuzzy appearance, oxygen levels are adequate. If the roots become slick, translucent, and brown, the water is oxygen-depleted. You can increase dissolved oxygen by using an air stone connected to a small aquarium pump, or by aggressively shaking the water vessel before placing the plant back inside.
Will a water-grown plant ever grow as large as a soil-grown plant?
Generally, hydroculture plants grow about 20% to 30% slower than their soil-grown counterparts because water provides less physical resistance, resulting in thinner root systems. However, with precise nutrient dosing and optimal lighting, species like Monstera and Pothos can still achieve massive, mature leaf fenestrations over a 2 to 3 year period.

