
Gardening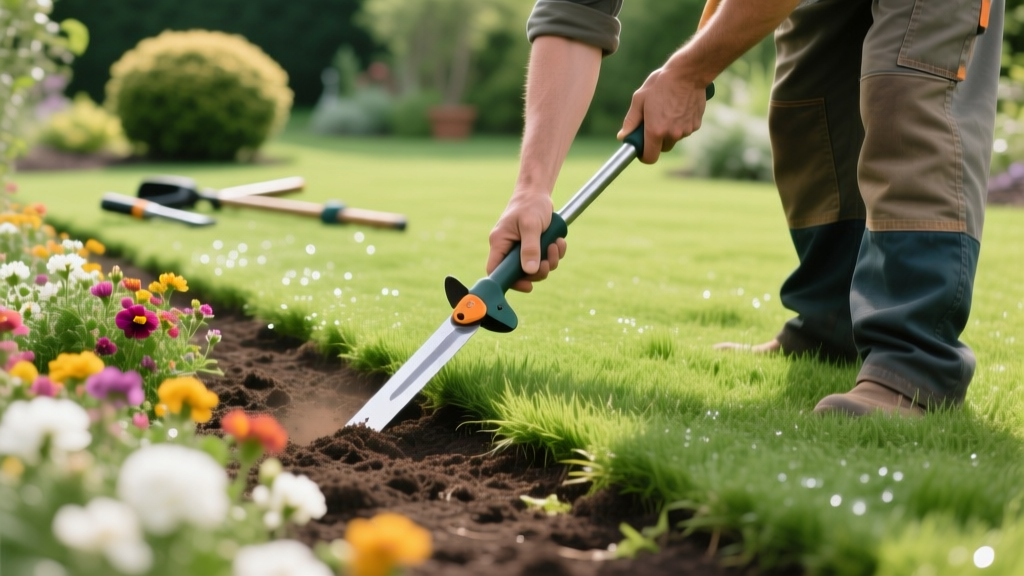
How to Edge Around Flower Beds: A Step-by-Step Lawn Guide
The Purpose of Edging: Beyond Curb Appeal
Knowing how to edge around flower beds is a fundamental lawn maintenance procedure that serves both aesthetic and ecological functions. While a crisp boundary immediately elevates landscape design, the primary mechanical purpose of an edge is to create a physical interruption in the soil profile. This interruption halts the lateral spread of turfgrass rhizomes and stolons into your cultivated garden beds. Without a properly cut and maintained trench, aggressive grasses like Bermuda, Zoysia, and Kentucky Bluegrass will infiltrate your flower beds, competing with perennials for water and nutrients while harboring turf-specific pests.
⚠️ The 'Grass Creep' Failure Mode: Many homeowners make the mistake of only trimming the surface grass with a string trimmer. This cuts the visible blades but leaves the underground rhizomes intact. Within 3 to 4 weeks, the grass will bridge the gap. A true edge requires a vertical soil cut to sever these underground runners.
Tool Selection Matrix: Manual vs. Power Edgers
Selecting the right equipment depends on your soil composition, the linear footage of your beds, and your budget. Clay-heavy soils require more torque and leverage, while sandy loams can be managed with lighter manual tools. Below is a comparison of the most effective tools for the job in 2026.
| Tool Type & Model | Best Application | Approx. Cost | Pros & Cons |
|---|---|---|---|
| Fiskars 39-Inch Steel Half-Moon Edger | Small beds, sandy/loam soil, precision curves | $35 - $45 | Excellent leverage; no power needed. High physical exertion in clay. |
| Ryobi 40V HP Brushless Edger (Bare Tool) | Large properties, heavy clay, straight lines | $199 - $229 | Cuts through roots easily; heavy battery weight. Harder to maneuver tight curves. |
| Corona eGrip Manual Trenching Spade | Removing soil from the trench after cutting | $30 - $40 | Narrow blade perfect for trench cleanup. Not designed for the initial cut. |
Step-by-Step Procedure: Cutting the Perfect Trench
According to landscape architecture standards outlined by Clemson University's Home & Garden Information Center, a properly constructed edge should be 2 to 3 inches deep and 2 to 4 inches wide. Follow this exact sequence to achieve professional results.
Step 1: Marking and String Lining
Never freehand your edges. For straight runs, drive two wooden stakes at the endpoints of the bed and pull a mason's line taut between them. For curved beds, use a standard garden hose to lay out your desired shape. Walk away and look at the hose from a second-story window or use a drone to check the flow of the curve. Once satisfied, use inverted marking paint (like Rust-Oleum Professional Inverted Striping Paint, approx. $8 a can) to trace the hose line onto the turf.
Step 2: Cutting the Trench (The 45-Degree Rule)
This is where most DIYers fail. The trench must be asymmetrical.
- The Lawn Side: Cut at a 45-degree angle sloping down toward the bed. This bevel prevents lawnmower wheels from dropping into the trench and scalping the grass, while also deflecting surface water runoff away from the bed.
- The Bed Side: Cut at a strict 90-degree vertical angle. This sheer wall acts as a physical barrier against rhizome penetration.
Step 3: Soil Removal and Root Pruning
Use a narrow trenching spade or a specialized hand trowel to remove the severed soil and grass roots from the trench. Do not throw this soil into the flower bed; this will raise the bed's grade, leading to water pooling against plant stems and causing crown rot. Instead, deposit the excavated soil into a wheelbarrow. If the soil is high quality, add it to your compost pile. If it is heavy clay, use it to grade low spots elsewhere in the yard.
Installing Physical Barriers (Optional but Recommended)
If you are dealing with highly invasive grasses like Bermuda or dealing with aggressive perennial weeds, a physical barrier installed inside the trench provides long-term insurance.
Pro Tip: Aluminum vs. Polyethylene Edging
Skip the cheap black plastic rolls sold at big-box stores; they warp in the sun and heave during freeze-thaw cycles. Invest in commercial-grade aluminum edging (such as Permaloc, approx. $4.50 per linear foot) or heavy-duty 1/4-inch thick polyethylene (like Dimex EdgePro). Aluminum provides a rigid, invisible barrier that holds its shape indefinitely, while thick polyethylene is easier to bend around tight radii.
Skip the cheap black plastic rolls sold at big-box stores; they warp in the sun and heave during freeze-thaw cycles. Invest in commercial-grade aluminum edging (such as Permaloc, approx. $4.50 per linear foot) or heavy-duty 1/4-inch thick polyethylene (like Dimex EdgePro). Aluminum provides a rigid, invisible barrier that holds its shape indefinitely, while thick polyethylene is easier to bend around tight radii.
Mulching and Final Cleanup
Once the trench is cut and cleared, the flower bed is ready for mulch. The relationship between the edge and the mulch is critical for plant health. The Clemson HGIC Mulching Guide emphasizes keeping mulch away from plant crowns to prevent fungal diseases.
"Apply a 2- to 3-inch layer of organic mulch, such as shredded hardwood or pine bark, to the flower bed. Ensure the mulch fills the trench up to the grass line, but keep it at least 3 inches away from the base of your perennials and shrubs to avoid the dreaded 'mulch volcano' effect, which suffocates root flares and invites stem-boring insects."
Use a leaf blower to clear any loose soil or mulch debris off the turfgrass blades. A clean lawn surface immediately highlights the contrast of the newly cut edge.
Seasonal Maintenance Schedule
An edge is not a 'set it and forget it' feature. Soil erosion, earthworm activity, and foot traffic will gradually degrade the trench walls. Implement this maintenance schedule to keep your boundaries sharp year-round:
- Early Spring (Post-Thaw): Perform a full re-cut. Frost heave will have collapsed parts of the trench over the winter. Re-establish the 45-degree bevel on the lawn side.
- Mid-Summer (July): Use a string trimmer with an edging attachment to lightly shave the vertical bed-side wall. This severs any new rhizomes that have attempted to bridge the gap during peak growing season.
- Late Fall (Pre-Dormancy): Clear all fallen leaves from the trench. Decomposing leaves in the trench create a nutrient-rich bridge that weed seeds and grass stolons will use to cross the barrier in the spring.
By adhering to these precise measurements, tool selections, and maintenance intervals, you will establish a permanent, clean boundary that protects your garden investments and drastically reduces the time spent hand-pulling grass from your flower beds.

