
Gardening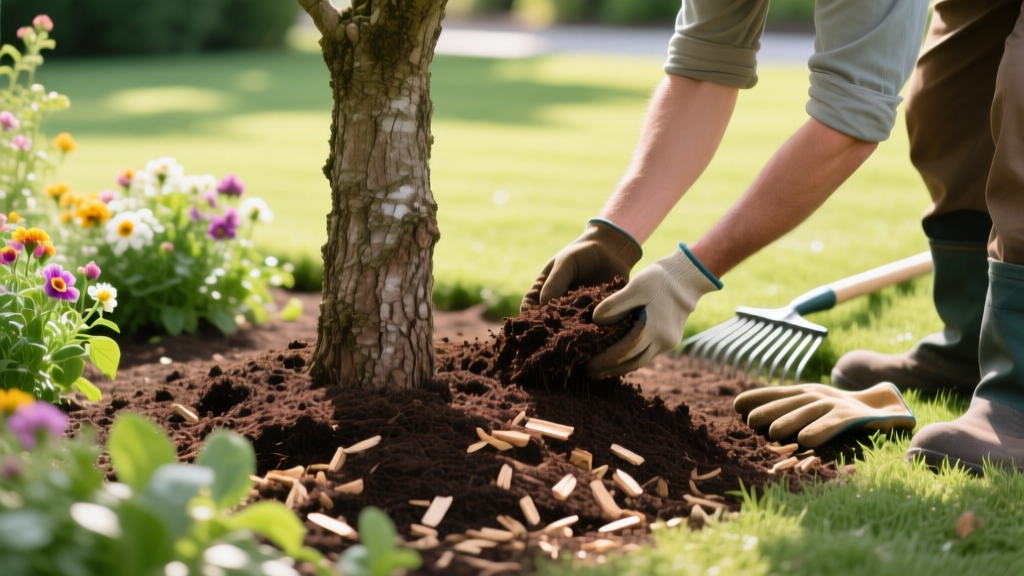
How to Lay Mulch Around Trees and Beds Without Suffocating Roots
The Science of Soil Protection: Why Depth and Placement Matter
Learning how to lay mulch correctly is less about aesthetics and more about soil thermodynamics, moisture retention, and root respiration. According to research from the University of Minnesota Extension, a properly applied organic mulch layer reduces soil water evaporation by up to 70% and keeps root-zone temperatures 8°F to 13°F cooler during peak summer heat. However, the margin between a thriving garden bed and a suffocated root system is measured in mere inches. Applying material too thickly cuts off oxygen exchange, while piling it against stems invites fatal fungal pathogens. This guide provides the exact measurements, material selection frameworks, and application techniques required to maximize soil health without triggering root rot.
Material Selection Matrix: Matching Mulch to Your Garden Zone
Not all mulches decompose at the same rate, and their carbon-to-nitrogen (C:N) ratios dictate how they interact with your soil biology. Use this matrix to select the right material for your specific application.
| Mulch Type | Best Application | Decomposition Rate | Target Depth | C:N Ratio |
|---|---|---|---|---|
| Shredded Hardwood | Perennial beds, shrub borders | Moderate (1-2 years) | 2 to 3 inches | 150:1 |
| Pine Bark Nuggets | Slopes, large tree rings | Slow (3-4 years) | 3 to 4 inches | 400:1 |
| Arborist Wood Chips | Orchards, naturalized areas | Moderate (1-2 years) | 4 to 6 inches | 100:1 |
| Straw / Salt Hay | Vegetable gardens, strawberries | Fast (3-6 months) | 4 to 6 inches | 80:1 |
| Rubber / Inorganic | Playgrounds, high-traffic paths | None | 2 to 3 inches | N/A |
Expert Insight on Nitrogen Tie-Up: Many gardeners avoid high-carbon wood chips fearing 'nitrogen robbery.' The reality is that soil microbes only immobilize nitrogen at the exact physical interface where the mulch touches the dirt (the top 0.25 inches). Roots located deeper in the soil profile experience zero nitrogen deficit. To eliminate this interface issue entirely, apply a thin 1/4-inch layer of finished compost (C:N ratio 15:1) directly on the soil before laying your bulk mulch.
Step-by-Step: How to Lay Mulch for Maximum Soil Health
Proper installation requires precise edging, depth control, and trunk clearance. Follow this sequence to ensure long-term plant viability.
Step 1: Define the Ring and Clear the Base
For trees and large shrubs, the mulched area should extend at least 3 feet from the trunk in all directions, though extending to the drip line is ideal. Remove all turf grass and existing weeds from this zone. Use a sharp spade or a sod cutter to sever the grass roots. If dealing with persistent perennial weeds like bindweed or bermudagrass, apply a targeted glyphosate or horticultural vinegar treatment two weeks prior to mulching, allowing the weeds to die back completely before covering.
Step 2: Edge the Perimeter (The Trench Method)
Do not rely on plastic edging, which degrades and traps water. Instead, cut a clean, 3-inch deep V-trench along the outer perimeter of your mulch bed using a half-moon edger or a Fiskars 46-inch steel edger. This trench acts as a physical barrier preventing turf stolons from invading the bed, while also catching the mulch and preventing it from washing onto the lawn during heavy rainfall.
Step 3: Apply at the Exact Depth
Use a rake to spread the material evenly. Measure your depth with a tape measure or a simple wooden depth gauge marked at 3 inches. Fine-textured mulches (like shredded hardwood or composted leaves) should never exceed 2 to 3 inches, as their small particle size restricts gas exchange when piled too high. Coarse materials (like pine bark nuggets or arborist chips) can be applied 3 to 4 inches deep because the large air pockets between the pieces allow oxygen to reach the soil.
⚠️ CRITICAL WARNING: The 'Volcano Mulching' Epidemic
Piling mulch against the trunk in a cone shape (volcano mulching) is one of the most common causes of urban tree decline. Tree bark is designed to be dry; constant moisture invites Phytophthora root rot and allows secondary boring insects to bypass the tree's outer defenses. Furthermore, the decomposing heat of a thick, wet mulch pile can reach 120°F to 140°F, literally cooking the inner bark (cambium layer) and girdling the tree. Always pull mulch back 3 to 6 inches from the trunk, exposing the root flare.
2026 Mulch Pricing and Coverage Calculator
Understanding coverage mathematics prevents overspending and ensures you order the correct volume. One cubic yard equals 27 cubic feet and covers exactly 108 square feet at a 3-inch depth.
- Bulk Hardwood Mulch: Currently averaging $32 to $48 per cubic yard, plus a flat-rate delivery fee of $50 to $85 depending on your distance from the supplier. Bulk is significantly more cost-effective and eliminates plastic bag waste.
- Bagged Mulch (2 cu. ft. bags): Ranges from $4.50 to $6.50 per bag at major home improvement centers. You will need 13.5 bags to equal one cubic yard, bringing the cost to $60 to $87 per yard equivalent.
- Specialty / Dyed Mulches: Black or red dyed bulk mulches typically carry a $10 to $15 premium per cubic yard due to the carbon-based or iron-oxide colorants used.
The Break-Even Rule: If your project requires more than 2 cubic yards (216 square feet at 3 inches deep), always order bulk delivery. If you need less than 2 yards, bagged mulch is cheaper and easier to transport in a standard SUV or sedan.
Troubleshooting: Decision Tree for Common Mulch Failures
Even with proper installation, environmental factors can alter mulch performance. Use this troubleshooting guide to diagnose and fix common issues.
Symptom: White Fungal Mats or Hydrophobic Crusting
Cause: This is typically a saprophytic fungus or a hydrophobic mycelium mat that forms when fine mulch dries out completely and becomes water-repellent. It prevents rain from reaching the soil.
Fix: Do not use fungicides. Simply break up the crusted layer with a cultivator or a stiff rake. Add a thin top-dressing of nitrogen-rich material, such as grass clippings or finished compost, to stimulate the bacteria that naturally outcompete the fungus. Water the bed deeply immediately after raking.
Symptom: Yellowing Leaves on Newly Mulched Trees
Cause: If the mulch was applied too thickly (over 4 inches of fine material) or piled against the trunk, the roots are suffocating from lack of oxygen, or the trunk is rotting at the soil line.
Fix: Immediately pull the mulch back to expose the root flare. Reduce the overall depth to 2 inches. If the bark at the base feels spongy or smells sour, the tree may have developed collar rot; consult a certified arborist for a phosphite fungicide trunk injection.
Symptom: Rapid Weed Breakthrough Within Weeks
Cause: The mulch layer is too thin (less than 2 inches), or the material used was contaminated with weed seeds (common in cheap, uncomposted municipal yard waste).
Fix: For immediate remediation, apply a pre-emergent herbicide like Preen (trifluralin) over the top of the existing mulch, or use a natural corn gluten meal alternative. For long-term prevention, ensure you are purchasing double- or triple-shredded hardwood that has been composted at temperatures exceeding 140°F, which kills viable weed seeds.
Final Word on Soil Amendments and Mulch Synergy
According to Penn State Extension, mulch should be viewed as the protective capstone to a broader soil amendment strategy. While mulch regulates temperature and suppresses weeds, it does not rapidly build soil structure on its own. For the best results, pair your annual mulching routine with a bi-annual application of organic compost. By feeding the soil biology from below and protecting it from above, you create a closed-loop system that naturally suppresses disease, retains moisture, and eliminates the need for synthetic fertilizers in your ornamental beds.

