
Gardening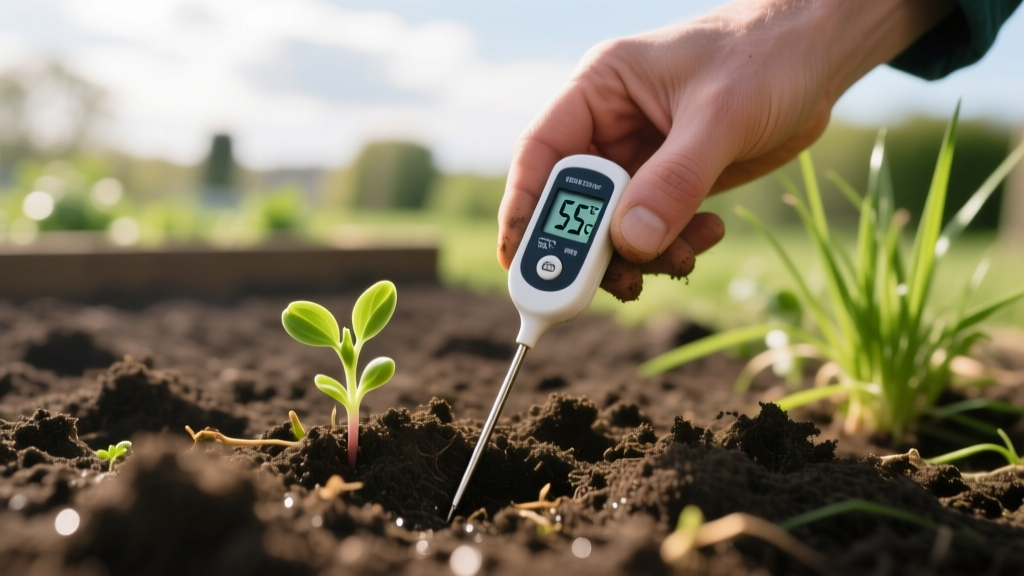
How to Measure Soil Temperature for Spring Vegetable Planting
Why Air Temperature Lies to Gardeners
Seed packets list "days to germination," but that metric assumes optimal subterranean conditions. Planting blindly based on the spring calendar or ambient air temperature is a primary cause of seed rot, damping-off disease, and stunted root development. Air temperature fluctuates wildly between day and night, but soil possesses thermal mass, meaning it absorbs and releases heat slowly. A sunny 65°F spring afternoon might suggest it is time to plant tomatoes, but the soil six inches below the surface could still be lingering at a dormant 48°F. Understanding exactly how to measure soil temperature is the single most effective way to accelerate germination, prevent seed waste, and maximize early-season yields.
According to the USDA Natural Resources Conservation Service, soil temperature regimes dictate microbial activity, nutrient mineralization, and root elongation rates. When soil is too cold, phosphorus uptake is severely restricted, leading to purple-tinged, stunted seedlings even in fertile soil. To track regional baselines before you even step outside, you can consult the Old Farmer's Almanac Soil Temperature Map, which aggregates real-time data from weather stations across the country. However, hyper-local microclimates in your own garden require physical, on-the-ground measurement.
Selecting the Right Soil Thermometer
Not all thermometers are engineered for the density and moisture of garden loam. Standard weather station sensors measure shade air temperature, and cheap kitchen thermometers often lack the probe length required to reach the root zone. Below is a comparison matrix of the three primary tool categories used by serious cultivators.
| Thermometer Type | Recommended Model | Est. Cost | Probe Length | Best Use Case | Drawbacks |
|---|---|---|---|---|---|
| Analog Dial | REOTEMP Garden & Compost | $25 - $30 | 20 inches | Deep root zones, compost piles, permanent beds | Takes 2-3 mins to stabilize; glass dial can fog |
| Digital Instant-Read | ThermoWorks Thermapen ONE | $105 | 5 inches (w/ penetration probe) | Seed beds, shallow sowing, rapid daily checks | Expensive; requires separate long-probe attachment for deep soil |
| Smart Bluetooth/Wi-Fi | EcoWitt WH51 Soil Sensor | $35 - $45 | 7 inches | Continuous monitoring, greenhouse automation, data logging | Requires hub/gateway; battery degrades in freezing winter |
Buyer's Warning: Avoid Glass Liquid Thermometers
Traditional glass-and-alcohol soil thermometers are fragile. If you strike a subterranean rock or compacted clay clod while pushing the probe into the bed, the glass will shatter, leaving toxic chemicals and sharp shards in your garden soil. Always opt for stainless steel or heavy-duty ABS plastic probes.
Step-by-Step: How to Measure Soil Temperature Accurately
Taking a reading is not as simple as pushing a probe into the dirt. Follow this standardized protocol to ensure your data is actionable.
- Clear the Surface Debris: Brush away mulch, dead leaves, or surface compost. You want the probe to enter the actual mineral soil, not the insulating layer of organic matter on top, which will skew the reading higher.
- Target the Correct Depth:
- For small seeds (carrots, lettuce, radishes): Measure at 1.5 to 2 inches deep.
- For large seeds (beans, corn, squash): Measure at 3 to 4 inches deep.
- For transplants (tomatoes, peppers): Measure at 6 inches deep, where the root ball will sit.
- Insert the Probe Slowly: Push the thermometer straight down. If you hit severe resistance, do not force it, as you may bend the probe or damage the sensor tip. Pull back slightly and try a spot two inches away.
- Wait for Thermal Equilibrium: Digital probes stabilize in 3 to 5 seconds. Analog dial thermometers require 2 to 3 minutes to allow the internal bi-metallic coil to adjust to the surrounding earth.
- Shield from Direct Sunlight: If using an analog dial, cast a shadow over the reading face with your hand. Direct solar radiation on the metal dial housing can artificially inflate the reading by 2°F to 4°F.
Pro Tip: The 9:00 AM Rule
Soil temperature fluctuates throughout the day, peaking in the late afternoon and bottoming out just before dawn. To get the most reliable, stable baseline that represents the 24-hour average the seed will experience, take your measurements between 9:00 AM and 10:00 AM. At this hour, the topsoil has absorbed enough morning solar radiation to neutralize the nighttime chill, but hasn't yet been overheated by the midday sun.
Target Soil Temperatures for Seed Germination
Germination is an enzymatic process triggered by moisture and heat. Planting outside the optimal range doesn't just delay sprouting; it exposes the seed to soil-borne pathogens like Pythium and Fusarium for extended periods. Use this reference chart to time your sowing schedule.
| Crop | Minimum Temp (Survival) | Optimum Temp (Fastest Germination) | Maximum Temp (Inhibition) | Avg. Days to Sprout at Optimum |
|---|---|---|---|---|
| Spinach | 35°F (2°C) | 50°F - 60°F | 75°F (24°C) | 5 - 9 days |
| Carrots | 40°F (4°C) | 65°F - 75°F | 85°F (29°C) | 10 - 14 days |
| Tomatoes | 50°F (10°C) | 70°F - 80°F | 95°F (35°C) | 5 - 8 days |
| Bell Peppers | 60°F (15°C) | 75°F - 85°F | 95°F (35°C) | 8 - 13 days |
| Sweet Corn | 50°F (10°C) | 65°F - 75°F | 95°F (35°C) | 7 - 10 days |
Microclimate Hacks to Manipulate Soil Heat
If your soil temperature is lagging behind your planting schedule, you can actively engineer the microclimate to raise the temperature by 5°F to 15°F within a matter of days.
1. Black Plastic vs. Clear Plastic Mulch
Laying down 2-mil to 4-mil plastic sheeting over the bed traps solar energy. Black plastic absorbs sunlight and conducts heat downward, reliably raising the top 2 inches of soil by 3°F to 5°F above ambient. It also blocks weed growth. Clear plastic, however, allows sunlight to penetrate the soil directly while trapping the escaping infrared radiation (the greenhouse effect). Clear plastic can raise soil temperatures up to 10°F higher than black plastic, reaching depths of 6 inches, but it will also germinate a massive flush of weeds underneath that must be dealt with before planting.
2. Thermal Mass Cloches
For individual transplant spots, use rigid polycarbonate cloches or modified gallon milk jugs. To supercharge this method, place black-painted glass jars filled with water inside the cloche next to the plant. The water absorbs heat all day and slowly radiates it into the surrounding soil throughout the night, preventing the root zone from dropping below critical thresholds.
3. The Hotbed Technique
For early spring seed starting directly in the ground, dig a trench 18 inches deep and fill the bottom 12 inches with fresh horse manure mixed with straw. As the manure decomposes, it generates biological heat (often reaching 120°F internally). Cover it with 6 inches of topsoil and compost. The decomposing matter acts as a subterranean heating pad, keeping the root zone consistently between 70°F and 75°F even when air temperatures drop near freezing.
Common Measurement Errors to Avoid
Even with professional-grade tools, poor technique will yield bad data. Watch out for these specific failure modes:
- The "Puddle Effect": Evaporative cooling drastically lowers soil temperature. If you measure a bed immediately after heavy rain or irrigation, the reading will be artificially low. Wait 24 hours after a soaking rain for the soil to drain and the temperature to normalize.
- Proximity to Hardscaping: Soil within 12 inches of a south-facing brick wall, concrete foundation, or dark stone pathway will read significantly warmer than the rest of the garden due to radiant heat reflection. Always take your baseline measurements in the center of the bed.
- Ignoring Soil Moisture Content: Dry soil heats up and cools down much faster than moist soil because water has a high specific heat capacity. A dry, dusty bed might read 65°F at 9 AM, but a properly watered bed right next to it might only read 58°F. Always measure soil at field capacity (moist, but not waterlogged) for an accurate representation of seed conditions.
- Calibration Drift: Analog thermometers can lose calibration after being dropped or left in freezing sheds. Once a year, test your soil thermometer in a glass of ice water (should read exactly 32°F/0°C) and boiling water (212°F/100°C at sea level). If it is off by more than 2 degrees, replace it or adjust the calibration nut on the back of the dial.

