
Gardening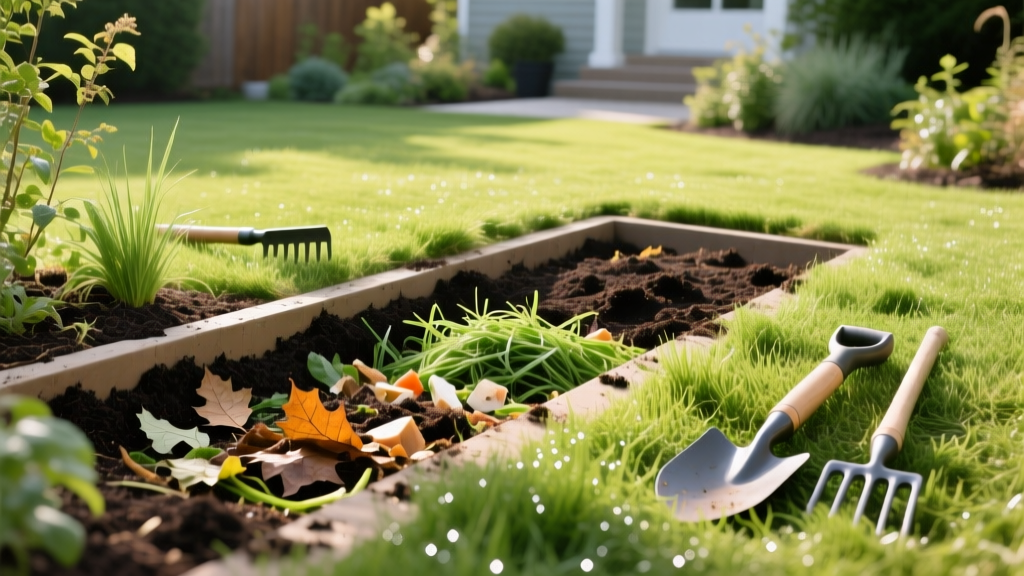
How to Build In Ground Compost Trenches and Pits for Soil
The Mechanics of Direct-to-Soil Decomposition
Traditional above-ground compost bins rely on thermophilic bacteria to generate temperatures up to 160°F, breaking down organic matter through frequent turning and aeration. In ground compost operates on an entirely different biological pathway. By burying organic waste directly into the earth, you bypass the need for manual turning and leverage native soil biology—specifically mesophilic bacteria, actinomycetes, and mycorrhizal fungi—to decompose matter at ambient soil temperatures (55°F to 75°F).
According to the Cornell Waste Management Institute, direct burial methods eliminate the nitrogen off-gassing common in hot composting, retaining nearly 100% of the volatile nutrients in the root zone. However, because the process is anaerobic at the deepest layers and aerobic near the soil cap, the carbon-to-nitrogen (C:N) balance and burial depth must be strictly managed to prevent phytotoxicity and pest intrusion.
Three Proven In Ground Compost Techniques
Choosing the right burial method depends on your garden layout, soil type, and planting schedule. Below is a comparison matrix of the three most effective in ground compost systems.
| Technique | Depth Required | Decomposition Time | Best Application | Tool Required |
|---|---|---|---|---|
| Standard Trench | 14–18 inches | 4–8 weeks | Empty raised beds, row crop prep | Flat spade, trenching hoe |
| Post-Hole Pit | 24–36 inches | 6–12 months | Established beds, tree/shrub rings | Post-hole digger, drill auger |
| English 3-Year Rotation | 12–14 inches | 12 months per trench | Large allotments, crop rotation | Spade, garden fork |
Technique 1: Standard Trench Composting (Step-by-Step)
The standard trench is the most common method for vegetable gardeners preparing for the next planting season. It provides a concentrated nutrient band that deep-rooting crops like tomatoes and corn can tap into.
- Dig the Trench: Excavate a trench 14 to 18 inches deep and 12 inches wide. This depth is non-negotiable; shallow trenches invite scavengers.
- Layer the Scraps: Add 6 to 8 inches of raw kitchen scraps (vegetable peels, coffee grounds, fruit cores). Chop large items like melon rinds into 2-inch pieces to accelerate breakdown.
- Add Carbon Buffer: Sprinkle a 2-inch layer of high-carbon material over the scraps. Shredded corrugated cardboard or dry autumn leaves work best to absorb excess moisture and balance the C:N ratio.
- Cap with Soil: Refill the trench with the native soil you removed, creating a minimum 6-inch soil cap. Mound the soil slightly, as it will settle by 2 to 3 inches as the organic matter collapses.
Pro Tip: If your soil is heavy clay, mix 2 quarts of coarse horticultural sand or perlite into the soil cap to improve drainage and prevent the trench from becoming a waterlogged, anaerobic sink.
Technique 2: The Post-Hole Pit Method
When dealing with established perennial beds or fruit tree drip lines where digging a trench would sever vital root networks, the pit method is ideal. Using a manual post-hole digger or a 4-inch diameter bulb-planting auger attached to a cordless drill (such as the AugerBit 24-inch attachment, typically priced around $28–$35), drill holes 24 inches deep. Fill the bottom 12 inches with scraps, and cap with 12 inches of native soil. Space these pits 18 inches apart throughout the garden bed.
Carbon-to-Nitrogen (C:N) Ratios for Buried Waste
Kitchen scraps are heavily skewed toward nitrogen, often boasting a C:N ratio of 15:1. If buried alone in heavy soils, this nitrogen surplus triggers rapid bacterial reproduction that consumes all available oxygen, resulting in putrefaction and the release of hydrogen sulfide gas (the classic 'rotten egg' smell). To maintain aerobic decomposition in the upper soil layers, you must amend the buried scraps with carbon.
The 30:1 Target: For every 5-gallon bucket of wet kitchen scraps (high nitrogen), you must bury approximately 1.5 gallons of shredded brown cardboard, sawdust, or dry leaves (high carbon) to achieve the ideal 30:1 C:N ratio required for efficient mesophilic breakdown.
Troubleshooting Common In Ground Compost Failures
Direct burial is not foolproof. Environmental variables can disrupt the decomposition process. Use this diagnostic framework to correct issues in the field.
- Symptom: Foul sulfur or ammonia odor emanating from the soil surface.
Cause: Anaerobic conditions due to excessive moisture or lack of carbon.
Fix: Pierce the soil cap with a garden fork to introduce oxygen. Mix in dry, shredded newspaper to absorb moisture, and mound an additional 3 inches of dry topsoil over the area. - Symptom: Rodents or raccoons excavating the burial site.
Cause: The soil cap is less than 6 inches thick, or prohibited items (meat/dairy) were buried.
Fix: Ensure a strict 6-inch minimum soil cap. If pests persist, lay a piece of 1/2-inch galvanized hardware cloth over the trench before backfilling the final 4 inches of soil. - Symptom: Plants growing directly above the trench exhibit yellowing leaves and stunted growth.
Cause: 'Nitrogen tie-up.' As carbon-heavy materials break down, soil bacteria temporarily consume all available soil nitrogen, starving the plants.
Fix: Apply a side-dressing of blood meal (12-0-0 NPK) at a rate of 1 tablespoon per square foot around the base of the affected plants to provide an immediate nitrogen bridge.
What NEVER to Bury: Pathogen and Pest Risks
Unlike hot composting, in ground compost rarely reaches the 140°F threshold required to kill soil-borne pathogens and weed seeds. The Environmental Protection Agency (EPA) explicitly warns against burying certain materials in residential settings due to vector attraction and pathogen survival.
Strict Exclusion List:
- Pet Waste: Dog and cat feces harbor Toxocara eggs and E. coli, which can survive in ambient soil for years and contaminate root crops.
- Diseased Plant Tissue: Tomato plants suffering from Fusarium wilt or Early Blight will retain viable spores in the soil. Burying them simply inoculates your garden bed for the next decade.
- Meat, Bones, and Dairy: These attract severe pest pressure and take up to two years to break down anaerobically, creating toxic localized soil conditions.
- Invasive Weed Roots: Bindweed, bermudagrass, and quackgrass rhizomes will readily sprout from a 12-inch depth if not fully desiccated.
Planting Timelines: When to Sow Over Buried Scraps
Timing is the most critical variable when integrating in ground compost into your planting schedule. As organic matter decomposes, it releases organic acids and temporarily alters the soil pH. Planting delicate seedlings directly over a fresh trench will result in root burn.
According to research from the University of Minnesota Extension, you must observe a mandatory waiting period based on the crop type and the volume of buried matter:
- Shallow-Rooted Leafy Greens (Lettuce, Radishes): Wait a minimum of 8 weeks after capping the trench before sowing seeds. The top 6 inches of soil need time to re-stabilize and allow ammonia off-gassing to dissipate.
- Deep-Rooted Fruiting Crops (Tomatoes, Peppers, Squash): Wait 4 to 6 weeks. When transplanting, offset the plant 6 inches to the left or right of the exact trench centerline, allowing the taproot to access the nutrient plume without sitting directly in the active decomposition zone.
- Heavy Feeders (Sweet Corn, Pumpkins): These can be planted directly over a trench, provided the trench was capped at least 3 weeks prior and the scraps were heavily buffered with carbon-rich materials.
By strictly adhering to depth requirements, C:N balancing, and planting timelines, in ground compost becomes one of the most labor-efficient soil amendment strategies available to the home gardener, delivering targeted nutrition directly to the root zone without the spatial footprint of traditional compost bins.

