
Gardening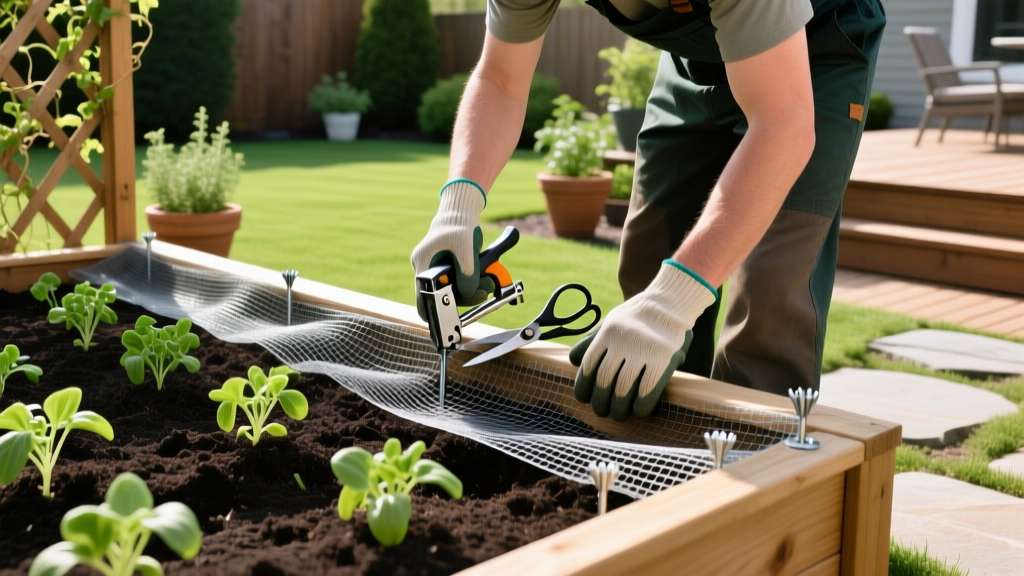
How to Install Hardware Cloth for Garden Bed Pest Protection
Why Hardware Cloth is Non-Negotiable for Raised Beds
If you are building a raised garden bed in an area with burrowing rodents, skipping a bottom barrier is a costly mistake. Pocket gophers and voles can decimate a season's worth of root vegetables, bulbs, and perennials in a matter of days. According to the University of California Integrated Pest Management Program, physical exclusion is the most reliable, non-toxic method for controlling burrowing pests in agricultural and home garden settings.
Many beginners mistakenly opt for chicken wire (poultry netting) due to its lower cost and flexibility. This is a critical failure point. Chicken wire typically features 1-inch hexagonal gaps, which are large enough for mice and small voles to pass through. Furthermore, the thin, flexible wire used in chicken wire can be easily chewed through by determined gophers. Hardware cloth—a welded wire mesh with rigid, square or rectangular gaps—is the only material that provides a permanent, impenetrable physical barrier against subterranean garden pests.
Choosing the Right Hardware Cloth Specifications
Not all hardware cloth is created equal. Selecting the wrong mesh size or gauge will result in either pest intrusion or unnecessary installation difficulty. For garden bed applications, you need a precise balance of rigidity, gap size, and corrosion resistance.
| Specification | Recommended Choice | Why It Matters |
|---|---|---|
| Mesh Size | 1/2-inch x 1/2-inch | Prevents all rodents, including mice and small voles, from squeezing through. 3/4-inch or 1-inch mesh is too large. |
| Wire Gauge | 19-gauge | The ideal balance. 22-gauge is too flimsy and bends under soil weight; 16-gauge is unnecessarily heavy and difficult to cut. |
| Galvanization | Galvanized After Welding (GAW) | GAW coats the welded joints, preventing rust at the most vulnerable points. Galvanized Before Welding (GBW) will rust at the joints when exposed to moist soil. |
| Expected Cost | $35 - $45 (per 2' x 50' roll) | Prices fluctuate based on steel markets, but a 2x50 roll is enough to line three 4x8 raised beds with overlap. |
Pro Tip: Always check the packaging for 'GAW' or 'Galvanized After Welding'. If the wire looks shiny and smooth at the intersections, it is GAW. If the intersections look dark or have exposed steel, it is GBW and will rust prematurely in damp garden soil.
Tools and Materials Required for Installation
Attempting to cut and secure hardware cloth with standard household tools will lead to frustration and potential injury. Assemble the following specific tools before beginning your build:
- Aviation Snips: Midwest 1018 or similar compound-action snips. Standard tin snips will cause hand fatigue and leave jagged edges.
- Heavy-Duty Staple Gun: Arrow T50 or equivalent manual staple gun. Pneumatic staplers can bend the wire if the pressure is set too high.
- Galvanized Staples: 3/8-inch or 1/2-inch heavy-duty galvanized staples. Do not use standard steel staples; they will rust and fail within one season.
- Leather Work Gloves: Mandatory. Cut hardware cloth leaves razor-sharp burrs that will easily slice through standard cotton or nitrile gardening gloves.
- Measuring Tape and Marker: For calculating overlap and cutting dimensions.
Step-by-Step Installation Guide for Bottom-Mounting
The most effective way to install hardware cloth is to attach it to the bottom of the raised bed frame before moving the bed into its final position. This ensures a tight, gap-free seal.
- Calculate Dimensions with Overlap: Measure the exterior length and width of your raised bed. Add 3 inches to both the length and width. For a standard 4x8 foot bed, you will cut a piece measuring 4'3" by 8'3". This extra material creates a lip that wraps up the sides, preventing pests from tunneling exactly at the soil-wood interface.
- Cut the Mesh: Lay the roll flat on a hard surface. Using your aviation snips and wearing leather gloves, cut along the horizontal wire to maintain a straight edge. Bend the sharp cut edges slightly inward using the flat side of the snips to reduce snagging hazards.
- Position and Align: Flip your assembled wooden raised bed upside down. Center the cut hardware cloth over the bottom opening, ensuring the 1.5-inch excess lip extends evenly past all four exterior walls.
- Secure the Perimeter: Starting at one corner, use your staple gun to secure the mesh to the bottom edge of the wood. Place a staple every 3 to 4 inches along the entire perimeter. Pull the wire taut as you work to prevent sagging in the center.
- Manage Seams (If Required): If your bed is wider than the roll (e.g., a 6-foot wide bed), you will need to overlap two sheets. Overlap them by at least 2 inches and staple through both layers directly into the wood every 3 inches along the seam.
- Fold the Lip: Once the bottom is fully stapled, use a rubber mallet or a block of wood to bend the 1.5-inch excess lip upward, flush against the exterior walls of the bed. Staple this vertical lip to the outside of the bed every 6 inches.
Advanced Trenching for Extreme Pest Pressure
While bottom-mounting stops gophers from pushing up directly into the bed, voles are known to tunnel laterally just below the soil surface and enter from the sides. If you live in an area with heavy vole populations, the University of Minnesota Extension recommends extending the physical barrier below the soil line.
Warning: Never attach hardware cloth to the inside walls of the bed where it will contact damp soil directly. The constant moisture trapped between the wire and the wood will accelerate the rotting of your bed's timber. Always wrap the lip to the exterior.
To create a lateral barrier, dig a narrow trench 12 inches deep and 2 inches wide around the exterior perimeter of where the bed will sit. Cut strips of hardware cloth 14 inches wide. Bury 12 inches of the strip in the trench, leaving 2 inches above grade, and backfill with soil. When you place the bed over this trenched perimeter, the bottom-mounted mesh will overlap with the trenched mesh, creating a continuous, impenetrable bowl.
Common Installation Mistakes and How to Avoid Them
- Using Untreated Staples: Standard office or light-duty craft staples will oxidize and snap under the tension of the wire within 12 months. Always buy hot-dipped galvanized staples.
- Leaving Corner Gaps: The corners are the most vulnerable points. When folding the lip up around the corners, you will have overlapping wire. Do not leave these flaps loose; fold them flat and staple them securely to prevent rodents from finding a seam.
- Placing Cloth on Top of the Soil: Some gardeners lay the mesh over the top of the soil to protect seeds. This restricts deep root growth for crops like carrots and parsnips and makes weeding impossible. Hardware cloth belongs at the base of the bed, under the soil.
- Ignoring Vinyl-Coated Options: If you are using cedar or redwood and want to maximize the lifespan of the wood, consider vinyl-coated hardware cloth. The PVC coating prevents the galvanic corrosion reaction that occurs when bare galvanized steel rests against damp, acidic wood.
Frequently Asked Questions
Will hardware cloth restrict drainage in my raised bed?
No. A 1/2-inch mesh opening provides thousands of square inches of drainage area. Water will flow through the hardware cloth faster than it can percolate through the surrounding native soil. The only time drainage is restricted is if you place the bed directly on solid concrete or compacted clay without amending the sub-grade.
How long will galvanized hardware cloth last in garden soil?
High-quality 19-gauge GAW hardware cloth will last 10 to 15 years in standard garden soil conditions. If your soil is highly acidic (pH below 5.5) or heavily amended with fresh manure and high-salt fertilizers, the lifespan may decrease to 7 to 10 years due to accelerated corrosion of the zinc coating.
Can I use plastic poultry netting instead of metal hardware cloth?
Plastic netting is effective against birds and surface pests, but it is entirely useless against gophers and voles. Rodents will easily chew through polypropylene and polyethylene plastics. Furthermore, UV exposure degrades plastic netting within 3 to 5 years, requiring frequent replacement. Metal hardware cloth is a permanent infrastructure investment.

