
Gardening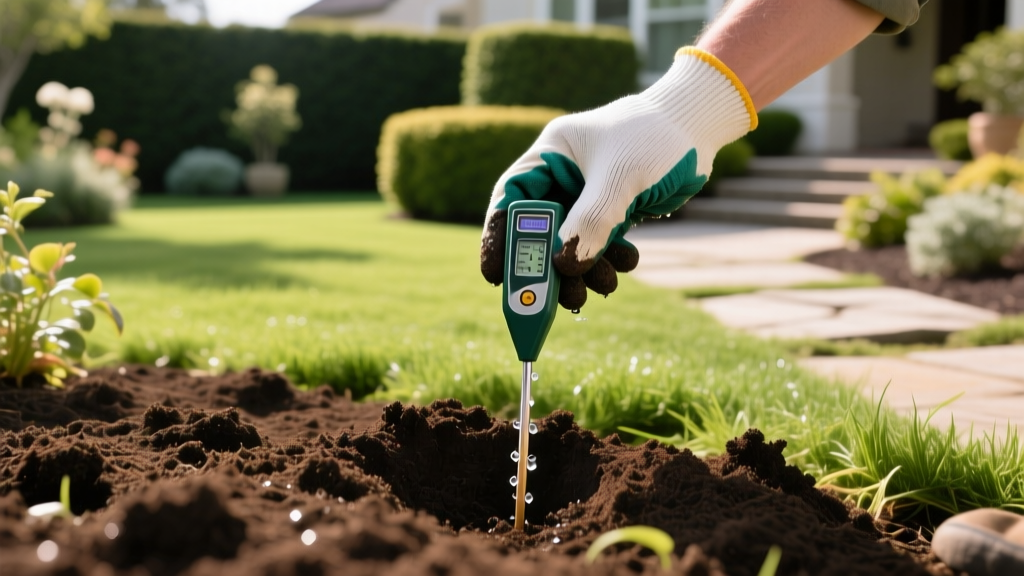
How to Perform a Moisture Test for Soil: A Step-by-Step Guide
Why Guessing Fails: The Science of Soil Hydration
Overwatering and underwatering remain the leading causes of plant mortality in both residential gardens and commercial agriculture. Relying on visual cues—like wilting leaves or dry surface crusts—is fundamentally flawed because plant roots often reside 6 to 18 inches below the surface, where conditions differ drastically from the topsoil. To optimize irrigation, you must understand the difference between Volumetric Water Content (VWC) and Matric Potential. VWC measures the actual volume of water in a given volume of soil, while Matric Potential measures how tightly the soil holds that water. According to the Penn State Extension, understanding these metrics is critical because a clay soil at 25% VWC might be perfectly hydrated, while a sandy soil at 25% VWC could be dangerously waterlogged.
Expert Insight: The goal of any moisture test for soil is not to find a single 'perfect' number, but to establish the baseline Field Capacity (FC) and Permanent Wilting Point (PWP) for your specific soil texture.
The 3 Core Methods to Perform a Moisture Test for Soil
As smart garden technology has matured in 2026, the tools available for measuring soil hydration have shifted from rudimentary guesses to precision data logging. Here are the three primary methods used by modern horticulturists.
Method 1: The Manual Finger & Trowel Test (The Baseline)
The traditional method involves inserting a finger or a 6-inch steel trowel into the soil to feel for moisture and temperature drops. While this costs nothing and provides immediate tactile feedback, it is highly subjective. It only effectively measures the top 2 to 4 inches of the soil profile, completely missing the deep root zones of perennials, tomatoes, and shrubs. Use this method only for shallow-rooted annuals or seedlings in container gardens.
Method 2: Analog Tensiometers (For Deep Root Zones)
Tensiometers, such as the Irrometer SRUG Soil Moisture Sensor (typically priced between $45 and $60), measure Matric Potential directly in centibars (cb). They consist of a porous ceramic tip connected to a vacuum gauge. As the soil dries, it pulls water out of the ceramic tip, creating a vacuum that moves the needle. Tensiometers are exceptionally accurate for clay and loam soils but struggle in very dry sandy soils because the water column inside the tube can break (cavitate) when tension exceeds 80 centibars.
Method 3: Digital Capacitance Probes (The 2026 Standard)
Frequency Domain Reflectometry (FDR) or capacitance sensors, like the Ecowitt WH51 Soil Moisture Sensor (around $28), measure the dielectric permittivity of the soil to calculate VWC. These probes send an electromagnetic field into the soil; because water has a much higher dielectric constant than soil minerals or air, the sensor can accurately calculate the water volume. Modern Bluetooth and Zigbee-enabled probes now integrate directly with smart irrigation controllers, automatically shutting off sprinkler zones when VWC thresholds are met.
Comparison Matrix: Choosing the Right Testing Method
| Feature | Manual / Trowel | Analog Tensiometer | Digital FDR Probe |
|---|---|---|---|
| Measures | Subjective feel | Matric Potential (cb) | Volumetric Water Content (%) |
| Effective Depth | 2 - 4 inches | 6 - 24 inches | 2 - 12 inches (probe dependent) |
| Average Cost | $0 | $45 - $60 | $25 - $40 |
| Smart Home Integration | None | Rare (requires add-ons) | Native (Zigbee/Wi-Fi/Bluetooth) |
| Best Soil Type | Containers / Seedbeds | Heavy Clay / Loam | Sandy / Loam / Raised Beds |
Step-by-Step: Calibrating Your Digital Moisture Test for Soil
Buying a digital probe is only half the battle; out-of-the-box factory calibrations are usually based on generic loam. To get actionable data, you must calibrate the sensor to your specific garden bed. Here is the exact protocol for calibrating an FDR sensor like the Ecowitt WH51 or Xiaomi Flora.
- Establish the Dry Baseline (0%): Take a cup of your native garden soil and bake it in an oven at 220°F (105°C) for 24 hours to evaporate all moisture. Let it cool, insert the probe, and record the raw sensor output. This is your absolute zero.
- Establish Field Capacity (100%): Take the same dried soil, place it in a pot with drainage holes, and water it thoroughly until it drains freely from the bottom. Wait exactly two hours for the gravitational water to drain. Insert the probe and record the reading. This represents your soil's Field Capacity.
- Map the Curve: Use the sensor's companion app to set the 0% and 100% calibration points. The app will now interpolate all future readings based on your specific soil's dielectric properties.
- Install at Root Depth: Bury the probe horizontally or at a 45-degree angle directly within the active root zone of your target plant. For tomatoes, this is 8 to 10 inches deep. For turfgrass, 2 to 3 inches is optimal.
Interpreting the Data: VWC Thresholds by Soil Type
A reading of '30% moisture' means nothing without context. The USGS Water Science School notes that soil texture dictates how much water is actually available to plants. Use this framework to interpret your digital moisture test for soil results:
- Sandy Soil: Field Capacity is roughly 15% to 20% VWC. Permanent Wilting Point (PWP) is around 4% to 6%. Action: Irrigate when the sensor drops below 10%.
- Loam Soil: Field Capacity is roughly 25% to 30% VWC. PWP is around 10% to 12%. Action: Irrigate when the sensor drops below 18%.
- Heavy Clay: Field Capacity can exceed 40% VWC. PWP is around 15% to 18%. Action: Irrigate when the sensor drops below 25%. Note that clay holds water tightly, so even at 20% VWC, plants may struggle to extract it.
Warning: The Air Gap Effect in Clay
Clay soils shrink and crack as they dry. If your soil pulls away from the sensor probe, an air gap forms. Because air has a dielectric constant of 1 (compared to water's 80), the sensor will instantly drop to a 0% reading, triggering false overwatering. Always tamp the soil firmly around the probe insertion point in clay-heavy beds.
Clay soils shrink and crack as they dry. If your soil pulls away from the sensor probe, an air gap forms. Because air has a dielectric constant of 1 (compared to water's 80), the sensor will instantly drop to a 0% reading, triggering false overwatering. Always tamp the soil firmly around the probe insertion point in clay-heavy beds.
Troubleshooting Common Sensor Failures
Even premium digital probes can deliver skewed data if environmental variables are ignored. If your moisture test for soil yields erratic spikes or flatlines, check these three common failure modes:
1. High Salinity Interference
If you heavily fertilize with synthetic salts or use municipal reclaimed water, the electrical conductivity (EC) of your soil increases. High EC can short-circuit the electromagnetic field of capacitance probes, resulting in artificially high moisture readings. If you suspect salinity issues, flush the bed with distilled water and re-test, or switch to a specialized high-salinity TDR (Time Domain Reflectometry) probe.
2. Battery Corrosion and Grounding
For wireless probes left in the ground over winter, alkaline batteries are prone to leaking and corroding the contacts. Always use Lithium Iron Disulfide (Li-FeS2) AA batteries in outdoor soil sensors, as they maintain voltage stability in freezing temperatures and resist corrosion. Furthermore, ensure the probe's grounding wire (if applicable) is in direct contact with moist soil, not buried in a pocket of dry mulch.
3. Root Wrapping
Aggressive root systems, particularly from mint, bamboo, or certain creeping perennials, will wrap tightly around the probe's metal prongs. While this doesn't immediately break the sensor, the decaying organic matter of the roots alters the local dielectric constant, slowly drifting your calibration over a 6-month period. Inspect and gently clear root masses from the probe every spring.
Final Thoughts on Precision Irrigation
Performing an accurate moisture test for soil transitions your garden management from reactive guesswork to proactive data science. By selecting the right tool for your soil texture—tensiometers for heavy clay and FDR capacitance probes for sandy loams—and taking the time to calibrate them to your specific garden beds, you can reduce water waste by up to 40% while significantly boosting crop yields and ornamental vigor. Stop watering on a schedule, and start watering on demand.

