
Gardening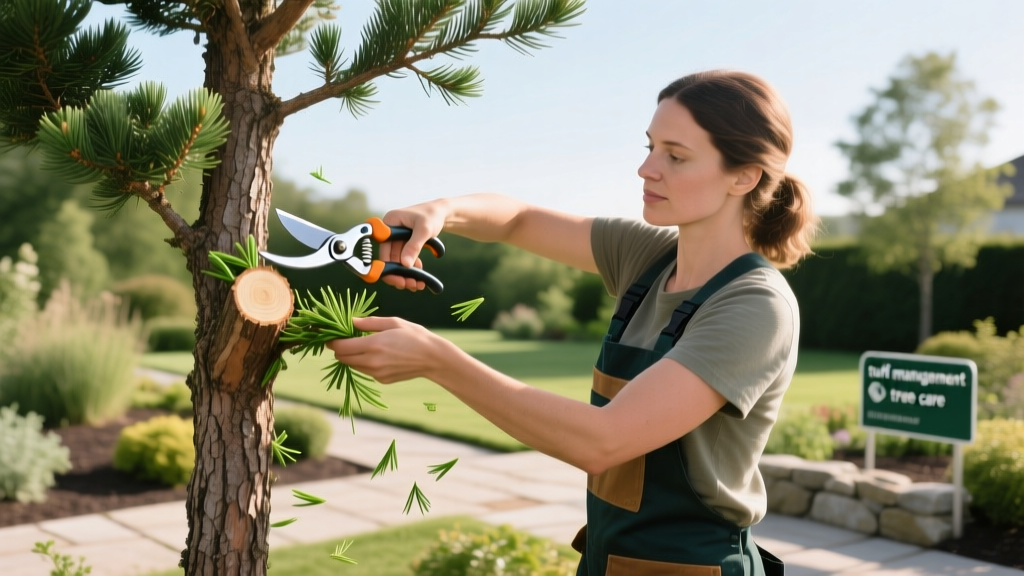
How to Regrow Cedar Plants: Rejuvenation Pruning & Propagation
The Biological Reality: Why Cedars Struggle to Regrow
When homeowners ask how to regrow cedar plants, they are usually dealing with an Eastern White Cedar (Thuja occidentalis), a Western Red Cedar (Thuja plicata), or a true cedar like the Deodar (Cedrus deodara). Before making a single cut, you must understand a critical biological limitation: most cedar species lack adventitious buds on old, brown wood. Unlike deciduous trees that can sprout new shoots from bare trunks, cutting a cedar back into the brown, needle-less interior 'dead zone' will typically result in a permanent bare patch or the death of that specific branch.
Therefore, 'regrowing' a cedar actually involves two distinct strategies depending on the severity of the damage. If the plant still has green lateral growth, you can use strategic rejuvenation pruning to encourage outward density. If the main trunk or large sections are entirely brown and dead, your only viable option to 'regrow' the plant is to take semi-hardwood cuttings from the remaining healthy green tips and propagate a genetic clone. This guide details the exact measurements, chemical concentrations, and timelines required for both methods.
Scenario 1: Rejuvenating a Thinning or Browning Cedar
If your cedar hedge or standalone tree has suffered from winter burn, minor pest damage, or interior thinning but still retains green foliage on the outer edges, you can stimulate new growth through selective pruning. The goal is to redirect the plant's auxins (growth hormones) to lateral buds without exposing the dead zone.
Warning: Never 'top' a cedar or use hedge shears to give it a flat, uniform haircut. Shearing removes the terminal buds and forces dense outer growth that blocks sunlight from reaching the interior, accelerating the expansion of the brown dead zone. Always use sharp bypass pruners for selective cuts.
Step-by-Step Rejuvenation Pruning Protocol
- Identify the Green V: Look at the branch you want to shorten. Find the deepest point where green lateral branches form a 'V' shape. You must make your cut just above this green junction, leaving at least 2 to 3 inches of green foliage on the stub.
- Make the Cut: Using sterilized bypass pruners (wipe blades with 70% isopropyl alcohol between cuts to prevent spreading Didymascella thujina or cedar leaf blight), cut at a 45-degree angle about 1/4 inch above a healthy lateral branch collar.
- Thin the Canopy: Remove no more than 15% to 20% of the total green canopy in a single growing season. Focus on removing crossing branches, dead tips, and overly dense outer clusters to allow dappled sunlight to penetrate the inner canopy.
- Timing: Perform this pruning in early spring (late March to mid-April, depending on your hardiness zone) just before the spring flush of new growth begins. Avoid pruning in late fall, as new cuts will not harden off before freezing temperatures arrive.
According to the University of Minnesota Extension, selective thinning of evergreens promotes better air circulation, which drastically reduces the incidence of fungal pathogens that cause premature browning and needle drop.
Scenario 2: Propagating a New Cedar from Cuttings
If your cedar has been girdled by rodents, snapped by heavy snow, or cut back into the dead zone, the original plant cannot be saved. However, you can regrow an exact genetic replica by rooting semi-hardwood cuttings. This process requires precision regarding hormone application and humidity control.
Rooting Hormone Concentrations by Species
Cedars are notoriously slow and difficult to root compared to deciduous shrubs. Using the correct concentration of Indole-3-butyric acid (IBA) is non-negotiable for success. Below is the required data for commercial or professional-grade rooting hormones (such as Dip 'N Grow or Rhizopon).
| Cedar Species | Cutting Type | Optimal IBA Concentration | Expected Rooting Time |
|---|---|---|---|
| Thuja occidentalis (Arborvitae) | Semi-hardwood | 0.3% to 0.4% IBA | 8 to 12 weeks |
| Thuja plicata (Western Red) | Semi-hardwood | 0.4% to 0.8% IBA | 10 to 14 weeks |
| Cedrus deodara (Deodar) | Semi-hardwood | 0.8% IBA + 0.4% NAA | 12 to 16 weeks |
The 6-Step Propagation Workflow
- Harvesting: Take 4 to 6-inch cuttings from the current season's growth in late summer (late July to early September). The base of the cutting should be starting to turn from green to brown (semi-hardwood), while the tip remains green and flexible.
- Wounding: Using a sterile razor blade, scrape off a thin sliver of bark (about 1/2 inch long) on two opposite sides at the base of the cutting. This exposes the cambium layer and increases the surface area for root initiation.
- Hormone Application: Dip the wounded base into a liquid IBA rooting hormone solution for exactly 5 seconds. Tap off the excess. Do not use powder hormones for cedars, as they tend to clump and cause uneven root formation.
- Media Preparation: Fill a deep propagation tray with a sterile, well-draining mix. The ideal ratio is 50% coarse horticultural perlite, 30% sphagnum peat moss, and 20% coarse builder's sand. Pre-moisten the media until it holds together when squeezed but drips no excess water.
- Planting and Humidity: Insert the cuttings 2 inches deep into the media. Space them 2 inches apart. Place the tray under an intermittent misting system (misting for 10 seconds every 15 minutes during daylight hours) or cover with a clear plastic humidity dome, venting it daily to prevent fungal rot.
- Bottom Heat: Place the tray on a propagation heat mat set to exactly 70°F to 75°F (21°C to 24°C). Bottom heat accelerates cellular division at the wound site and can reduce rooting time by up to 30%.
Pro Tip: To check if roots have formed without pulling the cutting, give the tip a very gentle tug. If you feel distinct resistance, the cutting has rooted. Once rooted, gradually reduce humidity over a two-week period to harden off the new plant before transplanting it into a 1-gallon pot with standard potting mix.
Soil Nutrition and Mycorrhizal Inoculation
Whether you are nursing a pruned cedar back to health or transplanting a newly rooted cutting, soil biology is the primary driver of regrowth. Cedars form symbiotic relationships with ectomycorrhizal fungi, which extend the root system's ability to absorb phosphorus and water. When replanting or top-dressing, apply a granular mycorrhizal inoculant (such as Myke or a comparable Rhizopogon based product) directly to the root zone. This typically costs between $15 and $25 for a 2-ounce package and yields massive returns in transplant survival rates.
For fertilization, avoid high-nitrogen synthetic fertilizers that force weak, sappy growth susceptible to aphids and winter burn. Instead, use a slow-release, acidic fertilizer with an NPK ratio of 12-4-8 or 10-8-6. Apply 1 pound of fertilizer per 1,000 square feet of root zone in early spring. Maintain a soil pH between 6.0 and 6.5; if your soil is too alkaline (above 7.0), the cedar will suffer from iron chlorosis, resulting in yellowing new growth that cannot photosynthesize efficiently to support regrowth.
Troubleshooting Common Regrowth Failures
Even with perfect technique, environmental variables can disrupt the regrowth process. Use this diagnostic matrix to identify and correct issues quickly.
Symptom
Root Cause
Corrective Action
Cuttings turn black and mushy at the base.
Pythium root rot due to overwatering or poor media drainage.
Discard rotting cuttings. Increase perlite ratio to 60% and reduce misting frequency.
Pruned branches remain bare with no new green buds.
Cut was made too deep into the dead zone, removing all lateral bud nodes.
The branch will not recover. Remove it entirely at the trunk collar to improve aesthetics and airflow.
New spring growth emerges bright yellow instead of green.
Iron or manganese deficiency caused by high soil pH locking up micronutrients.
Apply chelated iron (Fe-EDDHA) as a soil drench and amend soil with elemental sulfur to lower pH.
Successfully regrowing cedar plants requires patience and a respect for the plant's natural growth habits. By avoiding the temptation to aggressively shear the canopy and instead relying on precise lateral cuts and scientifically backed propagation techniques, you can maintain dense, vibrant evergreens for decades. For more detailed information on taking cuttings from woody ornamentals, consult the Royal Horticultural Society's propagation guidelines, which provide excellent baseline parameters for evergreen rooting.

