
Gardening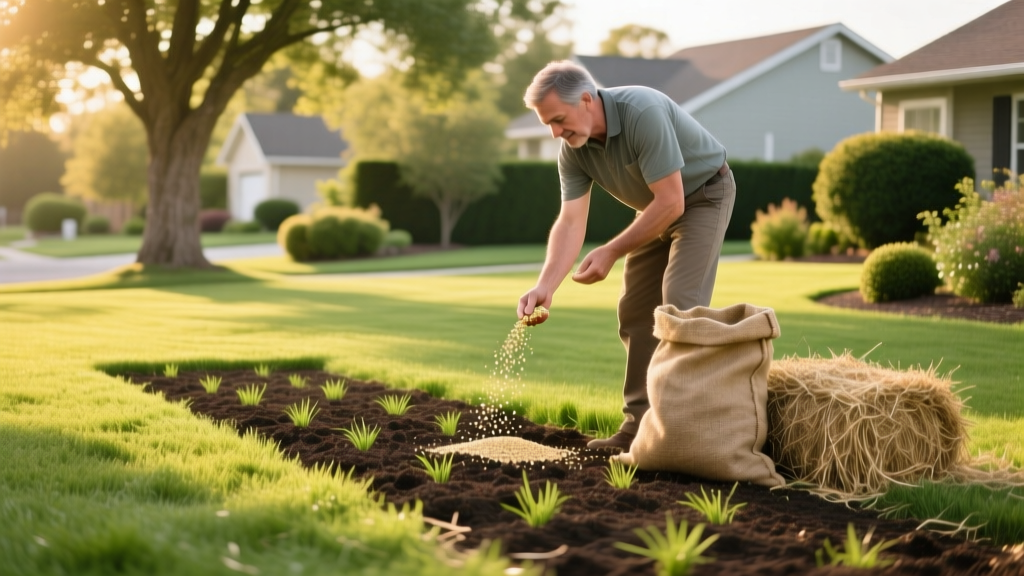
Seed and Straw Planting Guide: Rates, Timing, and Erosion Control
The Agronomic Mechanics of Seed and Straw Establishment
Combining seed and straw is one of the most effective, low-cost methods for establishing lawns, restoring meadows, and protecting large garden beds. Unlike synthetic erosion control blankets, straw provides a biodegradable microclimate that regulates soil temperature, buffers against raindrop impact, and drastically reduces surface evaporation. According to research on mulching efficacy, a proper straw canopy can reduce soil moisture evaporation by 60% to 70%, which is critical for maintaining the constant moisture levels required for seed germination.
However, the success of a seed and straw application relies entirely on seed-to-soil contact before the mulch is laid. Straw is a protective cover, not a planting medium. Seeds must be raked into the top 1/8 to 1/4 inch of soil or pressed in with a lawn roller. If seed is broadcast directly on top of existing straw, or if the straw layer is applied too thickly, the emerging radicle (root) will dry out before reaching the soil profile, resulting in total establishment failure.
CRITICAL WARNING: Straw vs. Hay
Never substitute hay for straw in establishment projects. Hay is harvested as animal feed and contains the nutrient-rich seed heads of grasses, clovers, and broadleaf weeds. Applying hay will introduce thousands of weed seeds per square foot to your site. Straw is the hollow, dried stalk left behind after the grain (wheat, oats, barley) has been harvested and threshed, containing minimal viable seed.
Straw Selection Matrix: Wheat, Oat, Barley, and Pine
Not all straw performs identically. The carbon-to-nitrogen (C:N) ratio, stalk stiffness, and residual allelopathic compounds vary by grain type. Below is a decision framework for selecting the correct straw for your specific planting scenario.
| Straw Type | Avg. Cost (2026) | Coverage per Bale | Best Application | Weed Seed Risk |
|---|---|---|---|---|
| Oat Straw | $7.00 - $11.00 | 500 - 1,000 sq ft | Vegetable gardens, sensitive broadleaf seeds | Very Low |
| Wheat Straw | $6.00 - $9.00 | 500 - 1,000 sq ft | Large lawn establishment, meadow restoration | Low to Moderate |
| Barley Straw | $8.00 - $12.00 | 400 - 800 sq ft | Slopes (stiff stalks interlock well) | Low |
| Pine Straw (Needles) | $5.00 - $8.00 | 300 - 500 sq ft | Acid-loving perennials, blueberries, azaleas | Zero |
Expert Insight: Fresh wheat straw can exhibit mild allelopathy—the release of phenolic acids during initial decomposition that inhibit the germination of small-seeded broadleaf plants. If you are establishing a pollinator garden or sowing delicate vegetable seeds like carrots and lettuce, always source oat straw to avoid germination suppression. For turfgrass (fescue, bermuda, ryegrass), wheat straw is perfectly safe and more cost-effective.
Precision Application Rates and Slope Anchoring
The most common failure in seed and straw planting is over-application. The golden rule of straw mulching is the 50% visibility threshold. After application, you should still be able to see 50% of the bare soil through the straw canopy. This equates to roughly 1 to 1.5 bales per 1,000 square feet. If the straw is too thick, it blocks the photosynthetically active radiation (PAR) required for seedling emergence and traps excess moisture, inviting Pythium blight and damping-off fungi.
Anchoring Protocols by Gradient
Wind and water will displace unanchored straw before seeds can establish. Match your anchoring technique to the slope gradient of your site, as recommended by the USDA Natural Resources Conservation Service:
- 0% to 15% Slope (Flat to Gentle): Broadcast straw evenly. Water the site immediately with a fine mist to mat the straw down. The natural weight of wet straw and the friction of the soil surface are sufficient to hold it in place.
- 15% to 33% Slope (Moderate): Broadcast straw and use a mechanical straw crimper to push the mulch into the top inch of soil. Alternatively, lay down biodegradable jute netting (photodegradable plastic netting is discouraged due to wildlife entanglement risks) over the straw and pin it with 6-inch biodegradable wooden stakes at 3-foot intervals.
- >33% Slope (Steep): Standard broadcast straw will fail on steep inclines. Use rolled erosion control products (RECPs) like straw wattles (straw logs encased in jute) placed horizontally along the contour lines every 10 to 15 feet to break up water velocity. Alternatively, use hydraulic tackifiers sprayed over the straw to glue it to the soil surface.
Hydration Dynamics Under a Straw Canopy
Watering a seed and straw bed requires a different approach than watering bare soil. The straw layer intercepts light rainfall and overhead irrigation, meaning up to 20% of applied water may be held in the straw thatch and evaporate before reaching the soil.
According to turf establishment guidelines from the University of Minnesota Extension, you must water long enough to penetrate the straw layer and moisten the top 2 inches of soil. During the first 14 days of germination, water the site 2 to 3 times daily for shorter durations (5-10 minutes) to ensure the soil beneath the straw remains consistently moist but not waterlogged. Once seedlings reach 1 inch in height and penetrate the straw canopy, transition to deeper, less frequent watering to encourage downward root growth.
Troubleshooting Seed and Straw Failures
Symptom: Seedlings Emerged but Turned Yellow and Stunted
Cause: Nitrogen tie-up or light deprivation. While straw has a high C:N ratio (often 80:1), the microbial decomposition that ties up soil nitrogen primarily occurs at the soil-mulch interface. However, if the straw was applied too thickly (less than 50% soil visibility), the physical barrier blocks sunlight, causing etiolation (stretching) and chlorosis (yellowing) in the seedlings.
Fix: Gently rake out excess straw to expose the seedlings to direct sunlight. If the soil test indicates a nitrogen deficiency at the surface, apply a quick-release liquid nitrogen fertilizer (such as a 24-0-0 urea solution) at a rate of 0.5 lbs of nitrogen per 1,000 sq ft to bypass the microbial tie-up.
Symptom: Patches of White or Gray Fuzz on Soil Surface
Cause: Saprophytic fungi or Pythium blight caused by excessive moisture and poor air circulation under a dense straw mat.
Fix: Reduce watering frequency immediately. Allow the top layer of soil to dry slightly between watering cycles. If the fungus is aggressive and causing seedling rot (damping off), apply an organic fungicide containing Bacillus subtilis or copper octanoate, and carefully fluff the straw with a bamboo rake to increase airflow.
Symptom: Straw Blew Away in the First Windstorm
Cause: Straw was applied to dry, dusty topsoil without being watered in, or the application rate was too light (less than 0.5 bales per 1,000 sq ft).
Fix: For future applications, always moisten the bare soil before laying straw to increase surface friction, and water the straw heavily immediately after application to interlock the stalks. On windy sites, use a tackifier or jute netting regardless of the slope gradient.
Timeline for Straw Decomposition
Do not attempt to rake or remove the straw once the grass or garden plants have established. The straw will naturally decompose over 6 to 12 months, adding valuable organic matter to the soil profile. As the new turf or plants grow, they will naturally push through the decaying straw canopy. Removing the straw manually risks uprooting shallow, immature root systems and tearing delicate new foliage. Leave it in place and let the soil biology do the work.

