
Gardening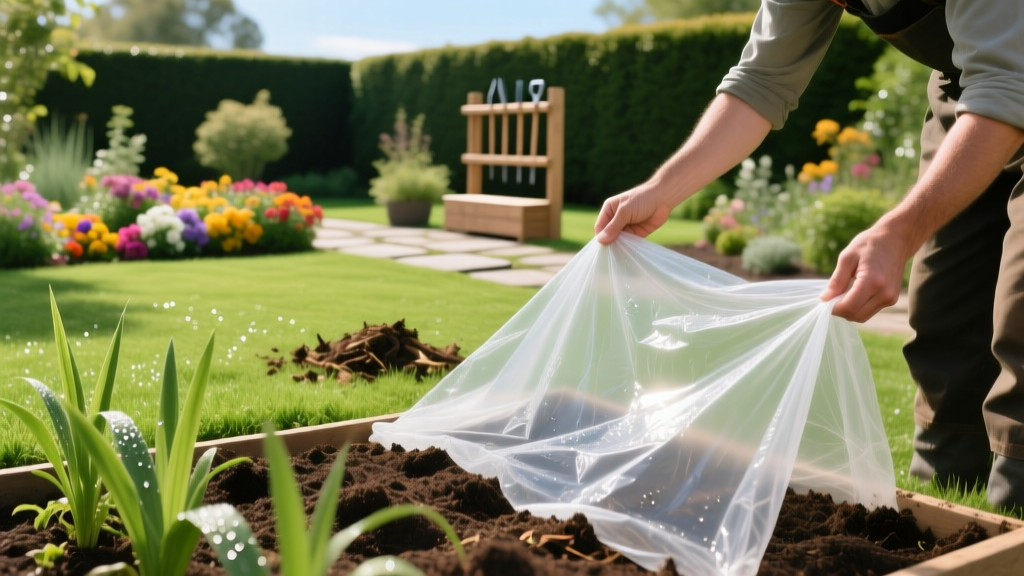
Master Soil Solarization: Organic Weed and Pest Control Guide
The Science of Soil Solarization: Why Clear Plastic Wins
Soil solarization is a non-chemical, passive technique that uses the sun's radiant energy to heat the top layers of soil to temperatures lethal to many soil-borne pests, pathogens, and weed seeds. While it sounds simple, the physics of heat transfer in soil requires specific execution to succeed. According to the UC Agriculture and Natural Resources integrated pest management program, successful solarization can reduce populations of devastating pathogens like Verticillium dahliae, Fusarium oxysporum, and root-knot nematodes by up to 95% in the top two inches of soil.
The most common beginner mistake is using black plastic. Black plastic blocks sunlight, which prevents weeds from photosynthesizing (a process called occultation), but it absorbs and radiates heat away from the soil. Clear polyethylene plastic, conversely, allows short-wave solar radiation to pass through and heat the soil, then traps the re-radiated long-wave infrared heat, creating a powerful greenhouse effect directly at the soil surface.
⚠️ Critical Distinction: Solarization (clear plastic) relies on extreme heat to kill pathogens, nematodes, and weed seeds. Occultation (black plastic) relies on light deprivation and takes 3 to 6 months, primarily targeting weeds. For rapid, broad-spectrum pest and disease control in a single summer, clear plastic solarization is the required method.
Optimal Timing and Temperature Thresholds
Soil solarization is highly dependent on your local climate and the time of year. It requires 4 to 6 weeks of uninterrupted, high-intensity sunlight. In most of the United States, this means initiating the process between mid-June and early August.
Target Soil Temperatures
To effectively pasteurize the soil, you must achieve and maintain specific temperature thresholds. Use a digital soil thermometer with a long probe to monitor the heat beneath the plastic during the first week:
- Top 2 inches: Must reach 110°F to 140°F (43°C to 60°C). This zone is where the majority of weed seeds, fungal spores, and harmful nematodes reside.
- 4-inch depth: Should reach 90°F to 100°F (32°C to 38°C). This is sufficient to weaken deeper perennial weed rhizomes and certain soil-borne bacteria.
- Below 6 inches: Temperatures rarely exceed ambient soil temps, meaning deep-rooted perennials and beneficial deep-soil microbes survive.
Materials Required for Professional-Grade Results
Do not rely on cheap, drop-cloth plastic from a hardware store. Wind, UV degradation, and trapped condensation will destroy inferior materials before the 4-week cycle completes.
- Clear Polyethylene Sheeting: 1.5 to 2 mil thickness (0.0015 to 0.002 inches). Thinner plastic tears easily; thicker plastic (4+ mil) can actually insulate the soil and reduce peak temperatures.
- UV Inhibitors: Ensure the plastic is rated for outdoor use and contains UV stabilizers. Without this, the plastic will become brittle and shatter into microplastics within 14 days of sun exposure.
- Trenching Shovel: For anchoring the edges.
- Soaker Hose or Drip Tape: For pre-irrigation.
- Heavy-duty Landscape Staples: Optional, but useful for securing the plastic in high-wind areas before burying the edges.
Step-by-Step Soil Solarization Process
Step 1: Soil Preparation and Leveling
Rototill or dig the top 6 to 8 inches of soil to break up clods and create a smooth, level surface. Large dirt clods or debris will create air pockets under the plastic, which act as insulators and prevent uniform heating. Remove all visible rocks, sticks, and existing weed debris that could puncture the sheeting.
Step 2: Pre-Irrigation (The Heat Conductor)
This step is frequently skipped, leading to failure. Water the prepared soil deeply until the top 12 to 18 inches are at field capacity (moist, but not pooling). Moist soil conducts heat significantly faster and deeper than dry soil. Furthermore, weed seeds and fungal spores require moisture to activate; once activated, they become highly susceptible to thermal death.
Step 3: Laying and Anchoring the Plastic
Roll the clear 2-mil polyethylene over the damp soil. Ensure it lies completely flat against the soil surface. Dig a trench 6 inches wide and 6 to 12 inches deep around the entire perimeter of the garden bed. Bury the edges of the plastic in this trench and pack the soil tightly over it to create an airtight seal. This prevents wind from getting underneath and tearing the sheeting, and traps the moisture and heat inside.
Step 4: The Waiting Period
Leave the plastic undisturbed for 4 to 6 weeks during peak summer heat. Condensation will form on the underside of the plastic—this is normal and indicates the greenhouse effect is working. If the plastic tears due to an extreme weather event, patch it immediately with clear waterproof tape to maintain the seal.
Troubleshooting Common Solarization Failures
| Symptom | Probable Cause | Corrective Action |
|---|---|---|
| Plastic shatters into flakes | Lack of UV inhibitors in the plastic | Replace with UV-stabilized greenhouse-grade poly; rake up microplastics. |
| Soil temps stay below 100°F | Started too late in season or heavy cloud cover | Extend the solarization period by 2 to 3 weeks into late summer. |
| Massive weed flush after removal | Deep tilling after plastic removal | Stop tilling. Solarization only treats the top 4-6 inches. Deep tilling brings dormant seeds to the surface. |
| Plastic billows and tears in wind | Improper edge trenching or air pockets | Re-trench edges deeper; ensure soil is perfectly leveled before laying. |
Post-Solarization Care: Rebuilding the Microbiome
Soil solarization is a broad-spectrum treatment; it does not discriminate between harmful pathogens and beneficial soil microbes. Once you remove the plastic, your soil is essentially a blank slate. The University of Florida IFAS Extension notes that recolonization by beneficial organisms is crucial to prevent fast-moving pathogens from taking over the vacant ecological niche.
💡 Pro Tip: The No-Till Rule
Never rototill or deeply dig your soil after solarization. The heat only penetrates about 6 inches deep. If you till, you will invert the soil profile, bringing viable weed seeds and dormant nematodes from the untreated lower layers up into your newly sterilized planting zone. Plant seeds or transplants directly into the topsoil with minimal disturbance.
Never rototill or deeply dig your soil after solarization. The heat only penetrates about 6 inches deep. If you till, you will invert the soil profile, bringing viable weed seeds and dormant nematodes from the untreated lower layers up into your newly sterilized planting zone. Plant seeds or transplants directly into the topsoil with minimal disturbance.
Reintroducing Beneficial Biology
Within 48 hours of removing the plastic, apply a 1-to-2-inch layer of high-quality, finished compost or a compost tea drench. Look for compost that tests high in microbial diversity, specifically containing Bacillus subtilis and Trichoderma species. These beneficial bacteria and fungi will rapidly colonize the sterile topsoil, outcompeting any surviving or wind-blown pathogens. If you are not planting immediately, cover the bare soil with 3 inches of organic mulch (like straw or arborist wood chips) to protect the newly developing microbiome from UV radiation and erosion.
By following these precise thermal and biological protocols, beginner gardeners can achieve commercial-grade soil pasteurization without spending hundreds of dollars on chemical fumigants, setting the stage for a highly productive, disease-free growing season.

