
Gardening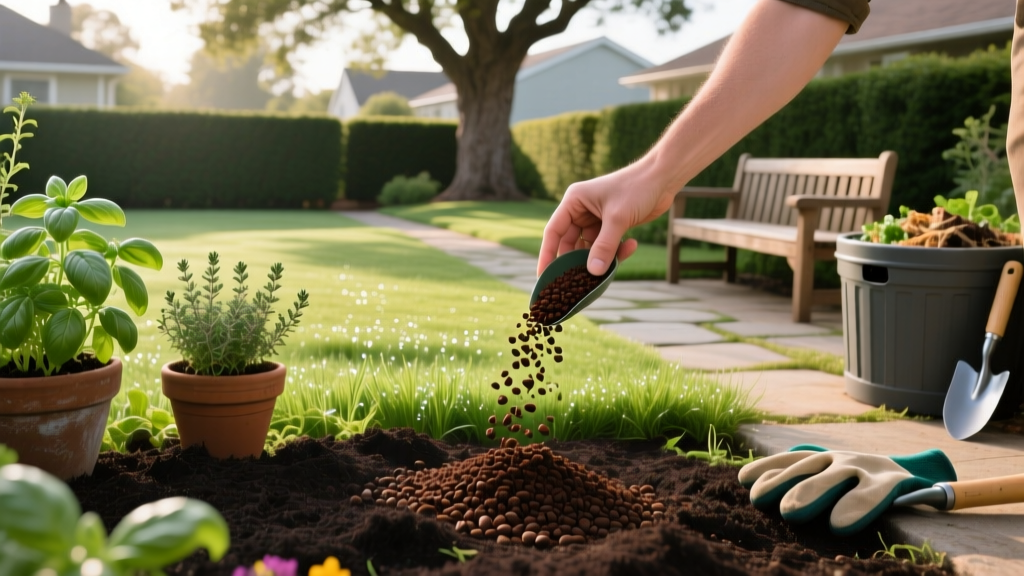
How to Use Starbucks Grounds for Your Garden: A Step-by-Step Guide
The Reality of the Grounds for Your Garden Program
Starbucks has distributed millions of pounds of spent espresso and drip coffee through their 'Grounds for Your Garden' initiative, packaging them in the original foil-lined bags for homeowners to take for free. However, simply dumping these wet, heavy grounds directly onto your soil is a fast track to compaction, mold outbreaks, and stunted seedlings. To successfully integrate Starbucks grounds for your garden, you must treat them as a specific biochemical input rather than generic mulch.
Spent coffee grounds (SCG) are a dense, slow-release organic material. When managed correctly, they improve soil structure, feed beneficial microbes, and provide a steady stream of micronutrients. When mismanaged, their residual caffeine and fine particle size can create anaerobic barriers that suffocate plant roots. This guide provides the exact measurements, composting ratios, and application protocols required to turn this free resource into high-grade soil amendment.
⚠️ Critical Warning: The Acidity Myth
Do not use Starbucks grounds to lower soil pH. While unbrewed coffee is highly acidic (pH 5.0 to 5.5), the brewing process washes the water-soluble chlorogenic acids into your cup. The spent grounds left in the Starbucks bin have a nearly neutral pH ranging from 6.5 to 6.8. Applying them to acid-loving plants like blueberries or azaleas will not acidify the soil; you must use elemental sulfur or aluminum sulfate for that purpose.
The Chemistry: NPK, Carbon-to-Nitrogen Ratios, and Caffeine
Understanding the biochemical profile of spent espresso grounds is essential for calculating your soil inputs. According to extensive horticultural research, including foundational studies on organic amendments by Washington State University Extension, coffee grounds behave uniquely in the soil food web.
- NPK Value: Roughly 2.0% Nitrogen, 0.3% Phosphorus, and 0.3% Potassium. This makes them a mild, slow-release nitrogen source.
- C:N Ratio: 20:1 to 24:1. Despite their brown color, coffee grounds are classified as a 'green' (nitrogen-rich) compost ingredient, not a 'brown' (carbon-rich) one.
- Residual Caffeine: Spent grounds retain between 4.8 mg and 8.0 mg of caffeine per gram. Caffeine is an allelopathic chemical designed by the coffee plant to inhibit the germination of competing seeds.
Step-by-Step Application Methods
There are three primary ways to process and apply Starbucks grounds for your garden. Choose the method that aligns with your current planting schedule and soil needs.
Method 1: Thermal Composting (The 20% Rule)
Composting is the safest way to neutralize residual caffeine and break down the dense cellular structure of the grounds. The microbial heat of an active compost pile degrades caffeine alkaloids effectively over 90 to 120 days.
- Calculate your volume: Limit coffee grounds to a maximum of 20% of your total compost pile volume. Exceeding this threshold creates anaerobic pockets, leading to methane production and a foul, ammonia-like odor.
- Balance with browns: For every 1 gallon of wet Starbucks grounds, add 4 gallons of high-carbon 'browns' (dry autumn leaves, shredded cardboard, or untreated wood chips).
- Monitor moisture: Coffee grounds hold water like a sponge. If your compost feels like a wrung-out sponge, reduce the grounds. If it is dry and crumbly, the grounds will provide necessary hydration.
- Turn weekly: Agitate the pile every 7 days to introduce oxygen and maintain internal temperatures between 135°F and 155°F.
Method 2: Direct Top-Dressing (The 1/4 Inch Protocol)
If you need an immediate nitrogen boost for established, heavy-feeding perennials or shrubs, you can apply the grounds directly. Never mix raw grounds directly into the root zone, as the microbial breakdown process will temporarily tie up soil nitrogen.
- Dry the grounds: Spread the wet Starbucks grounds on a tarp in direct sunlight for 48 hours. Drying prevents the formation of a hydrophobic crust.
- Apply thinly: Sprinkle a layer no thicker than 1/4 inch over the soil surface around established plants. Keep the grounds at least 3 inches away from the main stem or trunk to prevent collar rot.
- Scratch the surface: Lightly rake the top 1 inch of soil to integrate the edges of the grounds, then water deeply to activate microbial breakdown.
Method 3: Vermicomposting (Worm Bin Limits)
Red wigglers (Eisenia fetida) can process coffee grounds, but their sensitive skin makes them vulnerable to caffeine toxicity and pH fluctuations. Limit coffee grounds to 10% of the worms' total weekly diet. Always pre-soak the grounds in water for 24 hours and drain them before adding them to the worm bin to leach out harsh residual acids and excess caffeine.
Plant Compatibility Matrix
Because of the allelopathic properties of residual caffeine and the fine texture of the grounds, plant selection is critical. Use the following framework to decide where to apply your composted or top-dressed Starbucks grounds.
| Plant Category | Compatibility | Application Strategy |
|---|---|---|
| Established Tomatoes & Peppers | Excellent | Top-dress 1/4 inch monthly; or use fully composted grounds in planting holes. |
| Roses & Hydrangeas | Excellent | Apply composted grounds as a spring mulch layer to boost slow-release nitrogen. |
| Root Vegetables (Carrots, Radishes) | Moderate | Use only fully composted grounds. Raw grounds can cause root forking and attract root maggots. |
| Direct-Sown Seeds & Seedlings | Poor (Avoid) | Residual caffeine inhibits seed germination and stunts early root development. |
| Legumes (Peas, Beans, Clover) | Poor (Avoid) | Caffeine disrupts the rhizobia bacteria required for nitrogen fixation on legume roots. |
Troubleshooting Common Failures
💡 Dealing with Surface Mold
If you apply raw grounds as a top dressing, you will likely see a white or greenish fuzzy mold develop within 48 hours. This is typically Trichoderma or Penicillium, which are actually beneficial saprophytic fungi that break down organic matter. However, if the mold forms a thick, matted crust, it becomes hydrophobic, repelling water away from plant roots. To fix this, break up the crust with a hand cultivator and mix in coarse horticultural sand or fine bark mulch to maintain surface porosity.
The 'Nitrogen Robbery' Misconception
Many gardeners worry that adding coffee grounds will cause soil microbes to consume all available nitrogen, starving the plants. This phenomenon, known as nitrogen immobilization, only occurs when high-carbon materials are tilled deeply into the soil. Because coffee grounds have a C:N ratio of roughly 20:1 (which is relatively low), they do not cause significant nitrogen tie-up. However, if you apply them in massive, un-composted clumps, the localized microbial bloom can temporarily deplete oxygen and create anaerobic toxicity. Always adhere to the 1/4 inch top-dressing limit or the 20% compost volume limit to prevent this.
Deterring Pests vs. Attracting Them
While some anecdotal reports suggest coffee grounds deter slugs and snails, university trials referenced by the Environmental Protection Agency's composting guidelines indicate that the abrasive texture of wet grounds is insufficient to stop mollusks. In fact, thick layers of wet grounds can harbor slug eggs. If slugs are a persistent issue in your garden, rely on iron phosphate baits or copper tape rather than using Starbucks grounds as a pest barrier.
Expert Insight: 'The greatest value of spent coffee grounds is not as a direct fertilizer, but as a structural amendment for heavy clay soils. When composted with arborist wood chips, the grounds help create stable soil aggregates that permanently improve drainage and aeration in compacted urban landscapes.'
Final Harvest and Storage Protocols
If you collect Starbucks grounds in bulk during the winter when your garden is dormant, proper storage is mandatory. Wet grounds will begin to ferment and develop putrefactive bacteria within 72 hours at room temperature. To store them, spread the grounds on a large tarp in a dry, ventilated garage or greenhouse until they reach a moisture content below 15% (they should feel like dry sand). Once fully desiccated, store them in breathable burlap sacks or open-top plastic bins. Properly dried and stored grounds will retain their nutrient profile for up to 18 months, providing you with a reliable, free soil amendment for the next growing season.

