
Gardening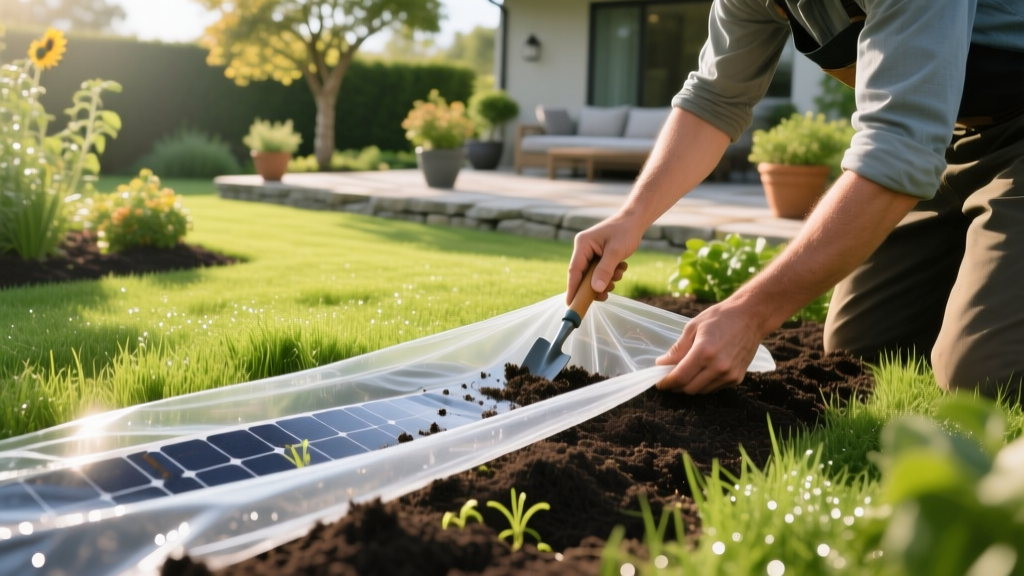
How to Solarize Garden Soil: Diagnosing and Fixing Failures
Soil solarization is a highly effective, chemical-free method for eradicating soil-borne pathogens, nematodes, and weed seeds by trapping solar energy under clear plastic. However, many home gardeners attempt this technique only to find that their garden beds are quickly overrun with weeds or plagued by the same fungal wilts the following season. When solarization fails, it is rarely due to a lack of sunlight; it is almost always the result of incorrect material selection, poor soil preparation, or inadequate thermal sealing.
The Core Problem: Why Solarization Fails in Home Gardens
The fundamental mechanism of solarization relies on the greenhouse effect. Solar radiation passes through clear plastic, is absorbed by the soil, and is re-radiated as long-wave infrared heat, which cannot pass back through the plastic. This traps heat in the top 6 to 12 inches of the soil profile. If your target weeds and pathogens are still viable after a six-week treatment, the thermal death point (TDP) was never reached or sustained.
Diagnostic Warning: The Black Plastic Myth
A pervasive and destructive mistake in home gardening is using black plastic or dark landscape fabric for solarization. Black plastic absorbs heat on its surface and blocks light, preventing weed growth underneath, but it does not transfer that heat efficiently into the soil profile. According to the University of California Integrated Pest Management (UC IPM), clear polyethylene allows light to penetrate and heat the soil directly, raising subsurface temperatures 10°F to 20°F higher than black plastic. If you used black plastic, you did not solarize your garden; you merely smothered it.
A pervasive and destructive mistake in home gardening is using black plastic or dark landscape fabric for solarization. Black plastic absorbs heat on its surface and blocks light, preventing weed growth underneath, but it does not transfer that heat efficiently into the soil profile. According to the University of California Integrated Pest Management (UC IPM), clear polyethylene allows light to penetrate and heat the soil directly, raising subsurface temperatures 10°F to 20°F higher than black plastic. If you used black plastic, you did not solarize your garden; you merely smothered it.
Diagnostic Matrix: Identifying Your Solarization Breakdown
Before tearing up your plastic and starting over, diagnose the exact point of failure in your previous attempt. Cross-reference your symptoms with the root causes below to adjust your protocol.
| Symptom | Root Cause | Exact Solution |
|---|---|---|
| Weeds germinate immediately after plastic removal. | Plastic was too thick (6 mil) or UV-degraded, blocking light/heat transfer. | Use 1.5 to 2-mil UV-stabilized clear polyethylene. |
| Pathogens like Fusarium or Verticillium survive. | Soil was dry; air pockets acted as insulation, preventing heat conduction. | Pre-water soil to 12-inch depth (field capacity) before laying plastic. |
| Weeds grow in patches near the edges of the bed. | Perimeter seal was inadequate; heat escaped via convective wind currents. | Bury plastic edges in a 6-inch deep, 6-inch wide perimeter trench. |
| Plastic shatters or tears severely after 2 weeks. | Standard indoor painter's drop cloth was used instead of ag-grade poly. | Purchase UV-stabilized agricultural clear poly (approx. $0.05/sq ft). |
| Deep-rooted weeds (nutsedge, bindweed) return. | Thermal death zone only reaches 6-8 inches; deep rhizomes survive. | Solarization cannot kill deep perennials; combine with targeted spot-treatment. |
The Physics of Heat Transfer: Why Moisture and Tilth Matter
Many gardeners lay plastic over dry, hard-packed soil and wonder why the soil temperature at a 6-inch depth never exceeds 95°F. Water is a vastly superior thermal conductor compared to air. When soil pores are filled with water, heat transfers rapidly from the surface down into the subsoil. Furthermore, resting weed seeds and fungal sclerotia (like those of Sclerotium rolfsii) are highly susceptible to heat when they are hydrated and actively respiring. Hydrating the soil forces these organisms out of dormancy, lowering their thermal death point.
Soil tilth (clod size) is equally critical. A 3-inch dirt clod will have a significantly cooler core than the surrounding fine soil. The heat must penetrate the outer layer of the clod and slowly conduct inward. If your soil is left in large chunks, the center of those clods will act as a thermal refuge for nematodes and weed seeds.
Step-by-Step Solution: The 2-Mil Clear Poly Protocol
To guarantee soil temperatures reach the lethal 122°F to 140°F range at the surface, and 104°F to 113°F at a 6-inch depth, follow this exact sequence during your region's peak 6 weeks of summer (typically July and August in the Northern Hemisphere).
- Clear and Till (12-Inch Depth): Remove all existing plant matter, roots, and debris. Use a rear-tine rototiller to break the soil to a depth of 12 inches. Follow up with a heavy iron rake to pulverize the soil until no clods are larger than 0.5 inches in diameter. Level the surface to prevent water pooling.
- Hydrate to Field Capacity: Apply 1.5 to 2 inches of water using a sprinkler. Wait 24 hours. Dig a test hole to verify that the moisture has penetrated at least 12 inches deep. The soil should feel like a wrung-out sponge.
- Dig the Anchor Trench: Dig a trench 6 inches deep and 6 inches wide around the entire perimeter of the treatment area. This trench is non-negotiable for preventing wind from lifting the plastic and venting the trapped heat.
- Lay the 2-Mil UV-Stabilized Poly: Unroll 1.5 to 2-mil clear, UV-stabilized polyethylene. Do not use 6-mil construction plastic; it is too thick and will insulate the soil from peak solar gain. If you need to seam two pieces together, overlap them by at least 4 inches and seal the seam with clear, UV-resistant poly tape (never use duct tape or standard packing tape, which will melt and fail).
- Bury and Pack the Edges: Drop the edges of the plastic into the anchor trench and backfill with the excavated soil. Pack the soil tightly with your boots or a hand tamper to create an airtight seal.
- Monitor and Wait: Leave the plastic undisturbed for 4 to 6 weeks. Use a digital soil probe thermometer inserted through a small, taped-over slit to verify temperatures.
Edge Cases: What Solarization Simply Will Not Kill
While solarization is devastating to annual weed seeds (like crabgrass and pigweed) and soil-borne fungi (like Verticillium dahliae and Fusarium oxysporum), it has distinct biological limitations. Understanding these edge cases prevents misdiagnosis of a "failed" solarization attempt.
- Bermudagrass and Field Bindweed: These perennials possess deep, extensive rhizome networks that extend well below the 12-inch thermal death zone. Solarization will burn back the top growth and shallow rhizomes, but the deep storage roots will survive and resprout.
- Yellow and Purple Nutsedge: Nutsedge tubers (nutlets) are protected by thick, insulating outer layers and can survive buried up to 18 inches deep. While solarization reduces the viable tuber population in the top 4 inches by up to 80%, deeper tubers will remain viable.
- Clover and Mallow: Certain hard-seeded weeds have incredibly thick seed coats that require prolonged exposure to temperatures exceeding 140°F, which is difficult to sustain at depths below 2 inches.
Expert Synthesis: The Anaerobic Boost
If you are battling deep-rooted perennials or stubborn nematodes, combine solarization with soil anaerobic disinfestation (ASD). Before laying the clear plastic, incorporate a high-carbon organic amendment (like wheat bran or molasses at a rate of 2 tons per acre, or roughly 5 lbs per 100 sq ft) and flood the soil. The plastic traps the heat while the microbial breakdown of the carbon source depletes the soil of oxygen, creating toxic organic acids that kill deep pathogens and weeds that heat alone might miss. Research highlighted by the Oregon State University Extension Service supports the synergy of combining organic amendments with solarization for enhanced pathogen control.
If you are battling deep-rooted perennials or stubborn nematodes, combine solarization with soil anaerobic disinfestation (ASD). Before laying the clear plastic, incorporate a high-carbon organic amendment (like wheat bran or molasses at a rate of 2 tons per acre, or roughly 5 lbs per 100 sq ft) and flood the soil. The plastic traps the heat while the microbial breakdown of the carbon source depletes the soil of oxygen, creating toxic organic acids that kill deep pathogens and weeds that heat alone might miss. Research highlighted by the Oregon State University Extension Service supports the synergy of combining organic amendments with solarization for enhanced pathogen control.
Post-Solarization Care: Protecting the Sterilized Zone
Once the 6-week period concludes, carefully remove the plastic. The soil beneath is now essentially sterile, meaning both harmful pathogens and beneficial mycorrhizal fungi have been eradicated. To prevent immediate reinfestation and restore soil biology, take the following steps:
- Avoid Deep Tilling: Do not rototill the bed after removing the plastic. Tilling will bring unsterilized weed seeds and pathogens from the subsoil (below 12 inches) up to the surface. Instead, lightly scratch only the top 1 to 2 inches with a hand cultivator if you need to plant seeds.
- Inoculate with Beneficials: Apply a high-quality compost tea or a commercial mycorrhizal inoculant immediately after planting your transplants. This reintroduces beneficial biology that will outcompete any wind-blown pathogens trying to colonize the sterile zone.
- Apply a Surface Mulch: If you are planting transplants (like tomatoes or peppers), apply a 2-inch layer of clean, weed-free straw or arborist wood chips over the exposed soil between plants. This prevents wind-dispersed weed seeds from landing on the bare, sterilized soil and germinating.
By adhering strictly to the 2-mil clear poly protocol, ensuring proper soil hydration, and respecting the thermal limits of the technique, you can successfully reclaim your garden beds from soil-borne diseases and aggressive annual weeds without relying on synthetic chemical fumigants.

