
Grass Types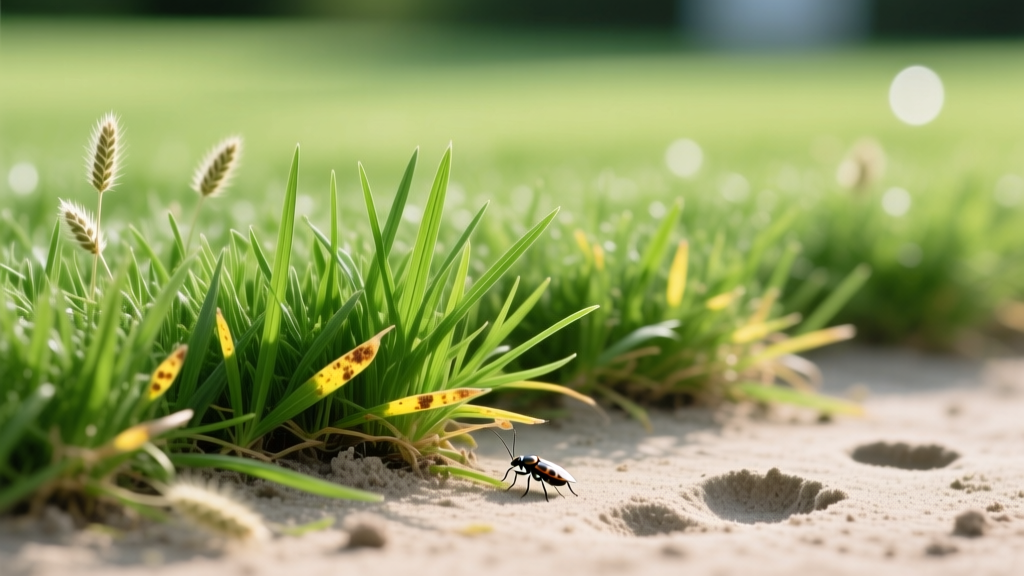
Bermuda Grass Photos: Visual Identification and Disease Diagnosis
The Power of Visual Turf Diagnostics
Managing a warm-season lawn requires more than just setting a mowing schedule; it demands acute visual observation. When homeowners and turf professionals search for bermuda grass photos, they are rarely just looking for landscaping inspiration. They are conducting visual diagnostics. Whether you are trying to confirm if your newly established lawn is actually common bermuda or a sterile hybrid, identifying the early hourglass lesions of dollar spot, or distinguishing your turf from invasive crabgrass, photographic reference is the first step in precision lawn care.
This guide leverages visual markers to help you accurately identify Cynodon dactylon (common bermuda) and its hybrid cultivars, track seasonal growth stages, and diagnose the most common pathogens that threaten warm-season lawns in 2026.
Identifying True Bermuda Grass: Key Visual Markers
Before applying any specialized fertilizer or pre-emergent, you must confirm your grass species. While wide-angle bermuda grass photos show a dense, dark green carpet, accurate identification requires examining the micro-structures of the plant. According to the NC State Extension TurfFiles, bermudagrass possesses distinct botanical signatures that separate it from other warm-season species.
The Collar Region and Ligule
The most reliable way to identify bermuda grass is by examining the collar region (where the leaf blade meets the stem). Pull a single shoot and look closely at the junction:
- Ligule: Bermuda grass features a fringe of hairs acting as its ligule, typically measuring 0.1 to 0.15 inches in length. This is a primary differentiator from grasses with membranous ligules.
- Collar: The collar itself is broad, continuous, and distinctly white or pale green, often appearing slightly pinched.
- Auricles: Unlike tall fescue or ryegrass, bermuda grass entirely lacks auricles (the claw-like appendages at the collar).
Leaf Blade and Growth Habit
Leaf blades are narrow, typically 2 to 4 mm wide, and are folded in the bud (unlike zoysiagrass, which is rolled). The texture is often stiff and can feel slightly rough on the upper surface. Visually, bermuda grass spreads aggressively via both above-ground stolons and below-ground rhizomes, creating a dense, interwoven thatch layer that is highly visible in cross-section photos of mature lawns.
Visual Callout: Common vs. Hybrid Bermuda
When comparing bermuda grass photos, you will notice distinct differences between common and hybrid varieties (such as Tifway 419 or Celebration). Common bermuda exhibits a coarser texture, wider leaf blades (up to 5mm), and a lighter, slightly yellowish-green hue. Hybrids present a much finer texture, darker emerald coloration, and a significantly denser growth habit. Hybrids also produce fewer viable seedheads, meaning you will rarely see the prominent, turkey-foot-shaped seed stalks in photos of well-maintained hybrid lawns.
Seasonal Growth Stages Captured in Photos
Bermuda grass undergoes drastic visual transformations throughout the year. Understanding these stages prevents homeowners from misdiagnosing natural dormancy as turf death or over-fertilizing during transitional periods. The Clemson Home & Garden Information Center emphasizes timing nitrogen applications strictly to these visual cues.
| Month / Stage | Visual Appearance in Photos | Mowing Height | Actionable Care Metric |
|---|---|---|---|
| April (Spring Green-Up) | Mottled brown and green; basal shoots emerging from dormant stolons. | 1.5 - 2.0 inches | 0 lbs N/1000 sq ft. Wait until 100% green. |
| June - August (Peak Growth) | Deep, uniform emerald green; aggressive lateral stolon spread visible. | 0.5 - 1.5 inches (Hybrid) | 0.5 - 1.0 lbs N/1000 sq ft per month. |
| September (Transition) | Slight dulling of color; reduced lateral growth; overseeding window. | 1.0 - 1.5 inches | Drop nitrogen; apply potash (K2O) for winterization. |
| December - February (Dormancy) | Uniform straw-brown; turf feels stiff and brittle to the touch. | Maintain previous height | Apply post-emergent for cool-season weeds (e.g., 2,4-D). |
Diagnosing Lawn Stress: What Problem Photos Reveal
When warm-season turf deteriorates, the visual symptoms in photographs can pinpoint the exact pathogen or cultural failure. Misidentifying a fungal disease leads to wasted chemical applications and further turf decline. Here is how to read the visual data in your lawn.
Dollar Spot (Clarireedia jacksonii)
Visual Markers: Look for small, circular patches roughly the size of a silver dollar (2 to 3 inches). In close-up photos, individual leaf blades will display distinct 'hourglass-shaped' lesions with bleached centers and dark reddish-brown borders. Early morning photos may reveal white, cobweb-like mycelium on the dew-covered grass.
Treatment Protocol: Apply a fungicide containing Azoxystrobin (e.g., Heritage SC). In 2026, professional-grade pint containers of Heritage SC retail for approximately $140 to $160, treating up to 16,000 square feet at the curative rate of 0.4 oz per 1,000 sq ft.
Spring Dead Spot (Ophiosphaerella korrae)
Visual Markers: This is uniquely visible during spring green-up. Photos will show sunken, bleached, straw-colored circles ranging from 6 inches to several feet in diameter. The roots and stolons in these patches will appear completely black and necrotic when dug up.
Treatment Protocol: Preventative application is mandatory. Apply Propiconazole or Pyraclostrobin in early fall (September) when soil temperatures drop to 70°F. Curative treatment in spring is highly ineffective.
Iron Chlorosis vs. Nitrogen Deficiency
Homeowners frequently confuse these two nutritional issues based on wide-lawn photos.
- Iron Chlorosis: Appears as interveinal yellowing on the youngest (newest) leaves at the top of the canopy. The veins remain green while the tissue between them turns yellow or white. Fix: Apply chelated iron (Fe-EDDHA) at 2 oz per 1,000 sq ft.
- Nitrogen Deficiency: Presents as a uniform, overall yellowing (chlorosis) affecting the older, lower leaves first, accompanied by a noticeable thinning of the turf canopy and reduced stolon growth.
The 'Look-Alike' Problem: Distinguishing Invaders
When analyzing bermuda grass photos submitted for identification, turf experts frequently spot invasive weeds disguised within the canopy. The most common visual imposter is crabgrass (Digitaria sanguinalis).
Quick Visual ID: Bermuda vs. Crabgrass
- Color: Crabgrass is typically a lighter, almost lime-green or yellowish-green compared to the deep emerald of healthy bermuda.
- Ligule: Crabgrass has a tall, membranous, jagged ligule, whereas bermuda has a short fringe of hairs.
- Growth Pattern: Crabgrass grows in clumps with wide, flat leaves that radiate from a central point, often laying flat over the top of the bermuda canopy.
Another common confusion is with Zoysiagrass. While both are warm-season, zoysia leaves are rolled in the bud (bermuda is folded), zoysia has a very short membranous ligule with hairy margins, and zoysia turf feels noticeably stiffer and more upright underfoot, resisting the foot traffic that easily mats down bermuda.
Expert Tips for Capturing Diagnostic Photos
If you need to send lawn photos to a local university extension office or a professional agronomist for diagnosis, the quality of your images dictates the accuracy of their advice. Follow this photographic protocol:
- The Macro Shot: Use your smartphone's macro lens or clip-on macro attachment to capture the collar region and ligule. Ensure the image is in sharp focus; blurry ligule photos are useless for identification.
- The Lesion Shot: For disease diagnosis, photograph the 'active margin'—the exact border where the green, healthy grass meets the brown, dying grass. This is where the pathogen is most active and where diagnostic fruiting bodies will be visible.
- The Scale Reference: Always place a standard object (like a US quarter or a standard golf ball) next to the affected patch or weed to provide immediate size context for the agronomist.
- The Canopy Shot: Take one photo from waist height looking down at a 45-degree angle to show the overall thinning, color variation, or mottling of the turf canopy.
Frequently Asked Questions
Why does my bermuda grass look purple in winter photos?
A purplish or reddish tint in dormant bermuda grass photos is a natural physiological response to cold temperatures and reduced photosynthesis, leading to anthocyanin pigment accumulation. It is not a disease and will resolve completely during spring green-up.
Can I identify the specific hybrid cultivar from a photo?
While experts can differentiate common bermuda from hybrid bermuda based on leaf width and texture in photos, distinguishing between specific hybrid cultivars (e.g., TifTuf vs. Celebration) based solely on visual markers is nearly impossible without DNA testing or knowing the installation history, as their vegetative traits overlap significantly.
What causes the white, crusty look on the tips of my bermuda?
White, crusty leaf tips are almost always the result of fertilizer burn, specifically from granular synthetic fertilizers that were not watered in immediately. The salts accumulate at the leaf cut tips, desiccating the tissue. This is highly visible in close-up diagnostic photos following a mismanaged application.

