
Grass Types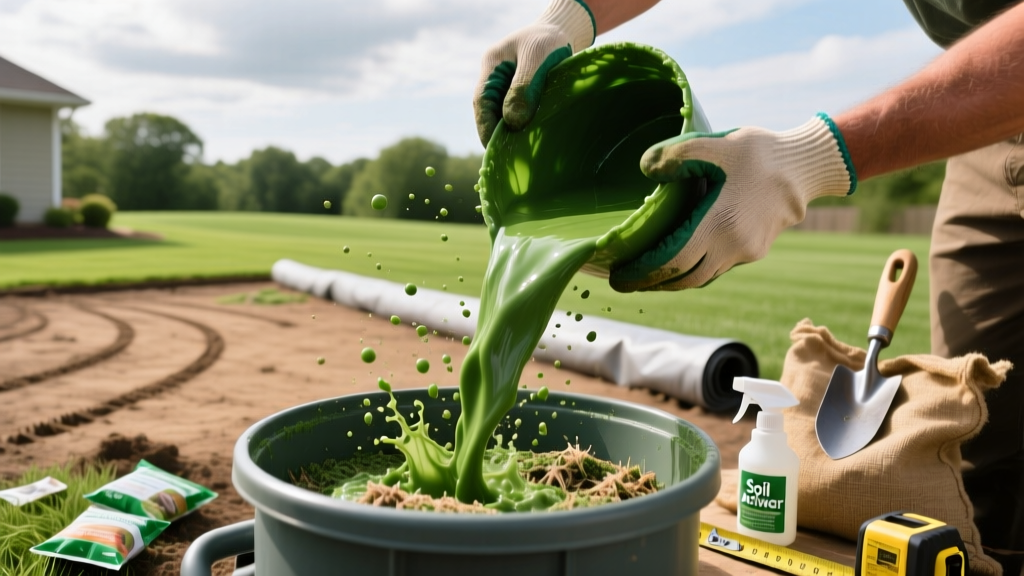
Do It Yourself Hydroseeding: The Ultimate DIY Slurry Guide
The Anatomy of a Hydroseeding Slurry
Do it yourself hydroseeding is not simply spraying water and seed onto bare dirt. It requires formulating a precise hydraulic slurry that suspends seed, retains moisture, and bonds to the soil surface. When executed correctly, a DIY hydroseeding project yields germination rates 20% to 30% faster than traditional broadcast seeding because the slurry creates a localized microclimate for the seed.
According to turfgrass establishment research from Penn State Extension, the success of hydraulic seeding relies entirely on the balance of four core components. If one ratio is off, the slurry will either clog your equipment, wash away in the first rain, or suffocate the germinating seed.
Core Slurry Components & Ratios
| Component | Primary Function | DIY Rate (per 1,000 sq ft) | Recommended Product Type |
|---|---|---|---|
| Seed | Genetic foundation of the lawn | 5 - 8 lbs | Certified turfgrass seed (no coated seeds) |
| Mulch | Moisture retention and seed protection | 35 - 45 lbs | 100% virgin wood fiber or BFM (Bonded Fiber Matrix) |
| Tackifier | Glues mulch to soil to prevent erosion | 0.5 - 1 lb | Guar gum (short-term) or Polyacrylamide (long-term) |
| Fertilizer | Fuels initial root and shoot development | 1 - 1.5 lbs (actual N) | Starter fertilizer (e.g., 24-25-4 N-P-K ratio) |
Pro Tip: Never use seed coated with clay or fungicide in a hydroseeder. The added weight alters the suspension dynamics, causing heavy seeds to sink to the bottom of the tank while lighter mulch floats to the top, resulting in an uneven application.
Equipment Identification: Renting vs. Buying DIY Kits
The biggest mistake homeowners make when attempting do it yourself hydroseeding is underestimating the mechanical agitation required to keep wood fiber mulch suspended. Water alone will not keep mulch in suspension; you need physical force.
Hose-End Spray Kits (e.g., Chapin Hydro Mousse)
These consumer-grade attachments hook directly to your garden hose and use water pressure to draw a pre-mixed liquid concentrate or small dry mix from a plastic bottle.
- Best For: Patching bare spots under 500 square feet.
- Cost: $30 - $60 per kit.
- The Catch: They do not handle raw wood fiber mulch well. They rely on paper pulp or liquid polymers, which offer inferior moisture retention compared to true wood fiber. Expect to buy 3 to 4 kits for a standard front yard, pushing the cost higher than renting professional gear.
Rented Mechanical Hydroseeders (e.g., Finn, Bowie, Turbo Turf)
For whole-lawns (2,000 to 10,000 square feet), you must rent a skid-mounted or trailer-mounted hydroseeder equipped with a mechanical paddle agitator and a high-shear centrifugal pump.
- Best For: Full lawn establishment, steep slopes, and large erosion control projects.
- Cost: $150 - $250 per day (plus fuel and transport).
- The Advantage: The paddle agitator runs continuously, physically chopping and mixing the heavy wood fiber and seed so the slurry exits the spray nozzle in a perfectly uniform, bright green blanket.
Step-by-Step Application & Curing Timeline
Executing a DIY hydroseeding project requires strict adherence to timing, particularly regarding soil preparation and weather forecasting. Follow this sequence to ensure maximum seed-to-soil contact.
- Grade and Rake (Day -3): Remove all debris, rocks, and existing weeds. Use a lawn roller to firm the soil, then lightly scarify the top 1/4 inch with a steel landscape rake to create micro-crevices for the slurry to grip.
- Mix the Slurry (Day 0, Morning): Fill the hydroseeder tank halfway with water. Turn on the mechanical agitator. Add the wood fiber mulch first, allowing it to break down for 10 minutes. Next, add the tackifier, followed by the starter fertilizer, and finally the seed. Top off with water to the 100-gallon line.
- Spray the Perimeter First: Walk the perimeter of your property with the spray wand, creating a 2-foot border. This ensures you don't accidentally spray slurry onto concrete driveways or siding, where the green dye will stain.
- Apply in Sweeping Arcs: Hold the nozzle 3 to 4 feet above the ground. Spray in a steady, sweeping motion, overlapping each pass by 50%. The goal is a uniform, opaque green layer where you can no longer see the bare brown soil beneath.
- The Curing Window (Crucial): Tackifiers like guar gum require 24 to 48 hours of dry time to cross-link and cure. If it rains heavily within 4 hours of application, the uncured slurry will wash into the street. Always check the radar before mixing.
Common DIY Hydroseeding Failure Modes
Even with the right equipment, do it yourself hydroseeding projects frequently fail due to three specific, preventable errors.
1. The 'Bird's Nest' Clog
The Symptom: The spray hose suddenly jerks, pressure spikes, and no slurry comes out of the nozzle. When you detach the hose, a dense, dry clump of wood fiber and seed (a 'bird's nest') is wedged in the line.
The Cause: The operator turned off the tank agitator while spraying, or let the slurry sit in the hose for more than 5 minutes without flow.
The Fix: Never shut off the mechanical agitator until the tank is completely empty. If you need to pause spraying, keep the pump running and bypass the hose back into the tank.
2. Seed Suffocation via Over-Mulching
The Symptom: A thick, green crust forms on the soil, but germination is sparse and patchy after 14 days.
The Cause: Applying mulch at rates exceeding 3,000 lbs per acre. The mat becomes too dense for the delicate cotyledons (first leaves) to penetrate.
The Fix: Strictly adhere to the 1,500 to 2,000 lbs per acre rate (approx. 35-45 lbs per 1,000 sq ft). The soil should look like it has a light green fuzz, not a thick winter blanket.
3. Fertilizer Burn in the Slurry
The Symptom: Seeds germinate but immediately turn yellow and die at the 1-inch stage.
The Cause: Using a high-nitrogen, quick-release fertilizer (like Urea 46-0-0) in the tank. The concentrated salt index burns the tender radicle (first root) inside the slurry.
The Fix: Only use a dedicated starter fertilizer with a high phosphorus content (the middle number, e.g., 24-25-4) and slow-release nitrogen. Phosphorus is critical for early root development, as noted in NC State Extension turfgrass guidelines.
Grass Seed Selection for Hydro-Mixes
Not all grass species perform equally well in a hydraulic slurry. The seed must be small enough to remain suspended and tough enough to push through the drying mulch mat.
Avoid Large Seeds: Do not use large-seeded annual ryegrass or uncoated legumes in DIY hydroseeders. Their high density causes them to sink to the bottom of the tank, resulting in a lawn that is 90% KBG and 10% ryegrass, completely defeating the purpose of your seed mix.
- Kentucky Bluegrass (KBG): Excellent for hydroseeding. The small, light seeds suspend perfectly in wood fiber. Expect 14-21 days to germinate. Keep the slurry consistently moist during this extended window.
- Tall Fescue: The workhorse of cool-season hydroseeding. Germinates in 7-10 days. The deep root system quickly anchors the mulch mat to the soil, providing superior erosion control on slopes.
- Perennial Ryegrass: Often used as a 'nurse crop' in hydro-mixes at a 10% to 20% ratio. It germinates in 5-7 days, providing immediate green cover and shading the soil to protect the slower-germinating KBG seeds beneath.
- Bermudagrass (Warm-Season): Can be hydroseeded, but only when soil temperatures consistently exceed 65°F. Use raw, unhulled bermudagrass seed; hulled seed is too light and may blow away before the tackifier fully cures.
For comprehensive regional seeding dates and cultivar recommendations, always consult your local university extension's turfgrass establishment fact sheets before purchasing seed in bulk.

