
Grass Types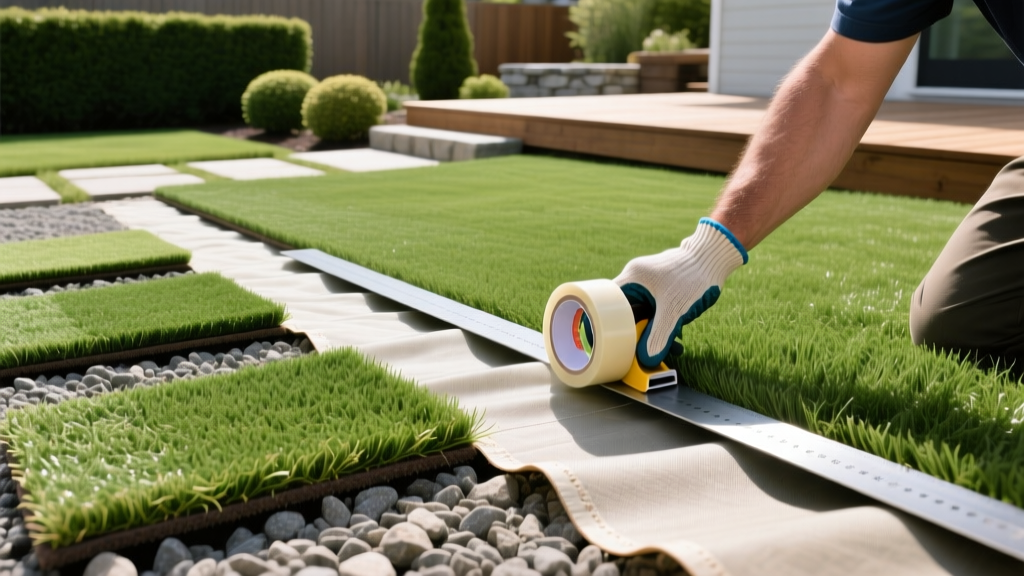
How to Lay Fake Turf: Expert Base Prep and Seaming Guide
The Engineering Reality of Synthetic Lawns
Learning how to lay fake turf is less about gardening and more about civil engineering. Unlike natural grass seed that can be patched and coaxed into growing, synthetic turf is a permanent hardscape material. A single error in base compaction or seam adhesion will result in visible wrinkles, pooling water, and peeling edges within the first year. As of 2026, professional synthetic lawn installation averages $9 to $15 per square foot, while DIY material costs range from $4 to $7 per square foot. To protect that investment, you must follow strict substrate and seaming protocols.
This guide bypasses basic unrolling instructions and focuses on the critical failure points: base engineering, thermal acclimation, and chemical seaming.
Phase 1: Excavation and Base Engineering
The longevity of your turf relies entirely on what lies beneath it. A proper base prevents settling, ensures drainage, and stops weed intrusion.
Calculating Excavation Depth
Excavate the entire area to a depth of 3.5 to 4 inches below your desired final grade. If you are installing over heavy clay soil, increase this depth to 5 inches and incorporate a French drain system at the perimeter. Calculate your required base material using this formula: (Length x Width x Depth in feet) / 27 = Cubic Yards.
Selecting and Compacting the Aggregate
Do not use standard topsoil or playground sand. You need a mechanically crushed aggregate with sharp edges that lock together when compacted.
- Base Layer (3 inches): Use 3/8-inch minus Class II road base or crushed limestone. The 'minus' designation means it includes stone dust, which is vital for binding.
- Leveling Layer (0.5 to 1 inch): Use decomposed granite (DG) or fine silica sand to create a smooth, golf-ball-free surface.
Expert Compaction Rule: Moisture is the catalyst for compaction. Lightly mist your road base with a hose until it reaches a 10-15% moisture content (it should hold its shape when squeezed in your fist, but not drip water). Run a vibratory plate compactor with a minimum of 10,000 lbs of centrifugal force over the base in overlapping passes until it achieves a 95% Proctor density.
Phase 2: Weed Barrier and Thermal Acclimation
Before unrolling the turf, lay a heavy-duty, non-woven geotextile weed barrier over the compacted base. Avoid cheap woven plastics; they trap water and degrade under UV exposure if left exposed during installation. Secure the fabric with 6-inch landscape staples every 3 feet.
The Critical Acclimation Step
Synthetic turf backing (usually polyurethane or latex) and the plastic fibers expand and contract with temperature fluctuations. If you cut and seam the turf on a cold morning, it will expand when the afternoon sun hits it, causing massive wrinkles and buckling seams.
Action: Unroll the turf and let it acclimate in direct sunlight for a minimum of 2 to 4 hours before making any cuts or applying adhesive. The turf must be at its maximum thermal expansion state when seamed.
Phase 3: Precision Cutting and Chemical Seaming
Seaming is where most DIY installations fail. Relying on nails or single-sided tape will result in seams separating within months. You must use a chemical weld.
Cutting the Edges
Always cut synthetic turf from the backside (the backing side), never through the face fibers. Use a fresh, hooked utility blade and cut exactly between the stitch rows of the backing. Cutting through the stitches will cause the edge fibers to pull out over time. When joining two rolls, overlap them by 2 inches, fold both edges back, and cut through both layers simultaneously to ensure a perfect, gapless match.
Adhesive Selection and Application
According to the Synthetic Turf Council (STC), proper adhesive selection is paramount for outdoor durability. Below is a comparison of common seaming methods:
| Adhesive Type | Best Use Case | Cure Time | Durability |
|---|---|---|---|
| Single-Component Urethane | Small repairs, indoor turf | 24-48 hours | Moderate (can degrade in high moisture) |
| Dual-Component Polyurethane | Permanent outdoor seams, high traffic | 4-6 hours | Excellent (waterproof, flexible) |
| Self-Adhesive Seam Tape | Temporary layouts, low-budget DIY | Instant | Poor (fails under thermal expansion) |
For a permanent installation, use 12-inch wide seam tape and dual-component polyurethane adhesive. Mix the resin and hardener thoroughly, then apply it to the tape using a 1/8-inch notched trowel. Fold the turf edges down into the glue simultaneously, and place weighted bags of infill along the seam line to apply even downward pressure while it cures.
Phase 4: Infill Selection and Ballast
Infill is not optional. It serves three critical functions: it weighs the turf down to prevent wind uplift and thermal wrinkling, it protects the primary backing from UV degradation, and it keeps the grass blades standing upright.
Choosing the Right Infill for 2026
While crumb rubber was historically popular for sports fields, residential landscaping has shifted toward safer, cooler alternatives. The Environmental Protection Agency (EPA) has extensively researched infill materials, leading many homeowners to opt for coated sands.
- Silica Sand (Standard): The most economical choice. Apply at 1.5 to 2 lbs per square foot. It provides excellent ballast but can retain heat.
- Acrylic-Coated Sand (e.g., Envirofill): Infused with Microban antimicrobial protection. It prevents pet urine odors and stays up to 15% cooler than raw silica. Apply at 1.5 lbs per square foot.
- Zeolite (Odor Control): A natural volcanic mineral that absorbs ammonia from pet urine. Use a 50/50 mix with silica sand for dog runs, applying 2 lbs per square foot.
Warning on Over-Infilling: Do not exceed the manufacturer's recommended infill rates. Over-infilling will bury the grass fibers, causing the lawn to look like a sandy beach rather than a lush lawn, and will restrict drainage.
Final Grooming and Handover
Once the infill is distributed evenly using a drop spreader, you must mechanically groom the turf. Use a gas-powered or heavy-duty electric power broom with stiff nylon bristles. Brush the turf against the natural grain (the direction the fibers naturally lean) to force the infill down to the backing and stand the fibers upright.
Troubleshooting Common Installation Failures
- Visible Seams: Usually caused by cutting through the face fibers instead of the backing, or failing to trim the factory edges. Always trim 2 inches off the factory edge of every roll before seaming.
- Surface Wrinkles: Caused by seaming the turf while it was cold, or failing to stretch it using a carpet kicker during installation. Always stretch the turf toward the perimeter before nailing the edges.
- Poor Drainage: If water pools on the surface after 24 hours, your base was not graded correctly. Synthetic turf should have a minimum 1% to 2% slope away from structures.
Mastering how to lay fake turf requires patience during the base preparation and precision during the seaming process. By prioritizing mechanical compaction, thermal acclimation, and chemical adhesion, your synthetic lawn will remain flawless and drainage-efficient for its entire 15-to-20-year lifespan.

