
Grass Types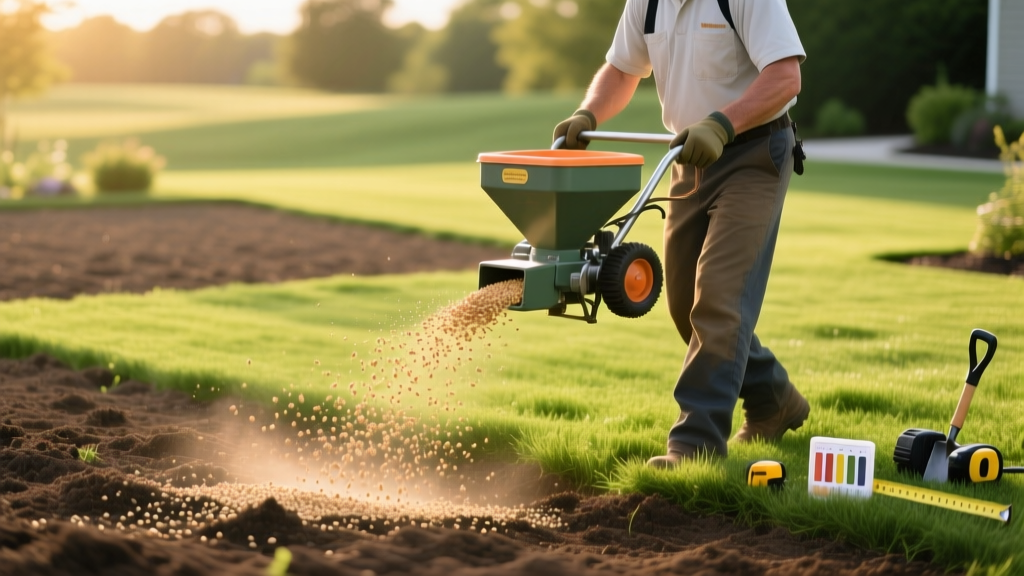
How to Spread Grass Seed: Spreader Settings & Pro Techniques
Spreading grass seed seems straightforward, but improper application is the leading cause of patchy germination, wasted seed, and thin turf. Whether you are establishing a new lawn or overseeding an existing one, the mechanical distribution of seed dictates your final turf density. A haphazard approach results in overlapping clumps that choke each other out and bare spots vulnerable to weed invasion. To achieve a uniform, thick lawn, you must pair the correct spreader type with precise calibration and a methodical application pattern.
Choosing the Right Spreader for Your Lawn Size
The physical dimensions and layout of your property dictate which spreader category will yield the most even distribution. Using the wrong tool guarantees uneven edges and erratic seed placement.
| Spreader Type | Best For | Pros | Cons | Recommended Model |
|---|---|---|---|---|
| Drop Spreader | Small to medium lawns, tight spaces, near garden beds | Precision placement, no seed wasted on hardscapes | Slower application, requires exact overlapping to avoid wheel-track striping | Scotts Classic Drop Spreader (Model 700) |
| Broadcast (Rotary) | Large, open lawns (5,000+ sq ft) | Fast coverage, wide swath, forgiving on overlap | Throws seed into flower beds and driveways, highly susceptible to wind drift | Lesco Professional High Wheel Broadcast |
| Handheld | Patch repairs, steep slopes, under 1,000 sq ft | Highly maneuverable, cheap, easy storage | Extremely inconsistent distribution, relies entirely on human pacing | Scotts Wizz Spreader |
Calibrating Spreader Settings and Accounting for Seed Coatings
Every grass species requires a specific seeding rate measured in pounds per 1,000 square feet. However, the most common mistake homeowners make is ignoring the physical weight of modern seed coatings. Many premium seeds (like Scotts Turf Builder or Pennington Smart Seed) are coated with fungicides, starter fertilizer, and water-retention polymers. This coating can add 30% to 50% to the overall weight and volume of the seed.
Warning: If you use standard spreader settings printed on uncoated seed bags for heavily coated seed, you will under-apply the actual seed count by nearly half. Always check the specific spreader dial chart printed on the exact bag of seed you purchased, as settings vary wildly between brands.
Standard Seeding Rates by Grass Type (Uncoated Baseline)
Use this baseline data to verify your application rate. If your spreader lacks a specific setting for your seed brand, perform a manual calibration test on a 10x10 foot (100 sq ft) driveway section, sweep up the seed, and weigh it to ensure you are dispensing the correct fraction of a pound.
| Grass Species | New Lawn Rate (lbs / 1,000 sq ft) | Overseeding Rate (lbs / 1,000 sq ft) | Typical Scotts Drop Spreader Setting |
|---|---|---|---|
| Tall Fescue | 6.0 - 8.0 | 3.0 - 5.0 | 7 to 9 |
| Kentucky Bluegrass | 2.0 - 3.0 | 1.0 - 1.5 | 3 to 4 |
| Perennial Ryegrass | 5.0 - 7.0 | 3.0 - 4.0 | 6 to 8 |
| Bermudagrass (Hulled) | 2.0 - 3.0 | 1.0 - 2.0 | 3 to 5 |
The Crosshatch Execution Method
Professional turf managers rarely spread their total seed volume in a single pass. Wind micro-currents, slight variations in walking speed, and mechanical inconsistencies in the spreader agitator will always create minor striping. To eliminate this, use the half-rate crosshatch technique.
- Divide Your Seed: Split your total calculated seed volume exactly in half. Load only the first half into the spreader hopper.
- First Pass (North-South): Set your spreader dial to a slightly lower setting than recommended for a full pass. Walk the entire lawn in parallel North-South lines. Overlap each pass by exactly one wheel width (for drop spreaders) or half the swath width (for broadcast spreaders).
- Second Pass (East-West): Load the second half of the seed. Walk the entire lawn again, this time in perpendicular East-West lines.
- Perimeter Buffer: For broadcast spreaders, engage the edge-guard feature when walking the perimeter to prevent seed from landing in mulch beds or on concrete. Turn off the edge guard for the interior passes.
According to the University of Minnesota Extension, this bi-directional application guarantees that any minor gaps left in the first pass are completely filled by the second, resulting in a mathematically uniform seed bed.
Troubleshooting Common Spreading Mistakes
Pro Tip: The Wind Threshold. Never operate a broadcast spreader if wind speeds exceed 8 mph. Lightweight seeds like Kentucky Bluegrass will drift up to 4 feet off-target in moderate breezes, leaving the windward side of your lawn bare and the leeward side over-seeded. Check your local hourly weather forecast and spread during early morning dead-calm hours.
Dealing with Spreader Wheel Tracks
If you notice distinct, parallel lines of bare soil emerging after germination, you likely suffered from wheel-track compaction or seed displacement. Drop spreaders have heavy wheels that can press seed too deeply into soft soil or crush tender new sprouts. To prevent this, ensure your soil is firm but not compacted before spreading. If spreading on loose, freshly tilled soil, use a broadcast spreader to keep the heavy wheels out of the direct seeding zone, or lightly drag the area with a leaf rake immediately after the spreader passes.
Clumping and Hopper Jams
Grass seed clumps when exposed to ambient humidity. If your seed forms bridges inside the hopper, the agitator will spin freely without dispensing product, leaving massive bare patches. Always store seed in a climate-controlled garage until the exact moment of application. If you must pause spreading for more than 10 minutes, empty the hopper; leaving seed sitting in the metal or plastic basin allows localized moisture to fuse the coating to the grate.
Post-Spreading: Seed-to-Soil Contact and Hydration
Spreading the seed is only half the battle. Seed left resting on top of dry thatch or dead grass blades will desiccate and die before the radicle (first root) can penetrate the soil. The Penn State Extension emphasizes that maximum seed-to-soil contact is the primary driver of germination success.
- For New Lawns: After spreading, use a lawn roller filled to one-third capacity with water (providing roughly 150 lbs of rolling pressure). This presses the seed into the top 1/8 inch of soil without causing deep compaction.
- For Overseeding: Prior to spreading, core aerate the lawn and leave the plugs on the surface. The spreading action and subsequent dragging will knock the seed into the aeration holes, providing a protected, moist microclimate for germination.
- Initial Watering: Within 30 minutes of spreading and rolling, apply a light watering. The goal is to moisten the top 1 inch of soil without creating runoff that will wash the seed into low-lying puddles. Water 2 to 3 times daily for 5-10 minutes until germination occurs (typically 7-14 days for fescue, 14-21 days for bluegrass).
By treating seed distribution as a precise mechanical process rather than a casual chore, you eliminate the variables that cause turf failure. Calibrate your equipment, respect the wind, and execute the crosshatch pattern to establish a dense, weed-resistant lawn.

