
Grass Types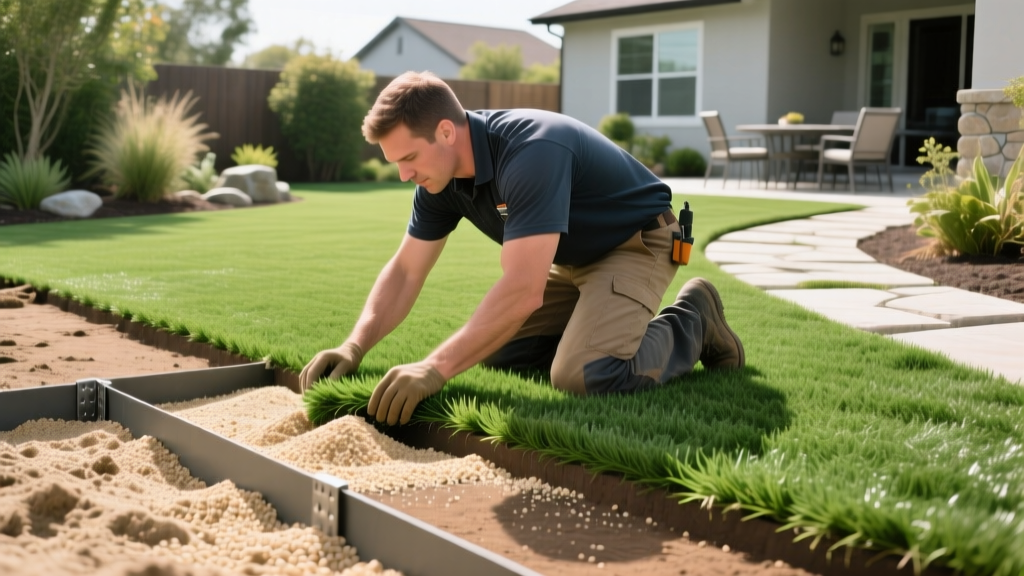
How to Install Artificial Turf: Expert Base Prep and Infill Guide
The Engineering Behind a Flawless Synthetic Lawn
Learning how to install artificial turf is less about rolling out a carpet and more about engineering a porous, high-traffic floor system. While professional installation typically ranges from $9.00 to $16.00 per square foot, a meticulous DIY approach can reduce material costs to $3.50 to $6.00 per square foot. The difference between a pristine lawn that lasts 15 years and one that sinks, seams, and smells within two seasons lies entirely in the sub-base preparation and infill distribution. This guide bypasses generic advice and details the exact measurements, material grades, and failure modes you need to know for a permanent installation.
Phase 1: Excavation and Sub-Base Architecture
The most common failure in synthetic turf is base heaving and poor drainage, caused by inadequate excavation. You must remove all organic material, which retains moisture and decomposes, creating voids under the turf.
Excavation Depths and Weed Barriers
- Total Excavation: Dig down exactly 4 inches from your desired finished grade. Use a sod cutter for large areas to maintain a uniform depth.
- Weed Barrier Selection: Lay a 4 oz. woven geotextile fabric directly on the native soil. Avoid the cheap, non-woven black plastic sold at big-box stores; it lacks the tensile strength to resist root penetration and traps water, leading to base liquefaction.
Base Material Specifications
According to strict municipal water conservation guidelines, such as those enforced by the Southern Nevada Water Authority, synthetic turf must be installed over a permeable base to ensure proper drainage. You need 3.5 inches of base material.
- Class II Road Base or 3/4-inch Crushed Drain Rock: This provides the structural foundation. Avoid pea gravel, which cannot be compacted into a rigid surface.
- Decomposed Granite (DG) Cap: Apply a 0.5-inch layer of finely crushed DG or limestone dust over the road base. This creates a smooth, firm surface that prevents the sharp edges of the drain rock from telegraphing through the turf backing.
Phase 2: Grading, Moisture, and Compaction
Dumping rock and raking it flat is not compaction. True compaction requires optimal moisture content and mechanical force.
⚠️ Compaction Warning: Do not attempt to compact a dry base. Lightly mist the aggregate with a garden hose until it holds together when squeezed in your fist, but does not drip water. Dry rock will not lock together; saturated rock will turn to mud and shift.
Rent a vibratory plate compactor with a minimum of 5,000 lbs of centrifugal force (typically an 80cc to 100cc engine). Run the compactor in overlapping, grid-like passes—once horizontally, once vertically. Hand tampers are strictly for edges where the plate compactor cannot reach. After compaction, verify a 1% to 2% slope away from your home's foundation using a 4-foot carpenter level to guarantee surface runoff.
Phase 3: Turf Acclimation, Seaming, and Securing
Synthetic turf is manufactured in rolls and suffers from 'roll memory.' If you unroll and immediately cut it, the seams will buckle as the material tries to return to its curled state.
Acclimation and Pile Direction
Lay the turf out in direct sunlight for a minimum of 2 to 4 hours before cutting. The heat relaxes the polyethylene and polypropylene fibers. Crucially, ensure the pile direction (the natural lean of the grass blades) faces the primary viewing angle—usually looking out from the back door or patio. If the pile faces the wrong way, the lawn will look flat and shiny.
Seaming Mechanics
Never butt two edges together without tape. Overlap the seams by 2 inches, then use a sharp hook blade to trim both layers simultaneously down the stitch line (the space between the rows of tufted yarn). Fold back the edges, lay down a 12-inch wide seam tape, and apply a dual-component polyurethane adhesive. Industry experts, including the master installers at Purchase Green, emphasize that polyurethane adhesives require ambient temperatures above 50°F and rising. High humidity or freezing temperatures will prevent the chemical cross-linking, resulting in seam failure.
Perimeter Fastening Matrix
Once seams are cured, secure the perimeter. Choose your fastening method based on your border material:
| Fastening Method | Best Used For | Spacing & Specs |
|---|---|---|
| 5-inch Galvanized Turf Nails | Soil borders, bender board, nailer strips | Every 4 to 6 inches along the perimeter |
| Landscape Staples (U-pins) | Securing weed barrier, temporary turf holds | Every 12 inches (not strong enough for final perimeter hold) |
| Construction Adhesive | Concrete, pavers, stone borders | Continuous bead, allow 24-hour cure time |
Phase 4: Infill Selection and Power Brooming
Infill is not optional. It provides UV protection to the primary backing, weighs down the turf to prevent thermal expansion wrinkles, and keeps the blades standing upright. You must apply 3 to 5 pounds of infill per square foot, depending on the material.
Infill Material Breakdown
- 30-Mesh Silica Sand ($12-$18 per 50lb bag): The standard, budget-friendly option. It is heavy and durable but offers no odor control. Best for low-traffic aesthetic lawns.
- Envirofill / Acrylic-Coated Sand ($35-$45 per 50lb bag): Features a Microban antimicrobial coating. It resists compaction, drains exceptionally well, and is the mandatory choice for high-traffic pet areas.
- Zeolite ($25-$35 per 50lb bag): A naturally occurring mineral with a porous, honeycomb structure that traps ammonia gases from pet urine. Use Zeolite as a top-dress layer (1-2 lbs/sq ft) over a base layer of silica sand for ultimate odor control.
The Power Brooming Requirement
Do not use a manual push broom; you will not achieve the necessary depth. Rent a motorized power broom with stiff nylon bristles. Run the power broom against the grain of the turf to drive the infill deep into the backing and stand the blades upright. Add infill in 1-pound increments, brooming after each pass, until the blades are supported but the tips remain exposed by at least 1/2 inch.
Troubleshooting Common Installation Failures
Seam Splitting After 6 Months
Cause: Applying polyurethane adhesive when the base temperature was below 50°F, or failing to use a heavy seam roller to press the turf into the adhesive before it skinned over.
Fix: Cut out the failed seam line, clean the backing with a solvent, apply fresh adhesive, and use a 75-lb weighted seam roller immediately.
Surface Depressions and Puddling
Cause: Skipping the plate compactor or failing to cap the base with decomposed granite, allowing the drain rock to shift under foot traffic.
Fix: Peel back the affected turf section, add a 1-inch layer of DG, compact with a hand tamper or small plate compactor, and re-lay the turf.
Pet Odor Accumulation
Cause: Using standard silica sand in a pet area, which traps urine and bacteria in the microscopic crevices of the sand grains.
Fix: Vacuum out the existing infill using a specialized turf vacuum, flush the backing with an enzymatic cleaner, and replace with an acrylic-coated antimicrobial infill topped with Zeolite.

