
Grass Types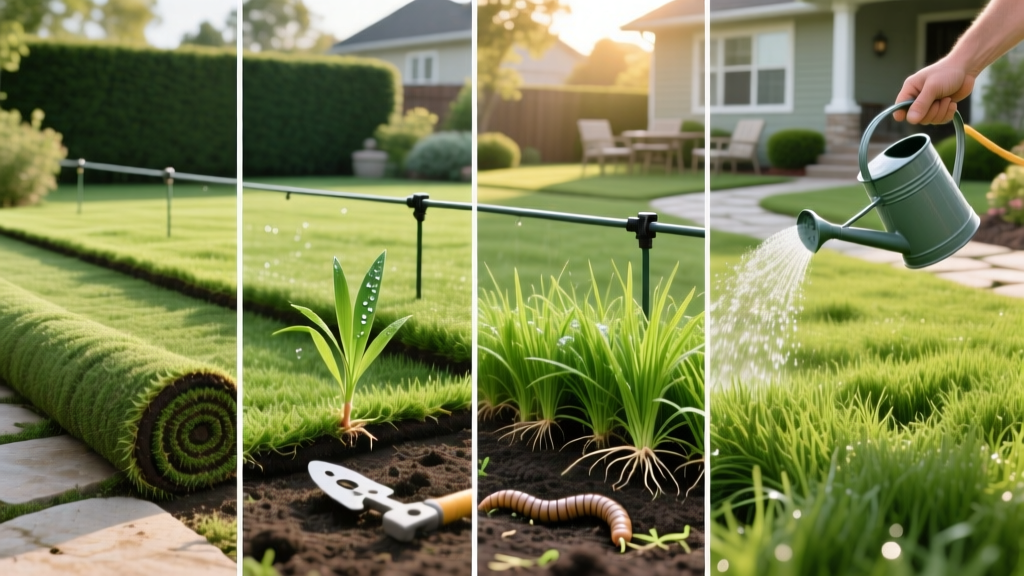
How to Take Care of New Sod: A 30-Day Establishment Guide
The Financial Stakes of Sod Establishment
Installing sod is one of the most expensive landscaping investments a homeowner can make. In 2026, premium turfgrass sod costs between $0.55 and $1.40 per square foot, meaning a standard 5,000-square-foot lawn represents a $2,750 to $7,000 material investment, excluding delivery and labor. When you ask how to take care of new sod, you are really asking how to protect that capital during the most vulnerable 30 days of the turf's life cycle.
Unlike seed, which germinates and adapts to your native soil from day one, sod is grown on a commercial farm in a completely different soil profile. The primary goal of the first month is to force the sod's existing root system to bridge the gap between the farm soil and your native topsoil. Failure to manage this transition results in root desiccation, fungal pathogens like Pythium blight, and total lawn loss.
Phase 1: Days 1–14 (The Critical Hydration Window)
The most common mistake homeowners make is watering new sod deeply but infrequently, treating it like an established lawn. According to the University of Minnesota Extension, new sod has virtually no root mass in your soil to draw from. The farm soil layer dries out rapidly, and if it shrinks, the roots die before they can penetrate your native dirt.
💡 The Soil Interface Rule: Your objective is not to water the grass blades; it is to keep the soil interface (the exact line where the bottom of the sod meets your topsoil) constantly moist but not saturated. Lift a corner of the sod daily to check this layer.
Weeks 1 & 2 Watering Schedule
| Timeframe | Frequency | Duration per Zone | Target Soil Moisture Depth |
|---|---|---|---|
| Days 1–7 | 3 to 4 times daily | 5–10 minutes | Top 2 inches of native soil |
| Days 8–14 | 2 times daily | 10–15 minutes | Top 3 inches of native soil |
Note: Adjust durations based on your sprinkler head output rate. Rotary heads require longer run times than fixed spray heads to deliver the same volume.
Phase 2: Days 15–30 (Weaning and Root Anchoring)
By week three, the sod should begin knitting into the native soil. You must now transition from frequent, shallow watering to infrequent, deep watering. This deliberate stress signals the turf to push roots deeper in search of moisture.
The "Tug Test" Framework
Before altering your watering schedule, you must verify root establishment using the Tug Test:
- Walk to the center of a sodded zone (avoid edges, which dry out faster and root slower).
- Pinch a handful of grass blades close to the crown.
- Pull upward with moderate, steady pressure.
- Pass: You feel distinct resistance, and the sod tears rather than lifting cleanly. Roots have anchored.
- Fail: The sod lifts easily like a carpet. Continue the Week 2 watering schedule for another 5–7 days.
Once the sod passes the Tug Test, reduce watering to once daily for 20 minutes, and eventually to 1 inch of water per week spread across two sessions, aligning with standard Texas A&M AgriLife turfgrass watering guidelines.
The First Mow: Deck Heights by Grass Species
Mowing too early tears unanchored sod out of the ground. Mowing too late causes the grass to fold over, blocking sunlight to the lower crown and inviting disease. The first mow should occur when the grass reaches roughly 30% higher than its recommended maintenance height, and the soil is firm enough to support the mower's weight without leaving tire ruts.
| Grass Species | Season Type | First Mow Deck Height | Estimated Days to First Mow |
|---|---|---|---|
| Kentucky Bluegrass | Cool-Season | 3.0 - 3.5 inches | 14 - 21 days |
| Tall Fescue | Cool-Season | 3.5 - 4.0 inches | 14 - 21 days |
| Bermudagrass | Warm-Season | 1.5 - 2.0 inches | 10 - 14 days |
| Zoysiagrass | Warm-Season | 2.0 - 2.5 inches | 14 - 21 days |
| St. Augustine | Warm-Season | 3.0 - 3.5 inches | 14 - 21 days |
⚠️ Mower Weight Warning: If you are using a heavy commercial zero-turn mower or a riding tractor, wait an extra 5 days before the first mow to prevent the tires from sinking into the soft soil and severing the fragile new roots.
Fertilizer and Chemical Restrictions
A frequent error in new sod care is the premature application of lawn chemicals. Clemson University's Home & Garden Information Center explicitly warns against using pre-emergent herbicides on newly laid sod. Pre-emergents work by creating a chemical barrier that inhibits cell division in germinating seeds—but they also severely stunt the lateral root growth of unanchored sod.
- Starter Fertilizer: If your soil test indicated a phosphorus deficiency, apply a starter fertilizer (e.g., 18-24-12) before laying the sod. Do not apply high-nitrogen synthetic fertilizers to the top of new sod for the first 30 days; the sudden salt load can burn the shallow, stressed roots.
- Weed Control: Hand-pull any broadleaf weeds that emerge in the first month. Spot-treating with post-emergents risks chemical burn on grass that is already expending all its energy on root generation.
- Pre-Emergents: Wait a minimum of 60 days (or until you have mowed the lawn three times) before applying products containing prodiamine or dithiopyr.
Troubleshooting Matrix: Diagnosing New Sod Stress
New sod will visually communicate its distress if you know what to look for. Use this diagnostic matrix to correct issues before they become permanent failures.
Symptom: Sod feels "spongy" or squishy underfoot
Cause: Severe overwatering leading to oxygen deprivation in the root zone, or early-stage Pythium blight (a water-mold pathogen).
Fix: Immediately halt irrigation for 24-48 hours. Lift the corners of the sod to allow air circulation beneath the turf. If you see white, cottony mycelium on the grass blades in the morning, apply a systemic fungicide containing azoxystrobin immediately.
Symptom: Visible gaps or shrinking between sod rolls
Cause: Underwatering. The farm soil in the sod rolls is drying out and physically shrinking, pulling the edges apart.
Fix: Increase watering frequency. Do not attempt to fill the gaps with topsoil, which will smother the adjacent grass edges. Once hydration is corrected, the roots will spread laterally and close the gaps naturally over 4 to 6 weeks.
Symptom: Uniform yellowing across the entire lawn
Cause: Nitrogen deficiency or a soil pH lockout preventing nutrient uptake. The sod farm's nutrient reserves are exhausted, and the new roots haven't tapped into your soil yet.
Fix: Apply a light, liquid foliar fertilizer (such as a kelp-based biostimulant or a diluted urea spray at 0.5 lbs of nitrogen per 1,000 sq ft). Foliar feeding bypasses the compromised root system and delivers nutrients directly to the leaf tissue.
Symptom: Sod edges are brown and crispy, but the center is green
Cause: Edge desiccation. Sprinkler head overlap is insufficient, leaving the perimeter of the lawn without adequate coverage.
Fix: Hand-water the perimeter edges with a hose-end sprayer daily until the main irrigation system is adjusted to provide head-to-head coverage across the entire zone.

