
Grass Types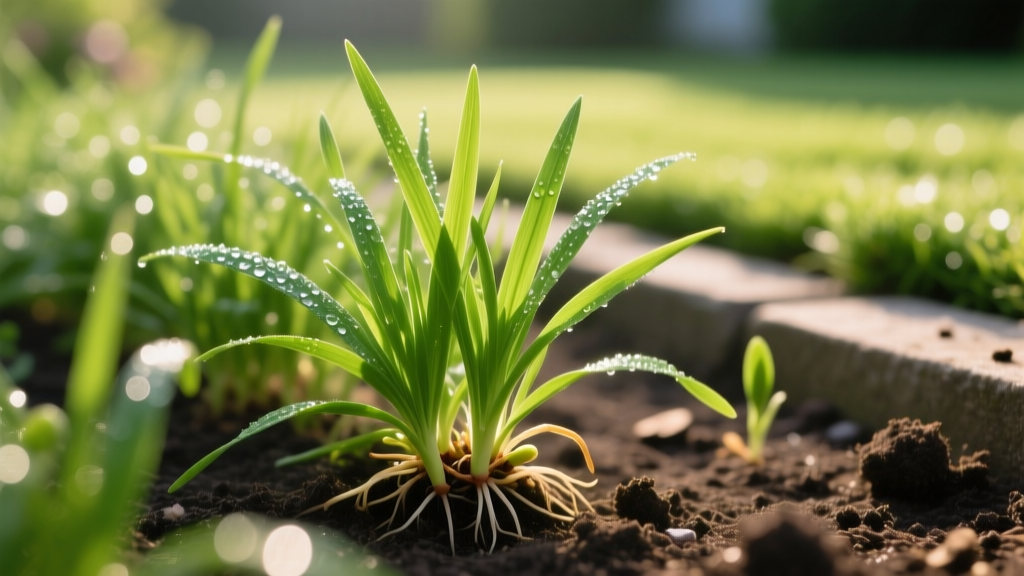
How to Identify and Nurture Ryegrass Seedlings for Rapid Growth
The First 14 Days: What Ryegrass Seedlings Should Look Like
Ryegrass is the sprinter of the turfgrass world, prized for its aggressive germination and rapid soil stabilization. However, the window between seed imbibition and true establishment is highly vulnerable. Understanding the exact morphological stages of ryegrass seedlings allows homeowners to distinguish healthy growth from early-stage stress, ensuring the lawn transitions from a fragile sprout to a durable turf canopy. According to the NC State Extension TurfFiles, perennial ryegrass (Lolium perenne) typically germinates in 5 to 10 days under optimal soil temperatures of 50°F to 65°F, while annual ryegrass (Lolium multiflorum) can emerge in as little as 3 to 5 days.
Botanical Identification: Folded Vernation and Glossy Blades
Accurate identification at the seedling stage prevents costly mismanagement. When the first true leaf emerges from the protective coleoptile, look for these defining characteristics:
- Vernation: Ryegrass exhibits folded vernation in the bud. If you pinch the base of the emerging shoot, it will feel flat or V-shaped. This is a critical distinction from tall fescue, which has a rolled (cylindrical) vernation.
- Leaf Surface: The abaxial (lower) surface of a ryegrass seedling blade is distinctly glossy and smooth, while the adaxial (upper) surface is ridged and dull.
- Leaf Tip: The tip of a young ryegrass leaf is keeled, resembling the hull of a small boat, though less pronounced than the boat-shaped tip of Kentucky bluegrass.
Pro Tip: Annual ryegrass seedlings often display a slightly lighter, lime-green coloration and a more aggressive upward growth habit compared to the darker, denser rosettes of perennial ryegrass. If you are overseeding a warm-season lawn for winter color, annual ryegrass provides faster visual results but will require aggressive spring transition management.
Precision Watering and Mowing for Fragile Seedlings
The most common cause of ryegrass seedling failure is improper moisture management. Ryegrass seeds must be sown shallowly—no deeper than 1/4 to 1/2 inch—because they require light to germinate efficiently. This shallow placement means the developing radicle (primary root) dries out rapidly if the topsoil crusts over. The Penn State Extension recommends maintaining continuous surface moisture without creating anaerobic, waterlogged conditions that invite fungal pathogens.
| Growth Stage | Watering Frequency | Duration per Cycle | Soil Moisture Target |
|---|---|---|---|
| Days 1–7 (Germination) | 3 to 4 times daily | 3 to 5 minutes | Top 1/2 inch constantly damp |
| Days 8–14 (Seedling) | 2 times daily | 10 minutes | Top 1 inch moist, surface drying slightly |
| Days 15–21 (Establishment) | 1 time daily | 15 to 20 minutes | Top 2 inches moist, encouraging deep roots |
| Days 22+ (Maturation) | 2 times weekly | 30+ minutes | Deep soak to 4-6 inches |
The First Mow: Timing and Blade Sharpness
Do not mow ryegrass seedlings based on a calendar schedule; mow based on canopy height. Wait until at least 30% of the seedlings reach 3.5 inches. Set your mower deck to 2.5 inches, ensuring you never remove more than one-third of the blade tissue in a single pass. Crucially, use a freshly sharpened mower blade. Dull rotary blades will tear the fragile taproots of young ryegrass out of the soil rather than slicing the tissue, leading to immediate desiccation and a jagged, white tip that invites disease.
Troubleshooting Common Ryegrass Seedling Failures
Even with perfect seeding rates (6 to 8 lbs per 1,000 sq ft for new lawns), environmental variables can derail establishment. Recognizing the visual symptoms of early failure allows for rapid intervention.
Pythium Blight and Damping-Off Disease
If your ryegrass seedlings suddenly collapse, appearing greasy, water-soaked, and dark brown, you are likely dealing with Pythium blight (damping-off). This water mold thrives when nighttime temperatures exceed 65°F combined with high humidity and excessive surface moisture. If caught early, you can save the remaining stand by applying a preventative fungicide containing azoxystrobin (such as Scotts DiseaseEx) at a rate of 3.5 lbs per 1,000 sq ft. Reduce watering frequency immediately and avoid walking on the infected areas to prevent spreading the spores via footwear.
Nutrient Deficiencies: Nitrogen vs. Iron
Yellowing in young ryegrass seedlings is frequently misdiagnosed. To determine the cause, examine the pattern of chlorosis:
- Nitrogen Deficiency: The entire seedling turns pale green to yellow, starting with the older, lower leaves. This indicates the starter fertilizer was insufficient or washed away. Apply a quick-release nitrogen source like urea at a light rate of 0.25 lbs per 1,000 sq ft.
- Iron Chlorosis: The leaf tissue turns yellow, but the veins remain distinctly green. This is common in high-pH soils (above 7.0) where iron becomes locked up. Treat with a foliar application of chelated iron (Fe-EDDHA) at 2 to 3 oz per 1,000 sq ft, which bypasses the soil pH issue entirely.
Transitioning to Deep Root Establishment
As the ryegrass seedlings approach the 30-day mark, the focus must shift from leaf canopy generation to root mass expansion. According to the University of Minnesota Extension, a well-established ryegrass lawn should have roots penetrating 4 to 6 inches into the soil profile before the first summer heat stress. Begin tapering your watering schedule, forcing the roots to chase the moisture front deeper into the soil. At this stage, transition from a high-phosphorus starter fertilizer (e.g., 18-24-6) to a balanced, slow-release nitrogen fertilizer (e.g., 28-0-3 with 50% methylene urea) to sustain steady, dark green growth without the excessive cellular water retention that makes the turf susceptible to summer fungal outbreaks.

