
Grass Types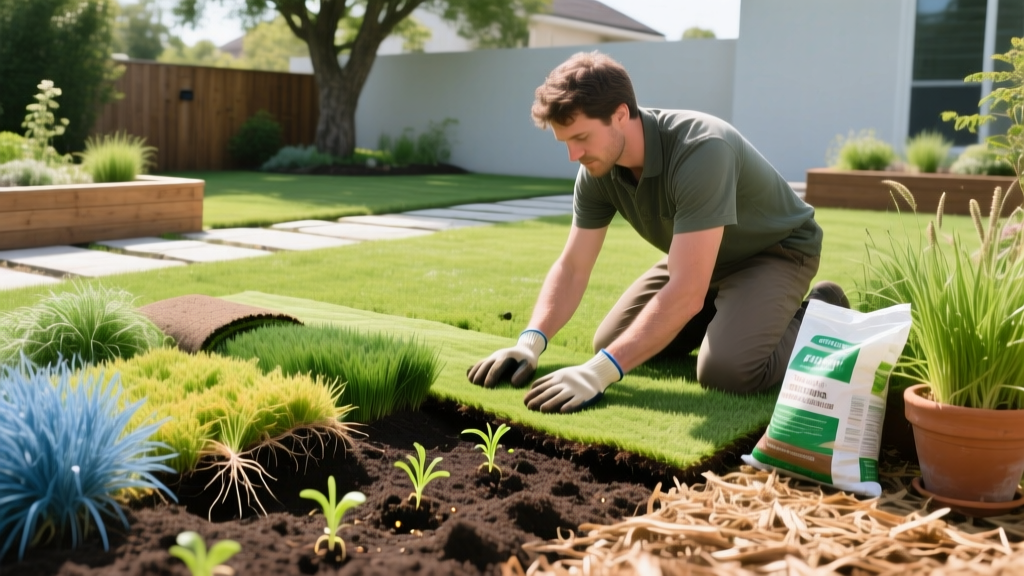
Organic DIY Sod Installation: Chemical-Free Prep & Grass Selection
The Paradigm Shift: Chemical-Free Sod Establishment
Traditional DIY sod installation relies heavily on glyphosate for site clearing and synthetic 10-10-10 starter fertilizers for root establishment. However, these methods sterilize the soil microbiome and create a dependency on chemical inputs. An organic DIY sod installation prioritizes soil biology, deep-rooted grass cultivars, and natural pre-emergents to build a resilient, self-sustaining turf ecosystem from day one. According to Penn State Extension's organic lawn care guidelines, establishing a lawn without synthetic nitrogen pushes requires a fundamental shift in how we prepare the soil bed and select our grass species.
Selecting the Right Grass Type for Organic Systems
Not all grasses thrive in an organic system. Without synthetic nitrogen to force blade growth, your sod must rely on deep root architecture to scavenge nutrients and outcompete weeds naturally. Shallow-rooted grasses like Kentucky Bluegrass often struggle in chemical-free environments during summer stress. For a successful organic installation, prioritize Rhizomatous Tall Fescue (RTF) for cool-season zones, or Zoysia and Buffalograss for warm-season regions.
| Grass Species | Climate Zone | Root Depth Potential | Organic Suitability | Weed Competition |
|---|---|---|---|---|
| RTF Tall Fescue | Cool/Transition | 24 - 36 inches | Excellent | High (Dense canopy) |
| Meyer Zoysia | Warm/Transition | 12 - 20 inches | Very Good | Very High (Stolons) |
| Buffalograss | Warm/Arid | 36 - 60 inches | Excellent | Moderate (Open canopy) |
| Kentucky Bluegrass | Cool | 6 - 12 inches | Poor | Low (Requires high N) |
Phase 1: Chemical-Free Site Preparation (Occultation)
Clearing existing weeds without herbicides requires patience and physics. While clear plastic solarization works in peak summer, occultation using black silage tarps is the superior, year-round method for DIY sod installation prep. Black tarps block photosynthesis entirely, starving existing vegetation and weed seed banks while retaining soil moisture to encourage weed germination, which then die in the dark.
Expert Protocol for Occultation:
1. Mow existing vegetation as low as your mower allows (under 1 inch).
2. Lay a 6-mil UV-resistant black silage tarp directly over the soil.
3. Secure edges with landscape staples every 3 feet and weigh down the center with sandbags.
4. Leave in place for 3 to 4 weeks in warm weather, or 6 weeks in cool weather.
5. Remove the tarp and lightly rake off dead thatch. Do NOT rototill, as this brings dormant weed seeds to the surface.
1. Mow existing vegetation as low as your mower allows (under 1 inch).
2. Lay a 6-mil UV-resistant black silage tarp directly over the soil.
3. Secure edges with landscape staples every 3 feet and weigh down the center with sandbags.
4. Leave in place for 3 to 4 weeks in warm weather, or 6 weeks in cool weather.
5. Remove the tarp and lightly rake off dead thatch. Do NOT rototill, as this brings dormant weed seeds to the surface.
This method preserves the soil structure and mycorrhizal fungal networks that synthetic herbicides would otherwise destroy, providing a living foundation for your new sod.
Phase 2: Building the Organic Soil Base
Sod farms grow grass in heavy clay or sandy loam, which rarely matches your native soil. To prevent the 'sod shelf' effect—where roots refuse to penetrate the native soil boundary—you must amend the top 2 inches of your occultation-prepped bed. Avoid raw manure, which can burn new roots and introduce weed seeds.
The Ideal Organic Amendment Ratio
- Base Layer: 1/2 inch of screened, fully composted leaf mold or municipal yard waste compost (OMRI-listed).
- Starter Nutrition: Apply an organic starter fertilizer like Espoma Organic Bio-tone Starter Plus (4-3-3 NPK) at a rate of 4 lbs per 1,000 sq ft. The 4% nitrogen is sufficient for initial root push without causing excessive, vulnerable blade growth.
- Microbial Inoculant: Dust the soil with mycorrhizal fungi granules (specifically Glomus intraradices species) to immediately bridge the gap between the sod roots and native soil.
According to the University of Minnesota Extension, incorporating organic matter improves the cation exchange capacity (CEC) of the soil, allowing it to hold onto natural nutrients longer and reducing the need for frequent fertilization.
Phase 3: Laying the Sod & Organic Rooting Protocols
When your soil bed is prepped, lay the sod within 24 hours of delivery to prevent the rolls from heating up and killing the crown tissue. Stagger the joints in a brick-laying pattern to prevent continuous seams where weeds can infiltrate and moisture can escape.
The Organic Watering Schedule
Organic soils rich in compost retain moisture differently than synthetic-fed soils. Overwatering is the primary cause of failure in organic sod installation, leading to Pythium blight and root rot.
- Days 1-7: Water lightly twice a day (morning and early afternoon) for 10-15 minutes. The goal is to keep the sod pad moist, not saturated.
- Days 8-14: Reduce to once daily for 20 minutes. Check for root knits by gently tugging on a corner of the sod.
- Days 15-28: Transition to deep, infrequent watering. Apply 1/2 inch of water every 3 days to force roots downward into the compost-amended native soil.
Post-Installation: Organic Weed & Pest Defense
The most critical vulnerability window for new sod is the first 60 days, when the canopy is not yet dense enough to shade out weed seeds. In a chemical-free system, your primary defense is Corn Gluten Meal (CGM).
Critical Nuance: CGM and Sod vs. Seed
Corn Gluten Meal inhibits root formation in germinating seeds. It is highly toxic to grass seed, but completely safe for mature sod roots. Apply CGM at a rate of 20 lbs per 1,000 sq ft exactly 3 weeks after your sod has rooted into the soil. This provides a natural pre-emergent barrier against crabgrass and broadleaf weeds while delivering a slow-release 10% nitrogen boost.
Corn Gluten Meal inhibits root formation in germinating seeds. It is highly toxic to grass seed, but completely safe for mature sod roots. Apply CGM at a rate of 20 lbs per 1,000 sq ft exactly 3 weeks after your sod has rooted into the soil. This provides a natural pre-emergent barrier against crabgrass and broadleaf weeds while delivering a slow-release 10% nitrogen boost.
For subterranean pests like white grubs, which can sever new sod roots, apply Heterorhabditis bacteriophora (Hb nematodes) via a hose-end sprayer in early evening when soil temperatures are between 60°F and 85°F. These microscopic organisms seek out and destroy grub larvae without harming earthworms or soil biology.
Troubleshooting Common Organic Sod Failures
Even with meticulous preparation, organic installations can face edge-case failures. Here is how to diagnose and correct them without resorting to chemical rescues.
- Symptom: Sod edges turning brown and curling upward.
Cause: Hydrophobic compost. If your compost layer dried out completely before laying sod, it repels water.
Fix: Pierce the sod with a garden fork every 6 inches and apply a liquid yucca extract surfactant to break the water tension, allowing moisture to penetrate the compost layer. - Symptom: Yellowing blades with dark, water-soaked lesions at the base.
Cause: Pythium Blight, exacerbated by overwatering and high humidity.
Fix: Immediately halt evening watering. Apply a biological fungicide containing Bacillus amyloliquefaciens (such as Cease or Serenade) at a rate of 2 oz per gallon of water to outcompete the pathogen. - Symptom: Spongy feel underfoot after 4 weeks.
Cause: Excessive thatch buildup from raw, un-composted organic matter.
Fix: Core aerate the lawn to introduce oxygen to the soil profile and top-dress with a thin layer of fine sand to accelerate microbial decomposition.
By prioritizing soil biology, selecting deep-rooted cultivars, and utilizing natural pre-emergents, your DIY sod installation will establish a robust, chemical-free turf that naturally resists pests and drought for years to come. For further reading on maintaining turf without synthetic inputs, consult the EPA's guidelines on organic pest and weed control to ensure your ongoing maintenance aligns with ecological best practices.

