
Grass Types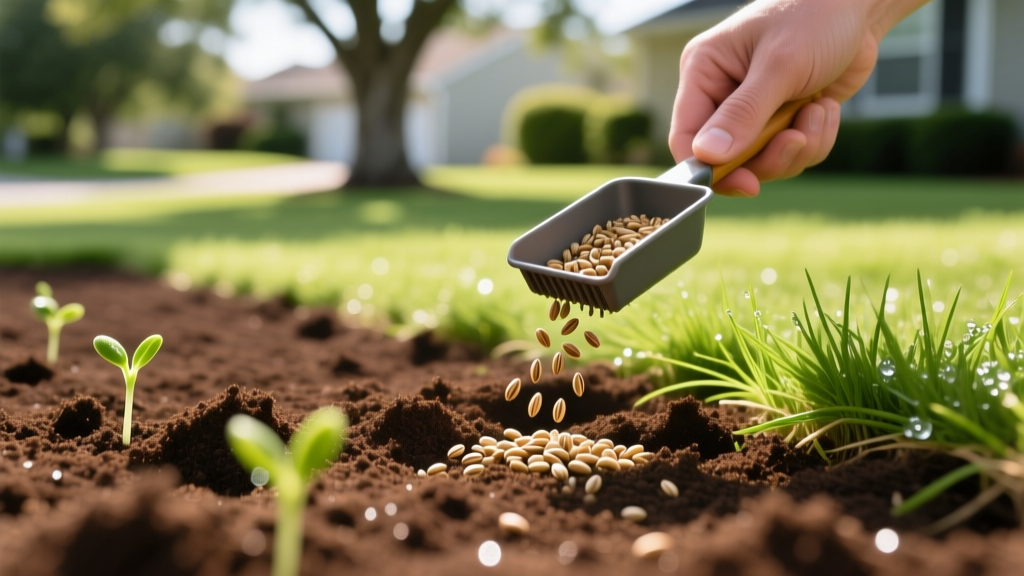
How to Plant Bermuda Grass: Seed Selection, Soil Prep, and Timing
Selecting the Right Seeded Bermuda Cultivar
Planting Cynodon dactylon from seed requires selecting an improved, seeded variety rather than common pasture Bermuda. Modern turf-type cultivars offer denser canopies, finer leaf textures, and superior disease resistance. When determining how to plant Bermuda grass successfully, your cultivar choice dictates your long-term maintenance requirements and environmental tolerance.
| Cultivar | Cold Tolerance | Drought Resistance | Best Use Case | Seeding Rate (per 1,000 sq ft) |
|---|---|---|---|---|
| Yukon | Excellent | Moderate | Transition zones, high-traffic lawns | 1.5 - 2 lbs (Hulled) |
| Blackjack | Good | Good | Dense, dark green aesthetic lawns | 2 lbs (Hulled) |
| Sahara II | Moderate | Excellent | Arid climates, low-water landscapes | 1.5 - 2 lbs (Hulled) |
| Arden 15 | Good | Good | Sports fields, golf course fairways | 1.5 lbs (Hulled) |
Always purchase hulled seed for residential lawns. The mechanical removal of the outer hull accelerates germination by 7 to 10 days compared to unhulled seed, significantly reducing the window for seed washout and weed competition.
Soil Preparation and Temperature Thresholds
Bermuda grass thrives in well-draining soils with a pH between 6.0 and 6.5. Before planting, conduct a Mehlich-3 soil test to determine exact lime or elemental sulfur requirements. If your soil pH is below 6.0, apply pelletized lime at a rate of 50 lbs per 1,000 square feet to raise it; if above 7.0, apply elemental sulfur.
Critical Temperature Warning: Bermuda grass seed will remain dormant and eventually rot if planted in cold soil. You must wait until the soil temperature at a 2-inch depth consistently reads a minimum of 65°F, with an optimal germination range of 75°F to 85°F. In most southern and transition zones, this aligns with late May through early July.
According to turfgrass specialists at Texas A&M Agrilife Extension, proper seedbed preparation is the most common point of failure for DIY plantings. Till the top 4 to 6 inches of soil to break up compaction, then rake the surface completely smooth. Remove all rocks, roots, and existing weed debris. Finish by dragging a piece of chain-link fence or a leveling drag across the soil to create a perfectly flat grade, preventing future water pooling.
Step-by-Step Seeding Protocol
Follow this exact sequence to ensure optimal seed-to-soil contact, which is mandatory for Bermuda germination.
- Apply Starter Fertilizer: Broadcast a high-phosphorus starter fertilizer (such as an 18-24-12 N-P-K ratio) at a rate of 5 lbs per 1,000 square feet. Phosphorus is critical for early root node development.
- Broadcast the Seed: Use a drop spreader for precision or a rotary spreader for large areas. Set the spreader to half the recommended application rate and walk in a north-south pattern, then apply the second half in an east-west pattern (cross-hatching) to eliminate striping.
- Light Raking: Use a flexible leaf rake to gently work the seed into the top 1/8 to 1/4 inch of soil. Do not bury Bermuda seed deeper than 1/4 inch. It requires light exposure to trigger germination; burying it will result in total crop failure.
- Roll the Seedbed: Fill a manual lawn roller with water (targeting 150 to 200 lbs of total weight) and push it over the entire area. This presses the seed firmly against the soil capillary network, ensuring it can draw moisture.
The 21-Day Establishment Watering Matrix
Bermuda seed lacks a substantial endosperm, meaning it dries out and dies rapidly if moisture is interrupted during the first 14 days. Use the following matrix to manage irrigation. Adjust durations based on your soil type (reduce time for heavy clay, increase for sandy loam).
| Timeframe | Watering Frequency | Duration per Zone | Objective |
|---|---|---|---|
| Days 1–7 | 3 to 4 times daily | 5–8 minutes | Keep top 1/2 inch constantly moist; prevent seed desiccation. |
| Days 8–14 | 2 times daily | 10–12 minutes | Encourage roots to push deeper as seedlings reach 1 inch. |
| Days 15–21 | 1 time daily | 15–20 minutes | Transition to deeper, less frequent watering to harden off turf. |
| Day 22+ | Every 3rd day | 30+ minutes | Establish deep root profile; train grass for drought tolerance. |
First Mowing and Fertilization
Do not mow until the new Bermuda grass reaches a height of 1.5 to 2 inches. When you do mow, set your mower deck to cut the grass down to exactly 1 inch. Ensure your mower blade is freshly sharpened; dull blades will tear the tender new shoots, inviting fungal pathogens. Bag the clippings during this first mow to allow maximum sunlight penetration to the new tillers.
Three weeks after germination, apply a secondary nitrogen-heavy fertilizer (such as a 29-0-4 formulation) at a rate of 1 lb of actual nitrogen per 1,000 square feet to accelerate lateral stolon growth and canopy closure.
Troubleshooting Common Establishment Failures
Even with perfect timing, environmental variables can disrupt establishment. Monitor for these specific failure modes:
- Seed Washout on Slopes: If planting on a grade steeper than 15%, broadcast seed will wash away during heavy irrigation. Fix: Apply a tackified hydromulch or use a biodegradable erosion control blanket immediately after rolling the seed.
- Damping Off (Pythium Blight): If seedlings emerge but suddenly collapse and turn brown at the soil line, you have Pythium. This is caused by keeping the soil too wet in high humidity. Fix: Reduce watering frequency immediately and apply a preventative fungicide containing propiconazole or azoxystrobin.
- Patchy Germination: Usually caused by uneven seed depth or poor seed-to-soil contact. Fix: Do not attempt to re-seed bare patches immediately. Wait until day 21, lightly scarify the bare soil with a steel rake, apply seed at half-rate, and topdress with 1/8 inch of screened compost.
For long-term seasonal maintenance and winter dormancy management, consult the comprehensive protocols outlined in the Clemson University HGIC Bermudagrass Guide. Proper establishment sets the foundation for a lawn that will aggressively outcompete weeds and withstand heavy foot traffic for decades.

