
Grass Types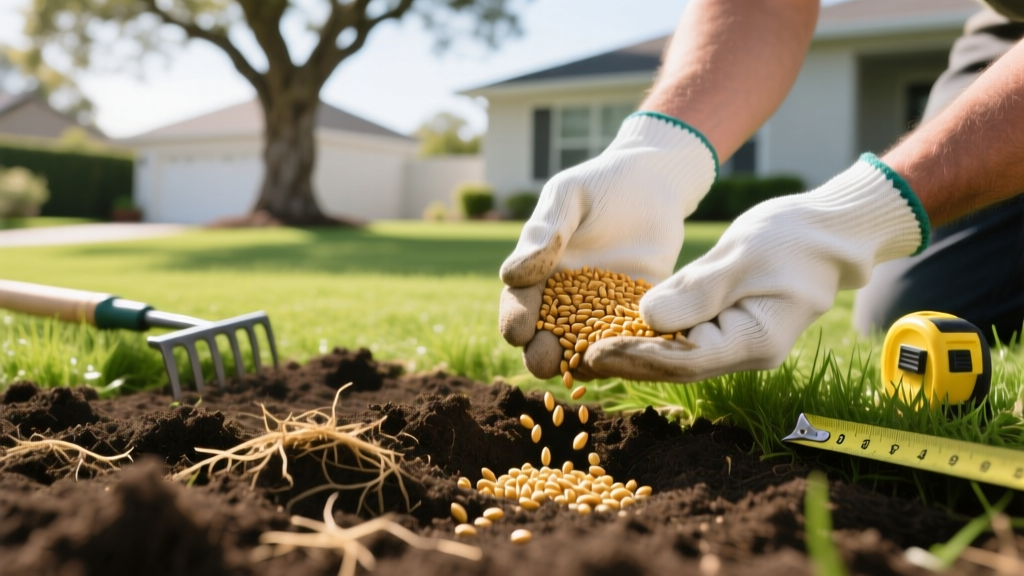
Planting Bermuda Seed: Exact Timing, Soil Prep, and Care
The Critical Temperature Window for Planting Bermuda Seed
Bermuda grass (Cynodon dactylon) is a highly aggressive, drought-tolerant warm-season species, but its seed is notoriously unforgiving if sown in cold soil. The single most common reason for germination failure is planting too early in the spring. While air temperatures might feel warm, Bermuda seed requires consistent thermal mass in the ground to trigger enzymatic activity.
⚠️ The 65°F Soil Threshold Rule
Do not rely on daytime air temperature. You must measure soil temperature at a 2-inch depth using a digital soil probe. The soil must read a minimum of 65°F (18°C) for at least three consecutive days before sowing. Ideally, target a 2-inch soil temperature of 70°F to 75°F, which typically corresponds to daytime air temperatures consistently above 80°F and nighttime lows above 60°F. In most transitional and southern zones, this window falls between late May and early July.
According to the University of Georgia Extension, planting outside this thermal window leads to seed rot in the soil or severely stunted seedling development that cannot compete with summer weeds.
Seed Selection: Hulled vs. Unhulled and Coated Varieties
Not all Bermuda seed is created equal. The raw seed is encased in a fibrous hull, which protects it in the wild but slows down water absorption during commercial germination. Understanding the physical state of the seed you are buying dictates your seeding rate and budget.
| Seed Type | Description & Germination Speed | Seeding Rate (per 1,000 sq ft) | Avg. Cost (2026) |
|---|---|---|---|
| Unhulled (Raw) | Retains natural outer casing. Cheapest option but slowest to germinate (14-21 days). Best for dormant winter overseeding. | 2 to 3 lbs | $8 - $12 / lb |
| Hulled | Mechanically stripped of the outer hull. Fast water uptake, germinates in 7-14 days. The industry standard for spring/summer planting. | 1 to 2 lbs | $16 - $22 / lb |
| Coated (e.g., Scotts, Pennington) | Hulled seed wrapped in a clay/fungicide coating. Retains moisture longer, deters birds. Heavier, so bags cover less area by weight. | 2 to 3 lbs (due to coating weight) | $25 - $32 / lb |
Expert Recommendation: For new lawn establishment in the heat of summer, always purchase hulled seed. The coating on premium brands is excellent for moisture retention, but you end up paying for the weight of the clay. If you are on a budget and can commit to a strict watering schedule, standard hulled seed from a reputable agricultural supplier offers the highest pure live seed (PLS) percentage per dollar.
Step-by-Step Soil Preparation (The Make-or-Break Phase)
Bermuda seed is microscopic compared to fescue or ryegrass. If the soil bed is cloddy, compacted, or uneven, the seed will wash into low spots, rot, or fail to make the soil-to-seed contact required for moisture wicking.
- Clear and Kill Existing Vegetation: Apply a non-selective systemic herbicide (glyphosate) to the area. Wait 10 to 14 days for complete die-off. Do not skip this step; Bermuda seedlings cannot outcompete established broadleaf weeds or crabgrass.
- Till to 4-6 Inches: Use a rear-tine rototiller to break up the top 6 inches of soil. This eliminates compaction layers that would otherwise cause water pooling.
- Amend and Grade: Test your soil pH. Bermuda thrives between 6.0 and 7.0. If pH is below 6.0, incorporate pelletized lime at the rate prescribed by your soil test. Rake the area completely smooth, removing all rocks, roots, and debris larger than a marble.
- Apply Starter Fertilizer: Broadcast a high-phosphorus starter fertilizer (such as a 10-18-10 or 18-24-12 NPK ratio) at a rate of 1 lb of actual nitrogen per 1,000 sq ft. Phosphorus is critical for initial root node development.
- Roll the Seedbed: Use a water-filled lawn roller to compress the fluffy tilled soil. The final surface should feel like a firm mattress—yielding slightly to a boot heel, but not sinking.
Sowing Techniques and the Cross-Hatch Pattern
Because hulled Bermuda seed is incredibly small (roughly 1.5 million seeds per pound), broadcasting it evenly by hand is nearly impossible. You must use a calibrated rotary or drop spreader.
💡 The Cross-Hatch Sowing Method
Divide your total seed volume exactly in half. Set your spreader to a low setting (usually 2 or 3 on a Scotts spreader). Walk the entire lawn in a North-to-South pattern applying the first half. Then, walk the entire lawn in an East-to-West pattern applying the second half. This guarantees uniform distribution and eliminates the dreaded 'zebra stripe' effect of missed spreader passes.
After broadcasting, do not bury the seed. Bermuda seed requires light to germinate and should be left on the surface or covered with no more than 1/8 inch of soil. To ensure seed-to-soil contact, drag a piece of chain-link fence or a specialized turf mat over the area to gently press the seed into the soil crevices. Finally, apply a thin layer of clean, weed-free wheat straw (approximately one bale per 1,000 sq ft) to lock in moisture and protect against bird predation. Ensure you can still see 50% of the soil through the straw; if it is too thick, it will block sunlight and choke the seedlings.
The 21-Day Germination and Establishment Protocol
Watering is where 90% of DIY Bermuda plantings fail. The seed must remain continuously moist, but never waterlogged, until the root system anchors into the soil. As the NC State University TurfFiles database notes, the transition from frequent light watering to deep, infrequent watering must be timed precisely to the growth stage of the plant.
Week 1: The Imbibition Phase (Days 1-7)
- Frequency: 3 to 5 times per day.
- Duration: 3 to 5 minutes per zone.
- Goal: Keep the top 1/2 inch of soil glistening. If the seed dries out for even a few hours during the first 72 hours, the activated embryo will die.
Week 2: The Sprout and Pout Phase (Days 8-14)
- Frequency: 2 to 3 times per day.
- Duration: 5 to 8 minutes per zone.
- Goal: You will see tiny purple/green spikes. Begin stretching out the time between waterings to encourage the radicle (first root) to chase moisture deeper into the soil profile.
Week 3: The Establishment Phase (Days 15-21)
- Frequency: Once per day (early morning only).
- Duration: 15 to 20 minutes per zone.
- Goal: Transition to deep watering. The grass should now be 1 to 2 inches tall. Watering in the evening at this stage invites Pythium blight and fungal damping-off.
Common Failure Modes and Troubleshooting
Even with perfect prep, environmental variables can disrupt establishment. Here is how to diagnose and fix the three most common edge cases:
1. Soil Crusting and Seed Suffocation
Heavy clay soils can form a hard, baked crust after a week of hot sun and light watering, trapping the seedlings underground. The Fix: If you notice the soil surface cracking and hardening, lightly drag a stiff-tined leaf rake over the surface to break the crust, or apply a liquid soil surfactant (like Yucca-based wetting agents) to break the water tension and soften the topsoil.
2. Seed Washout from Summer Thunderstorms
Sudden, violent summer downpours can wash thousands of dollars of seed into storm drains. The Fix: If a severe storm is forecast within 48 hours of planting, skip the straw and instead lay down biodegradable excelsior erosion control blankets, pinning them tightly to the soil with 6-inch landscape staples. If washout occurs, wait for the soil to dry, lightly scratch the surface, and re-seed the bare patches at a 50% rate.
3. The First Mow Mistake
Homeowners often wait too long to mow, allowing the grass to reach 4 inches, and then scalp it down to 1 inch, shocking the immature root system. The Fix: Make your first mow when the grass reaches exactly 3 inches in height. Set your mower deck to 2 inches and ensure the blade is razor-sharp. A dull blade will rip the shallow-rooted seedlings completely out of the ground.

