
Grass Types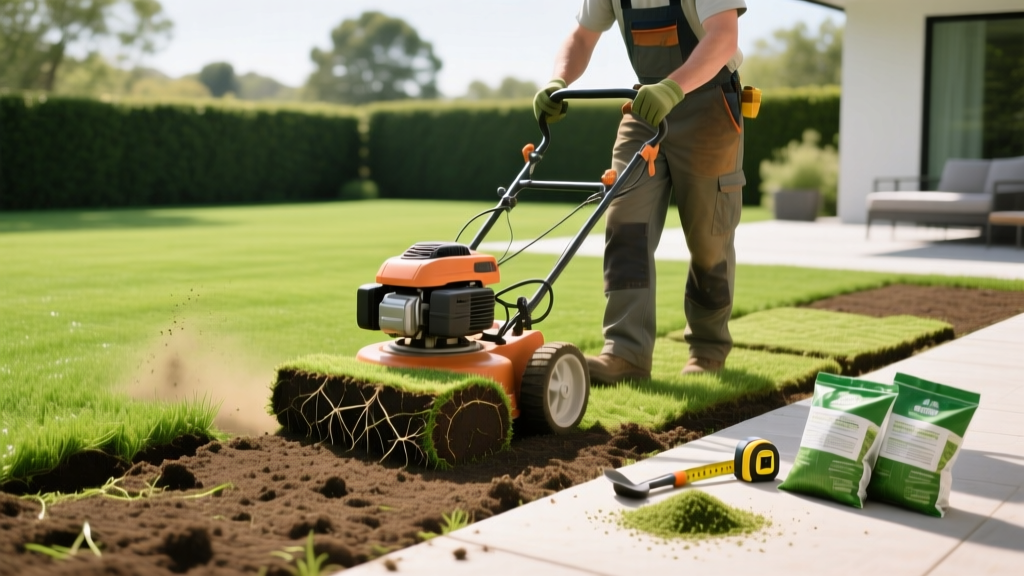
How to Use a Power Sod Cutter for Grass Seed Establishment
The Critical Role of Bare Soil in Seed Germination
Establishing a new lawn from seed over existing turf is a primary cause of germination failure. Grass seed requires direct, uninterrupted contact with bare soil to absorb moisture, anchor roots, and access essential nutrients. According to turfgrass research from the University of Minnesota Extension, seeding into an existing thatch layer thicker than 0.5 inches can reduce germination rates by up to 40% and severely stunt early root development.
While manual removal or chemical eradication are options, utilizing a power sod cutter is the most efficient method for stripping failing turf, invasive rhizomatous weeds, and excessive thatch in a single afternoon. By physically slicing the root zone and removing the biomass, you create a pristine, level seedbed that maximizes seed-to-soil contact and drastically accelerates establishment timelines.
Expert Insight: A power sod cutter does not just remove grass; it acts as a horizontal tiller. By calibrating the blade depth correctly, you preserve the valuable topsoil microbiome while eliminating the physical barrier that prevents new grass seedlings from anchoring.
Selecting the Right Power Sod Cutter for Lawn Prep
Rental yards typically stock two main categories of walk-behind sod cutters. Choosing the correct machine depends on your lawn's square footage, soil composition, and the aggressiveness of the existing root system.
| Machine Class | Common Models | Blade Width | Best Application | Avg. Daily Rental (2026) |
|---|---|---|---|---|
| Standard Walk-Behind | Billy Goat SC18, Ryan Renovaire | 12 - 18 inches | Yards under 5,000 sq ft; standard loam soils | $110 - $140 |
| Heavy-Duty Vibratory | Classen SC-18, Bartell | 18 - 24 inches | Large estates; heavy clay; deep-rooted bermudagrass | $160 - $210 |
For most residential lawn renovations targeting cool-season fescues or warm-season zoysias, the 18-inch vibratory cutter is the optimal choice. The vibrating blade mechanism reduces operator fatigue and prevents the blade from snagging on subsurface rocks or dense taproots.
Step-by-Step: Stripping Turf for a Pristine Seedbed
Operating a power sod cutter requires precision. Cutting too shallow leaves behind a mat of roots that will block new seedlings; cutting too deep removes nutrient-rich topsoil and creates severe grading issues.
Phase 1: Soil Moisture Calibration
Never operate a sod cutter on bone-dry soil. The blade will shatter the earth, creating dust clouds and destroying soil structure. Water the lawn deeply 48 hours before cutting. The ideal soil moisture is 40-60% of field capacity—the soil should hold together when squeezed in your fist but crumble easily when poked. This ensures the turf rolls up cleanly without taking excess topsoil with it.
Phase 2: Blade Depth Setting
Set the blade depth to exactly 1.5 to 2.0 inches. This depth severs the primary root zone and rhizomes of most turfgrasses while leaving the underlying A-horizon topsoil intact.
- For shallow-rooted annual weeds: Set to 1.0 inch.
- For established Kentucky Bluegrass or Bermudagrass: Set to 2.0 inches to ensure complete rhizome removal.
Phase 3: The Cutting Pattern
- Perimeter Pass: Run the cutter along the edges of the renovation zone to establish clean borders.
- Parallel Strips: Cut the main lawn in straight, overlapping parallel lines. Overlap each pass by 1 inch to ensure no strips of living grass are left behind.
- Rolling and Removal: As the machine cuts, the turf will naturally roll up. Use a flat spade to sever the rolls every 3 to 4 feet for easier transport. Remove all biomass immediately to prevent it from drying out and shedding weed seeds back onto your bare soil.
Warning: If you encounter heavy clay soil, the sod cutter may leave behind deep ruts. You must follow up with a power rake or a light pass with a rototiller (set to a maximum depth of 2 inches) to level the seedbed before broadcasting grass seed.
Post-Cutting Soil Management and Seeding
Once the old turf is removed, you are left with a bare soil canvas. According to Penn State Extension, the steps taken immediately after turf removal dictate the long-term drought tolerance and density of the new grass.
Grading and Leveling
Use a heavy landscape rake or a leveling drag mat to smooth out any minor undulations left by the cutter. Ensure the final grade slopes away from your home's foundation at a minimum 2% drop (2 inches of decline per 10 feet of distance) to prevent water pooling.
Amending the Seedbed
Bare soil exposed by a sod cutter is often compacted by the machine's wheels. Before seeding:
- Perform a core aeration across the entire bare area to relieve compaction and create micro-pockets for seed to fall into.
- Apply a 1/4-inch top-dressing of screened, high-quality compost. This provides an immediate organic food source for germinating seeds and improves moisture retention.
- Broadcast your chosen grass seed at the manufacturer's recommended rate, followed by a light dragging to ensure the seed is buried no deeper than 1/8 inch.
Evaluating Alternatives: Sod Cutter vs. Chemical Eradication
Homeowners often debate whether to rent a power sod cutter or use non-selective herbicides to kill existing grass before seeding. Below is a comparative analysis of the two primary renovation methods.
| Metric | Power Sod Cutter (Physical Removal) | Herbicide Application (Chemical Kill) |
|---|---|---|
| Time to Seed | Immediate (Same day or next morning) | 14 to 21 days (Must wait for complete root death) |
| Thatch Removal | 100% complete | 0% (Dead thatch remains and blocks seed) |
| Soil Microbiome Impact | Minimal disruption to subsurface biology | Potential negative impact on soil fungi and bacteria |
| Upfront Cost (5,000 sq ft) | $140 (Rental) + $50 (Disposal fees) | $45 (Herbicide concentrate + sprayer) |
While chemical eradication is cheaper upfront, it leaves behind a thick mat of dead roots and thatch. This necessitates aggressive power raking or verticutting later, which often negates the initial cost savings and delays seeding. For premium grass seed varieties like turf-type tall fescue or hybrid bermudagrass, the physical removal provided by a power sod cutter yields vastly superior establishment rates.
Troubleshooting Common Seedbed Preparation Mistakes
- Leaving the sod rolls on the lawn overnight: Even cut turf can re-root if left in contact with moist soil for more than 24 hours. Haul away all debris immediately.
- Over-tilling after cutting: Tilling deeper than 2 inches brings dormant weed seeds to the surface and destroys the soil capillary action needed to draw water up to your new grass seed.
- Ignoring soil pH: A bare seedbed is the perfect time to apply lime or sulfur. Conduct a soil test before cutting, and incorporate the necessary amendments into the top inch of soil after the sod is removed.
Using a power sod cutter transforms a compromised, thatch-bound yard into a highly receptive environment for new grass seed. By prioritizing precise blade calibration, optimal soil moisture, and immediate post-cutting grading, you establish the foundational soil structure required for a dense, drought-resilient lawn that will thrive for decades.

