
Grass Types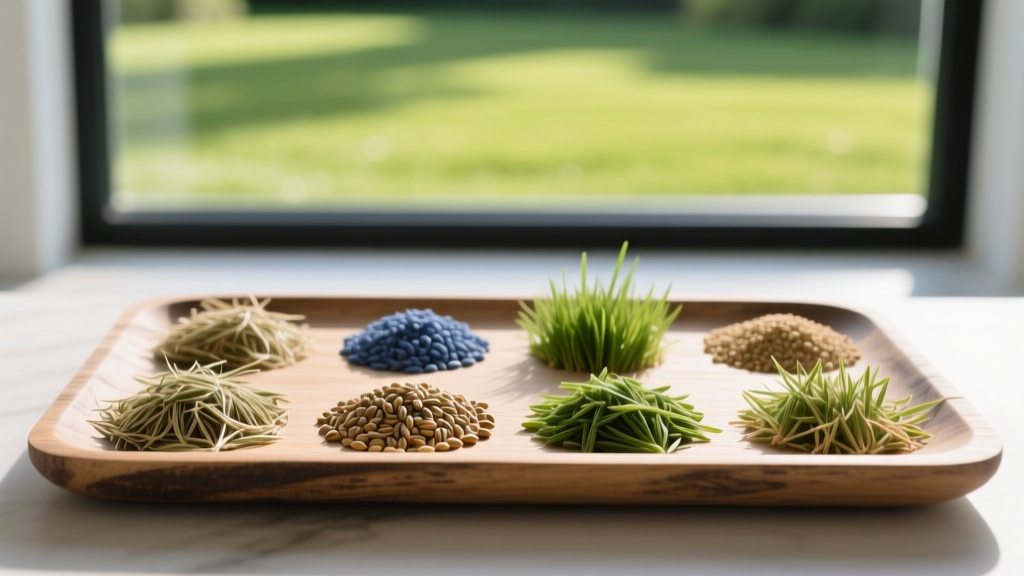
How to Pre Germinate Grass Seed for Faster Lawn Establishment
The Biology of Hydropriming: Why Pre Germinate Grass Seed
Traditional direct seeding leaves grass seed vulnerable to unpredictable soil moisture, temperature fluctuations, and aggressive weed competition. When you pre germinate grass seed—a technique formally known as hydropriming or pre-sprouting—you control the initial phases of germination in a optimized aqueous environment. This process forces the seed through Phase I (Imbibition) and Phase II (Activation) of the germination cycle before it ever touches soil.
By the time the seed is broadcast onto your lawn, the metabolic engines are already running, and the radicle (the embryonic root) is on the verge of emerging. According to turfgrass researchers at the University of Minnesota Extension, pre-sprouted seed can establish a visible turf canopy 7 to 14 days faster than dry seed. This accelerated timeline is critical for outcompeting fast-germinating weeds like crabgrass and annual bluegrass, which rely on bare soil exposure to thrive.
Direct Seeding vs. Pre-Germination Comparison Matrix
Deciding whether to invest the extra labor into hydropriming depends on your specific lawn establishment goals. The matrix below breaks down the operational differences between standard dry seeding and pre-germinated application.
| Metric | Direct Dry Seeding | Pre-Germinated (Hydroprimed) Seed |
|---|---|---|
| Time to First Emergence | 7–21 days (species dependent) | 2–5 days post-application |
| Moisture Dependency | Requires 3-4 daily light waterings | Requires standard daily watering |
| Equipment Needed | Drop or broadcast spreader | 5-gallon bucket, air pump, carrier medium |
| Weed Competition Risk | High (bare soil exposed for weeks) | Low (canopy closes rapidly) |
| Application Difficulty | Easy | Moderate to High (wet seed clumps) |
The 4-Step Hydropriming Protocol
Successfully pre-sprouting seed requires precise moisture management and aeration. If the seed sits in stagnant water, it will deplete the dissolved oxygen, switch to anaerobic respiration, and rot. Follow this exact protocol to ensure high viability.
Step 1: Hydration and Aeration Setup
Place up to 5 pounds of grass seed into a large mesh bag, burlap sack, or a nylon paint strainer. Submerge the bag in a 5-gallon bucket filled with non-chlorinated water (if using tap water, let it sit uncovered for 24 hours to allow chlorine to off-gas). The ideal water temperature is between 65°F and 75°F for cool-season grasses, and 75°F to 85°F for warm-season species.
Drop a standard aquarium air pump with an aeration stone into the bucket. The continuous bubbling provides essential dissolved oxygen to the imbibing seeds and keeps them in gentle motion, preventing localized fungal growth.
Step 2: Monitoring Radicle Emergence
Check the seed every 12 hours. You are looking for the exact moment the radicle (a tiny white spike) breaks through the seed coat. The target radicle length is no more than 1/16 to 1/8 of an inch. If the radicle grows longer than 1/4 inch in the water, it will become highly susceptible to mechanical shearing during the broadcasting process.
Step 3: Draining and Carrier Mixing
Once 20% to 30% of the seeds show pinpoint radicle emergence, pull the bag from the water and let it drain for 30 minutes. Wet seed cannot be run through a mechanical spreader; it will clump and jam the impeller. You must mix the damp seed with a dry carrier to achieve broadcastable consistency.
Mix the pre-germinated seed with a 50/50 blend of dry play sand and fine compost, or use a granular organic fertilizer like Milorganite. The carrier absorbs surface moisture, allowing the seed mixture to flow through a broadcast spreader or be easily hand-broadcasted.
Step 4: Application and Immediate Rolling
Apply the seed-carrier mixture to your prepared, graded soil bed. Because the radicle is already primed, you must ensure immediate seed-to-soil contact to prevent desiccation. Run a lightweight lawn roller (filled halfway with water) over the area immediately after broadcasting. This presses the fragile radicle into the soil capillaries, securing its moisture supply.
⚠️ Critical Warning: Radicle Desiccation
The single most common failure mode in pre-germination is allowing the emerged radicle to dry out. Once the radicle breaches the seed coat, it has zero drought tolerance. If ambient humidity is low or winds exceed 10 mph, you must apply a light misting of water immediately after broadcasting and rolling, even if the soil beneath is already moist.
Species-Specific Soak and Sprout Timelines
Different grass species possess varying levels of seed coat permeability and metabolic activation speeds. The UC Davis Turfgrass Program notes that warm-season grasses generally require higher thermal thresholds to break dormancy compared to cool-season varieties. Use the table below to calibrate your hydropriming schedule.
| Grass Species | Optimal Water Temp | Time to Radicle Emergence | Pre-Sprouting Difficulty |
|---|---|---|---|
| Perennial Ryegrass | 68°F - 72°F | 36 – 48 hours | Easy (Fast and predictable) |
| Tall Fescue | 65°F - 75°F | 3 – 5 days | Moderate |
| Kentucky Bluegrass | 65°F - 70°F | 5 – 8 days | Hard (Prone to rot if over-soaked) |
| Bermudagrass | 80°F - 85°F | 3 – 4 days | Moderate (Requires strict heat control) |
Troubleshooting Common Pre-Germination Failures
Even with meticulous planning, environmental variables can disrupt the hydropriming process. Here is how to diagnose and correct the most frequent issues encountered during seed preparation.
- The Water Smells Like Sulfur or Rotten Eggs: This indicates anaerobic bacterial growth. Your aeration pump is either undersized for the bucket volume, or the water temperature is too high, reducing dissolved oxygen capacity. Dump the batch immediately; the seed embryo is dead. Restart with a higher-output air pump and cooler water.
- Seed is Clumping During Application: The seed was not drained long enough, or the carrier medium was too fine. Switch to a coarser sand or add dry, powdered humic acid to the mix to absorb residual surface tension and break up seed clusters.
- Uneven Emergence Post-Planting: This occurs when the radicle was allowed to grow too long in the bucket, making it vulnerable to mechanical snapping during the broadcasting and rolling phases. Keep a strict watch on the bucket and pull the seed at the very first sign of white tips.
- Fungal Damping-Off in Seedlings: Pre-sprouted seed is highly nutritious and moist, making it a target for Pythium and Rhizoctonia fungi. To mitigate this, incorporate a biological fungicide containing Bacillus amyloliquefaciens into your carrier mix, or apply a compost tea drench immediately after rolling.
Advanced Application: The Pump Sprayer Slurry Method
For small to medium lawn renovations (under 2,000 square feet), hand-broadcasting with sand can be labor-intensive and result in uneven distribution. An alternative technique favored by turf professionals is the slurry sprayer method.
Mix the drained, pre-germinated seed with water and a liquid binding agent, such as a natural guar gum or a commercial hydroseeding mulch tackifier, in a 15-gallon tank sprayer. You must completely remove the internal mesh filter and the nozzle tip to prevent the radicles from being sheared off or clogging the aperture. Use a wide-fan, low-pressure nozzle (under 40 PSI) to spray the slurry directly onto the prepared soil bed. This method guarantees perfect seed distribution and deposits a moisture-retaining matrix directly around the vulnerable radicle, virtually eliminating the risk of desiccation during the first 24 hours.
By mastering the hydropriming process, you shift the germination advantage entirely in favor of your desired turfgrass, resulting in a denser, more resilient lawn that establishes in a fraction of the traditional timeframe.

