
Grass Types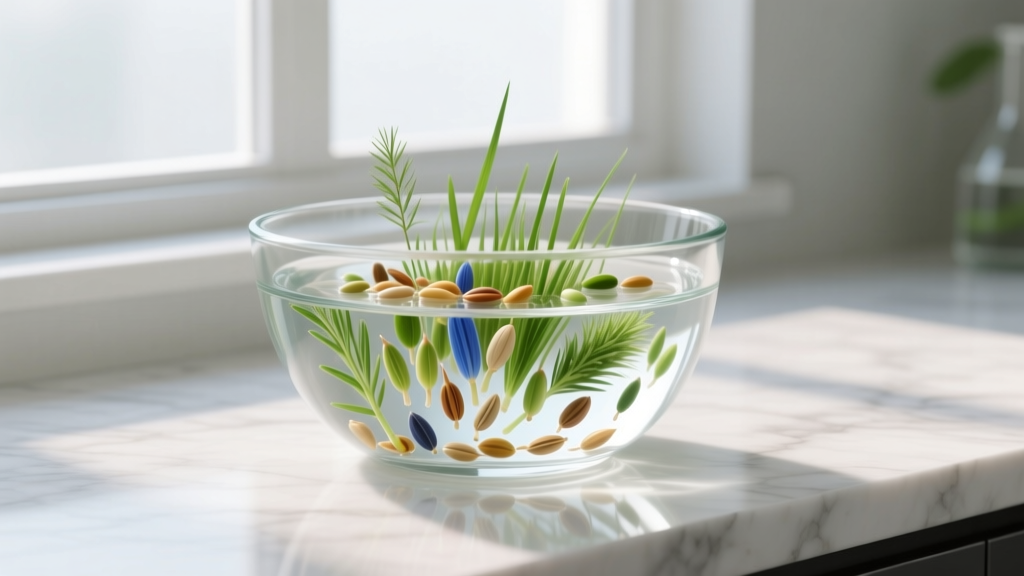
Pre Germinating Grass Seed: A Step-by-Step Water Soak Guide
The Biological Advantage of Pre-Sprouting
Traditional lawn establishment relies on broadcasting dry seed and hoping the soil environment provides consistent moisture for the 7 to 21 days required for germination. This leaves the seed highly vulnerable to drought stress, washout, and predation. Pre germinating grass seed bypasses this vulnerable dry phase by initiating imbibition—the absorption of water that triggers the metabolic processes of germination—in a controlled environment before the seed ever touches the soil.
By the time pre-sprouted seed is applied to the lawn, the radicle (the embryonic first root) has already emerged. This technique, heavily utilized by professional sports turf managers and hydroseeding contractors, can reduce visible establishment time by 40% to 60%. According to turfgrass research from Penn State Extension, accelerating the germination phase is critical in short-window seeding seasons or when preparing high-traffic athletic fields where rapid canopy closure is mandatory.
The 4-Step Pre-Germination Protocol
Executing this technique requires precision. If the seed is soaked too long, it will rot anaerobically or the fragile radicle will snap during application. If soaked too briefly, you gain no time advantage.
Step 1: Seed Selection and Preparation
Use only high-quality, uncoated, raw seed for pre-germination. Seeds with fungicidal coatings, clay pellets, or water-absorbent polymer coatings (often sold as "Water Smart" or "Coated" varieties) will turn into a gelatinous, unmanageable sludge when submerged in bulk water. Purchase certified seed with a germination rate of 85% or higher and a weed seed percentage of 0.1% or less.
Step 2: The Submersion and Aeration Phase
Place your raw seed in a large, food-grade plastic bucket or cooler. Fill the container with water at a ratio of roughly 3 parts water to 1 part seed by volume. Critical requirement: You must introduce dissolved oxygen into the water. Without aeration, the submerged seeds will deplete the oxygen supply within 24 hours, switch to anaerobic respiration, and produce ethanol, which kills the embryo. Drop a standard aquarium air stone connected to a small air pump into the bucket to maintain continuous bubbling.
Step 3: Temperature Control and Monitoring
Keep the water temperature strictly between 65°F and 75°F. Temperatures above 80°F accelerate fungal growth and deplete oxygen faster than the pump can replace it. Stir the seed mass by hand twice daily to prevent matting. Monitor the seeds closely using a magnifying glass. You are looking for the exact moment the white radicle protrudes 1 to 2 millimeters from the seed coat. Do not wait for full shoot emergence.
Step 4: Draining and Carrier Integration
Once the radicles emerge, immediately drain the water using a fine mesh strainer or burlap sack. The seed must be planted within 12 to 24 hours of draining. Because wet seed will not flow through a standard broadcast spreader, it must be bulked up with a dry carrier material.
Species-Specific Soak Durations
Different turfgrass species possess varying seed coat thicknesses and metabolic trigger thresholds. The following matrix, aligned with establishment guidelines from NC State TurfFiles, provides the baseline parameters for common turf species.
| Grass Species | Optimal Water Temp | Target Soak Duration | Visual Cue for Planting |
|---|---|---|---|
| Perennial Ryegrass | 65°F - 70°F | 48 - 72 Hours | White radicle protrudes 1mm |
| Tall Fescue | 65°F - 75°F | 72 - 96 Hours | Radicle protrudes 1-2mm |
| Kentucky Bluegrass | 60°F - 68°F | 96 - 120 Hours | Slight swelling, radicle just breaking coat |
| Fine Fescue | 60°F - 65°F | 72 - 96 Hours | Radicle protrudes 1mm |
| Bermudagrass (Common) | 70°F - 80°F | 24 - 48 Hours | Seed coat splits, radicle visible |
Carrier Selection and Spreader Calibration
You cannot broadcast pre-germinated seed directly; the moisture will cause it to clump and bridge inside the spreader hopper. You must blend the wet seed with a dry carrier to achieve a free-flowing consistency.
- Dry Masonry Sand: The most common and cost-effective carrier. Use a 2:1 ratio of dry sand to wet seed by volume. The sand absorbs surface moisture and adds weight, allowing the mixture to drop cleanly from a spreader.
- Dry Peat Moss or Compost: A 1:1 ratio works well if you want to simultaneously add organic matter to the soil surface. Ensure the compost is fully screened and dry.
- Calcined Clay (Profile): Used by high-end sports turf managers. Highly porous, it absorbs moisture without compacting, but costs roughly $45 per 50lb bag.
Spreader Calibration: Use a drop spreader (such as the Scotts Classic Drop Spreader) rather than a rotary broadcast spreader. Rotary spreaders will violently throw the wet seed against the impeller, snapping the fragile radicles and destroying the pre-germination advantage. Open the drop spreader to its widest setting (usually 10 or 12) to allow the sand-seed mixture to fall straight down without bridging. Walk at a steady pace of 3 feet per second.
CRITICAL WARNING: The Point of No Return
Once the radicle has emerged and the seed is drained, it loses its desiccation tolerance. If the seed dries out at this stage, the embryo will die instantly. You must have your soil prepped, your carrier mixed, and your irrigation system fully operational before you drain the soaking bucket. Never pre-germinate seed if a 48-hour rain-free, irrigation-capable window is not guaranteed.
Post-Application Irrigation: The 14-Day Survival Window
The primary failure point for homeowners attempting this method is post-application moisture management. Because the seed is already germinated, it cannot rely on the "wait for rain" approach used with dry seed. The soil surface must remain continuously moist to a depth of 1 inch for the first 10 to 14 days.
- Days 1-5: Water the lawn 4 to 6 times per day for 3 to 5 minutes per cycle. The goal is not deep watering, but preventing the top half-inch of soil and the sand carrier from drying out.
- Days 6-10: As the radicle anchors into the soil and the first true leaves (cotyledons) emerge, reduce frequency to 2 to 3 times per day, increasing the duration to 10 minutes to encourage deeper root penetration.
- Days 11-14: Transition to standard deep-and-infrequent watering (e.g., 30 minutes every other day) to harden off the new turf.
Frequently Asked Questions
Can I pre-germinate seed for hydroseeding?
Yes, but it requires modifying the hydroseeder tank. You must bypass the mechanical agitator or turn it to the lowest possible RPM to prevent shearing the radicles. Add the pre-germinated seed to the tank after the water, mulch, and fertilizer have been fully mixed, and let it steep for only 10 minutes before spraying.
Why does my soaking bucket smell sour?
A sour, fermented odor indicates anaerobic bacterial growth. This happens if the water temperature exceeds 75°F or if the air pump fails. Once the water turns anaerobic, the seed is compromised and will likely suffer from damping-off disease upon planting. Discard the batch, sanitize the bucket with a 10% bleach solution, and restart with fresh seed and a verified air stone.
Is pre-germination worth it for small patch repairs?
For repairs under 50 square feet, the labor of setting up aeration and mixing carriers outweighs the benefit. For small patches, simply use a high-quality coated seed and cover it with a 1/4 inch layer of weed-free straw or a biodegradable germination blanket to retain moisture. Reserve the pre-germination technique for full lawn renovations, severe erosion control slopes, or high-stakes athletic turf projects.

