
Grass Types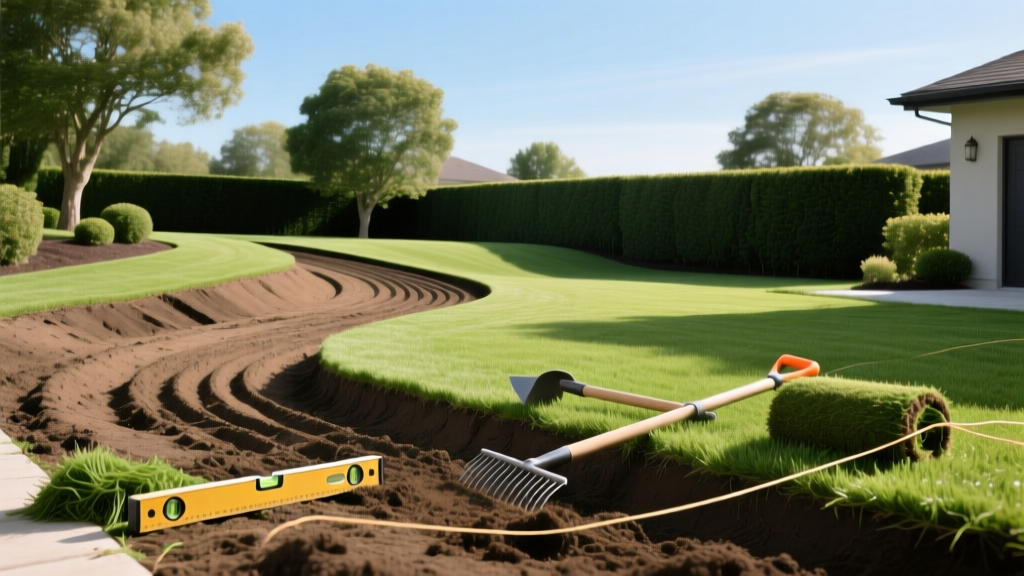
How to Prepare Yard for Sod: Expert Soil Prep & Grading Guide
The True Cost of Skipping Soil Prep
Sodding is the fastest route to an instant, lush lawn, but it is entirely unforgiving if the underlying base is flawed. Root desiccation, hydrophobic soil layers, and uneven settling are the primary reasons new sod fails within the first 90 days. In 2026, a standard pallet of sod (covering 400 to 500 square feet) costs between $180 and $350 depending on the cultivar. If 20% of your sod dies due to poor soil contact or improper grading, you are throwing away up to $70 per pallet, not including the back-breaking labor required to rip out dead turf and start over.
Learning exactly how to prepare yard for sod is not just about raking the dirt. It requires a systematic approach to clearing, grading, amending, and compacting. According to NC State Extension's TurfFiles, the success of sod establishment is 80% dependent on pre-installation soil preparation and 20% dependent on post-installation watering.
Pro Insight: Never lay sod directly over existing grass, even if it is dead. The decaying organic matter creates a thatch barrier that prevents the new sod roots from penetrating the native soil, leading to shallow rooting and severe drought stress.
Phase 1: Clearing and Rough Grading
The first step is removing existing vegetation, rocks, and debris. Do not rely on a rototiller to chop up old grass; this simply mixes weed seeds and thatch into your soil profile. Instead, rent a walk-behind sod cutter (such as the Billy Goat SC1300H, typically $90 to $120 per day). Set the blade depth to 1.5 inches to slice cleanly under the root zone. Roll up the old turf and remove it from the site.
Once the bare soil is exposed, perform rough grading. The goal is to establish a slope that directs water away from your home's foundation. The industry standard is a minimum drop of 1/4 inch per foot for the first 10 feet away from the house. Use a transit level or a laser level to verify your slopes before proceeding to deep tilling.
Phase 2: Deep Tilling and Soil Amendment
Sod roots need to penetrate at least 4 to 6 inches into the native soil to establish a drought-tolerant root system. Rent a rear-tine rototiller and break up the top 6 inches of soil. If your soil is heavy clay, tilling when it is slightly moist (but not wet) is critical; tilling saturated clay creates hard, brick-like clods that sod roots cannot penetrate.
Before adding amendments, send a soil sample to your local university cooperative extension. A standard test costs $15 to $30 and takes about two weeks. You are looking for a pH between 6.0 and 7.0, which is optimal for nutrient uptake in most warm- and cool-season turfgrasses.
Soil Amendment Decision Matrix
Based on your soil test results, use the following framework to amend your soil before the final grading pass:
| Soil Condition | Target Metric | Required Amendment | Application Rate (per 1,000 sq ft) |
|---|---|---|---|
| Acidic Soil | pH below 6.0 | Pelletized Limestone | 25 - 50 lbs (based on test) |
| Alkaline Soil | pH above 7.5 | Elemental Sulfur | 10 - 15 lbs |
| Poor Structure / Compacted | Low organic matter | Composted Pine Bark or Leaf Mold | 1 to 2 cubic yards (top-dressed) |
| Sandy / Fast Draining | Low moisture retention | Peat Moss or Coconut Coir | 3 - 5 bales (tilled into top 4 inches) |
Phase 3: Irrigation Integration and Fine Grading
One of the most overlooked steps in yard preparation is adjusting the irrigation system. If you are installing or modifying sprinklers, do it now. Pop-up sprinkler heads must sit exactly 0.5 to 0.75 inches above the final soil grade. This accounts for the thickness of the sod mat and the soil layer attached to the sod roots. If the heads are flush with the bare dirt, they will be buried under the new sod, resulting in dry spots and ruined spray patterns.
After irrigation adjustments, perform fine grading. Use a heavy steel landscaping rake to smooth out high and low spots. The surface should be uniform, with no depressions deeper than 1/2 inch, as these will create puddles that drown sod roots and promote fungal diseases like Pythium blight.
Phase 4: Compaction and the 'Heel Test'
Newly tilled soil is fluffy and full of air pockets. If you lay sod directly over it, the soil will settle unevenly after the first heavy rain, creating a bumpy, uneven lawn. You must pre-compact the soil base.
Rent a water-filled lawn roller. Fill the drum to roughly one-third capacity with water. Roll the entire yard in two perpendicular directions (north-south, then east-west) to ensure uniform compaction. To verify the compaction level, perform the 'Heel Test': walk across the yard in flat-soled boots. Your heels should leave an imprint no deeper than 1/4 inch. If you are sinking deeper, roll the area again. If you cannot leave a mark at all, the soil is too hard, and you will need to lightly scarify the top 1/2 inch with a rake so the sod roots can grip.
Pre-Sod Fertilizer and Herbicide Strategy
The final step before the delivery truck arrives is applying a starter fertilizer. New sod requires high levels of phosphorus to stimulate rapid root growth. Look for a fertilizer with an N-P-K ratio similar to 10-18-10 or 24-25-4, such as Scotts Turf Builder Starter Food for New Grass. Apply it at the rate specified on the bag (usually around 3 to 4 lbs per 1,000 sq ft) and rake it lightly into the top 1/2 inch of soil.
Warning: Never apply pre-emergent herbicides (like prodiamine or dithiopyr) before laying sod. Pre-emergents work by creating a chemical barrier that inhibits cell division in germinating seeds, but they will also severely stunt or kill the delicate new roots trying to establish from your sod.
For weed control, rely on a post-emergent selective herbicide applied after the sod has fully rooted and been mowed at least three times, which typically takes 4 to 6 weeks.
4 Fatal Sod Prep Mistakes to Avoid
- Tilling Wet Soil: Working clay-heavy soil when it is saturated destroys soil structure, creating hard clods that act like rocks under your new lawn.
- Skipping the Soil Test: Guessing your soil pH often leads to nutrient lockout. If your pH is 5.0, no amount of fertilizer will fix a yellowing lawn until lime is applied.
- Leaving Debris in the Grade: Sticks, rocks larger than a golf ball, and construction debris left in the topsoil will create dead spots where the sod cannot make contact with the earth.
- Over-Compacting: Rolling the soil until it is as hard as concrete prevents water infiltration and root penetration. Always stick to the 1/4-inch heel imprint rule.
Proper preparation takes time, often spanning a weekend or two depending on the size of your yard. However, executing these steps precisely guarantees that when your sod arrives, it will knit into the soil rapidly, resulting in a dense, resilient lawn that withstands heat, foot traffic, and drought for years to come. For further reading on regional turfgrass selection and establishment timelines, consult the Texas A&M AgriLife Extension guides on sodding best practices.

